#
All Projects dashboard
The All Projects dashboard page displays a full list of projects cards for all available projects that have been used. It is also where you can can initiate creating, editing, or viewing your projects.
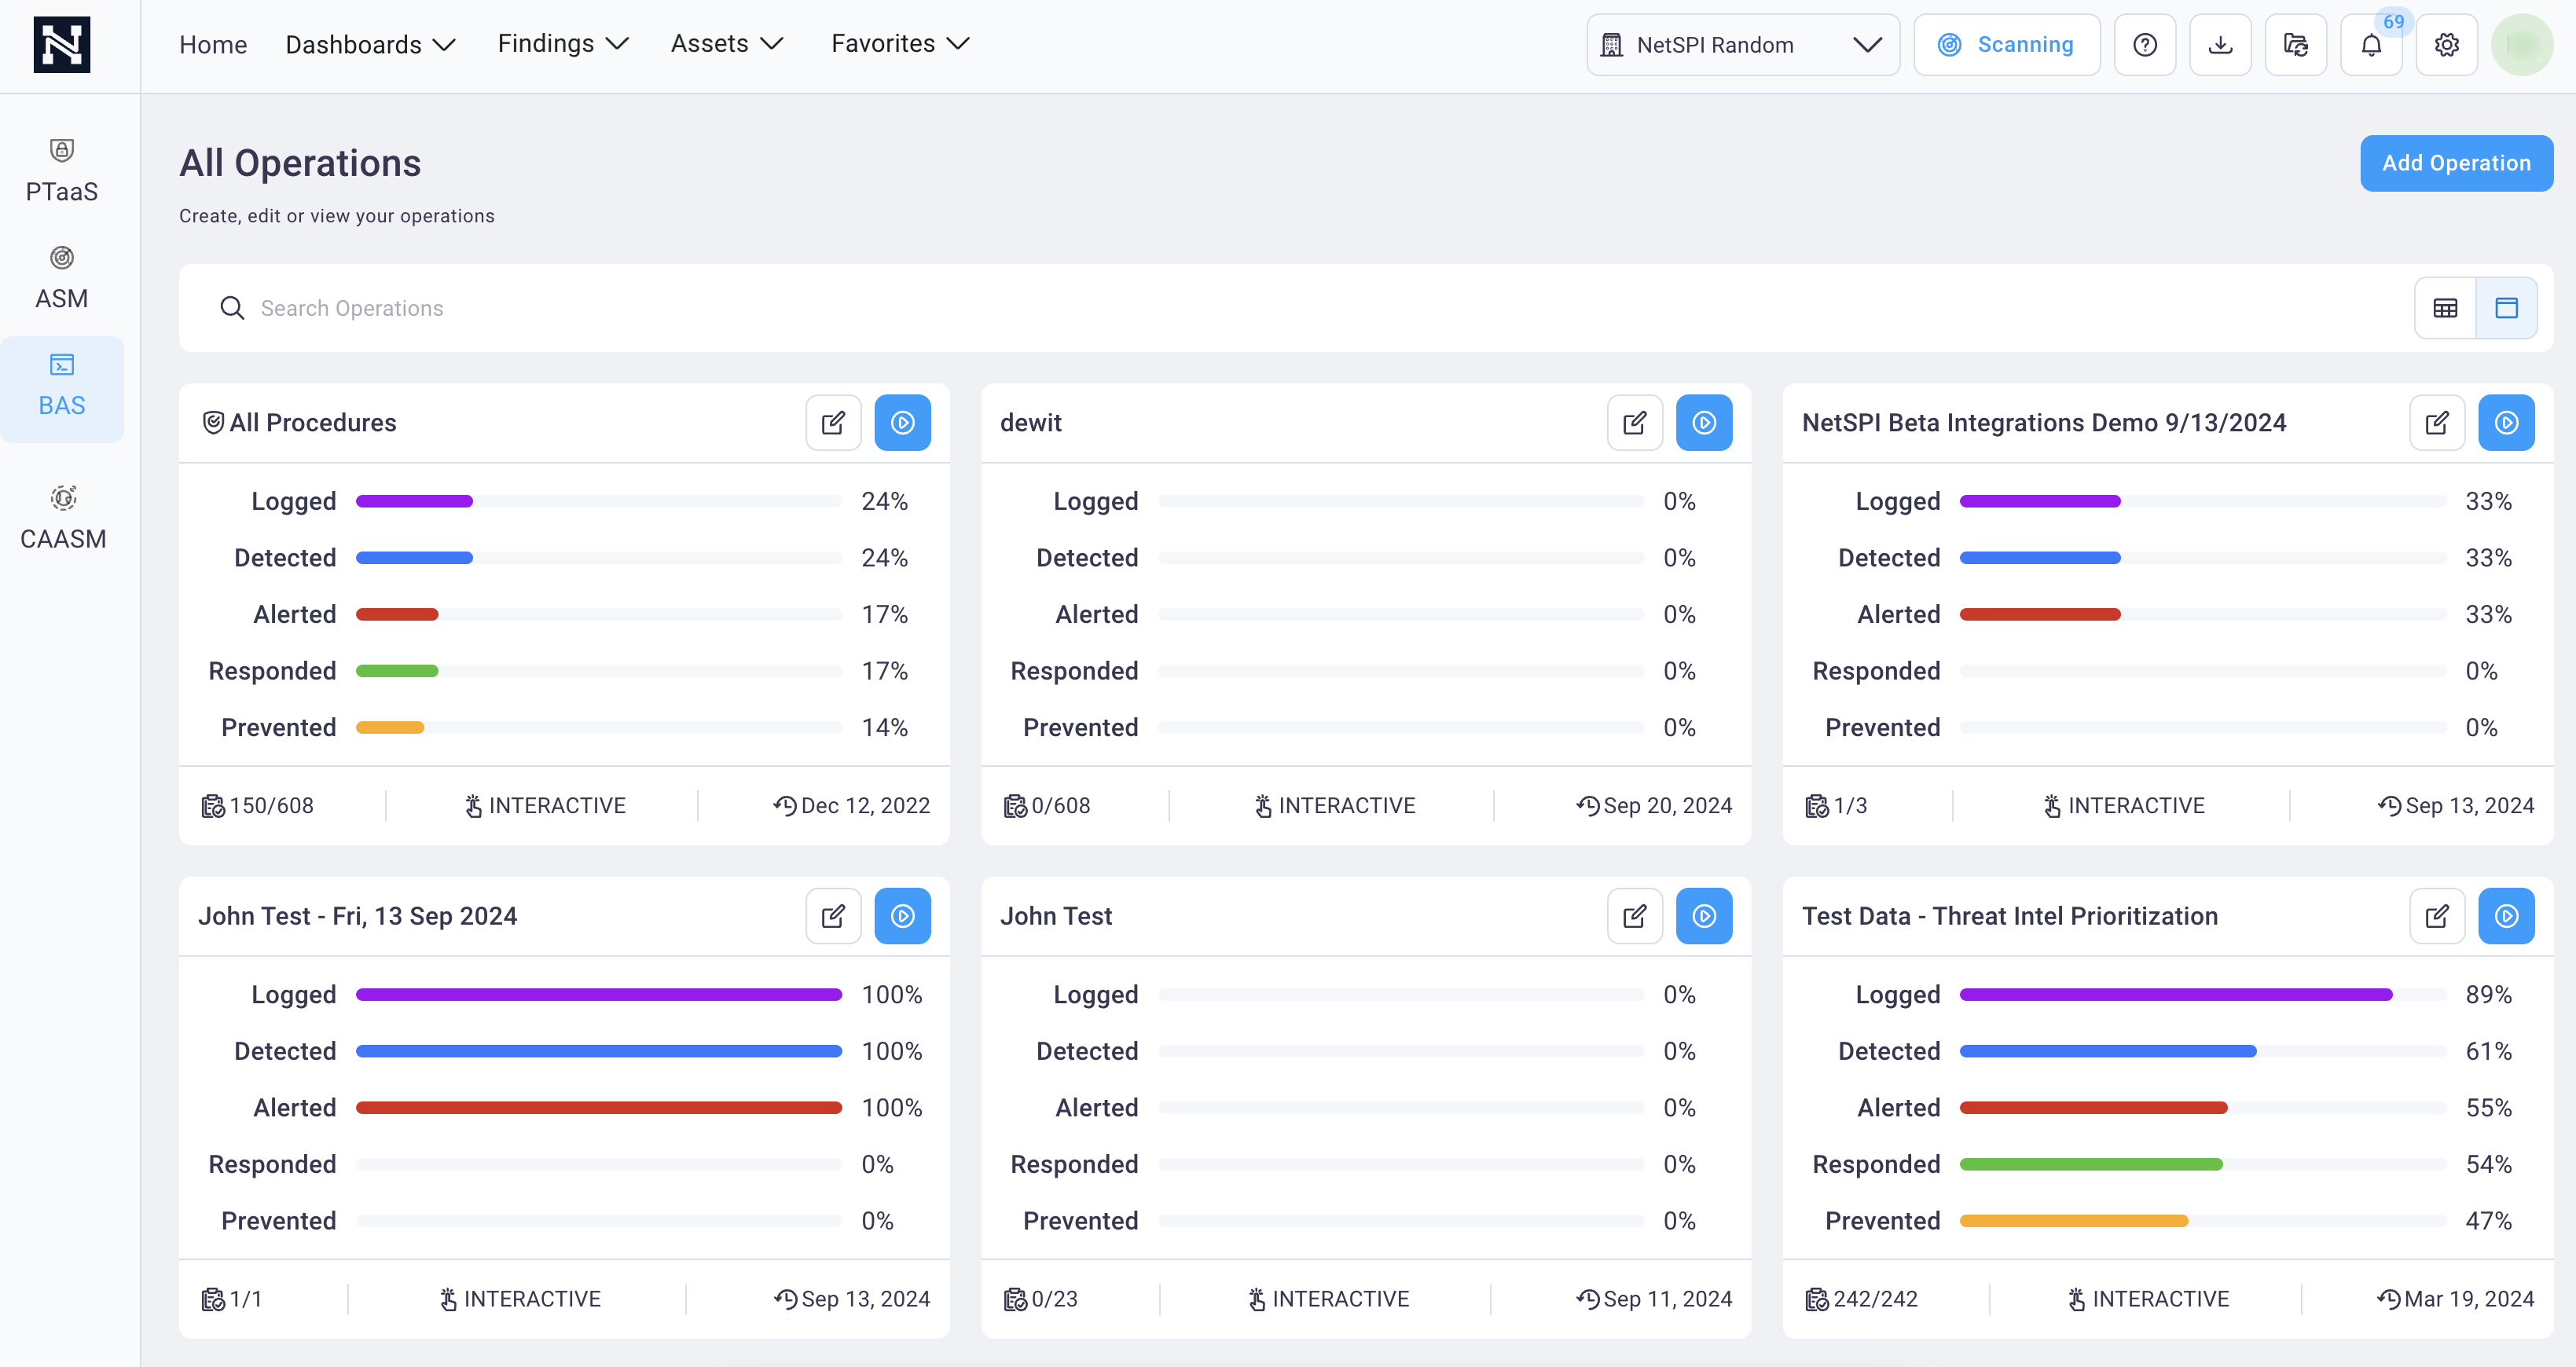
Projects are the core of the Breach and Attack Simulation platform. Each project can have a number of selected procedures, and based on that selection, you can run these procedures and then view the results. A procedure is a sequence of actions (tactics) performed to execute a simulated threat actor's intended goal.
#
Table vs. dashboard view
Use the following steps to change between a Dashboard and Table view of all of your projects.
To change from a dashboard view to a table view, select the Table view icon
 in the upper right of the page.
The table view of all your projects displays and the icons toggle to display
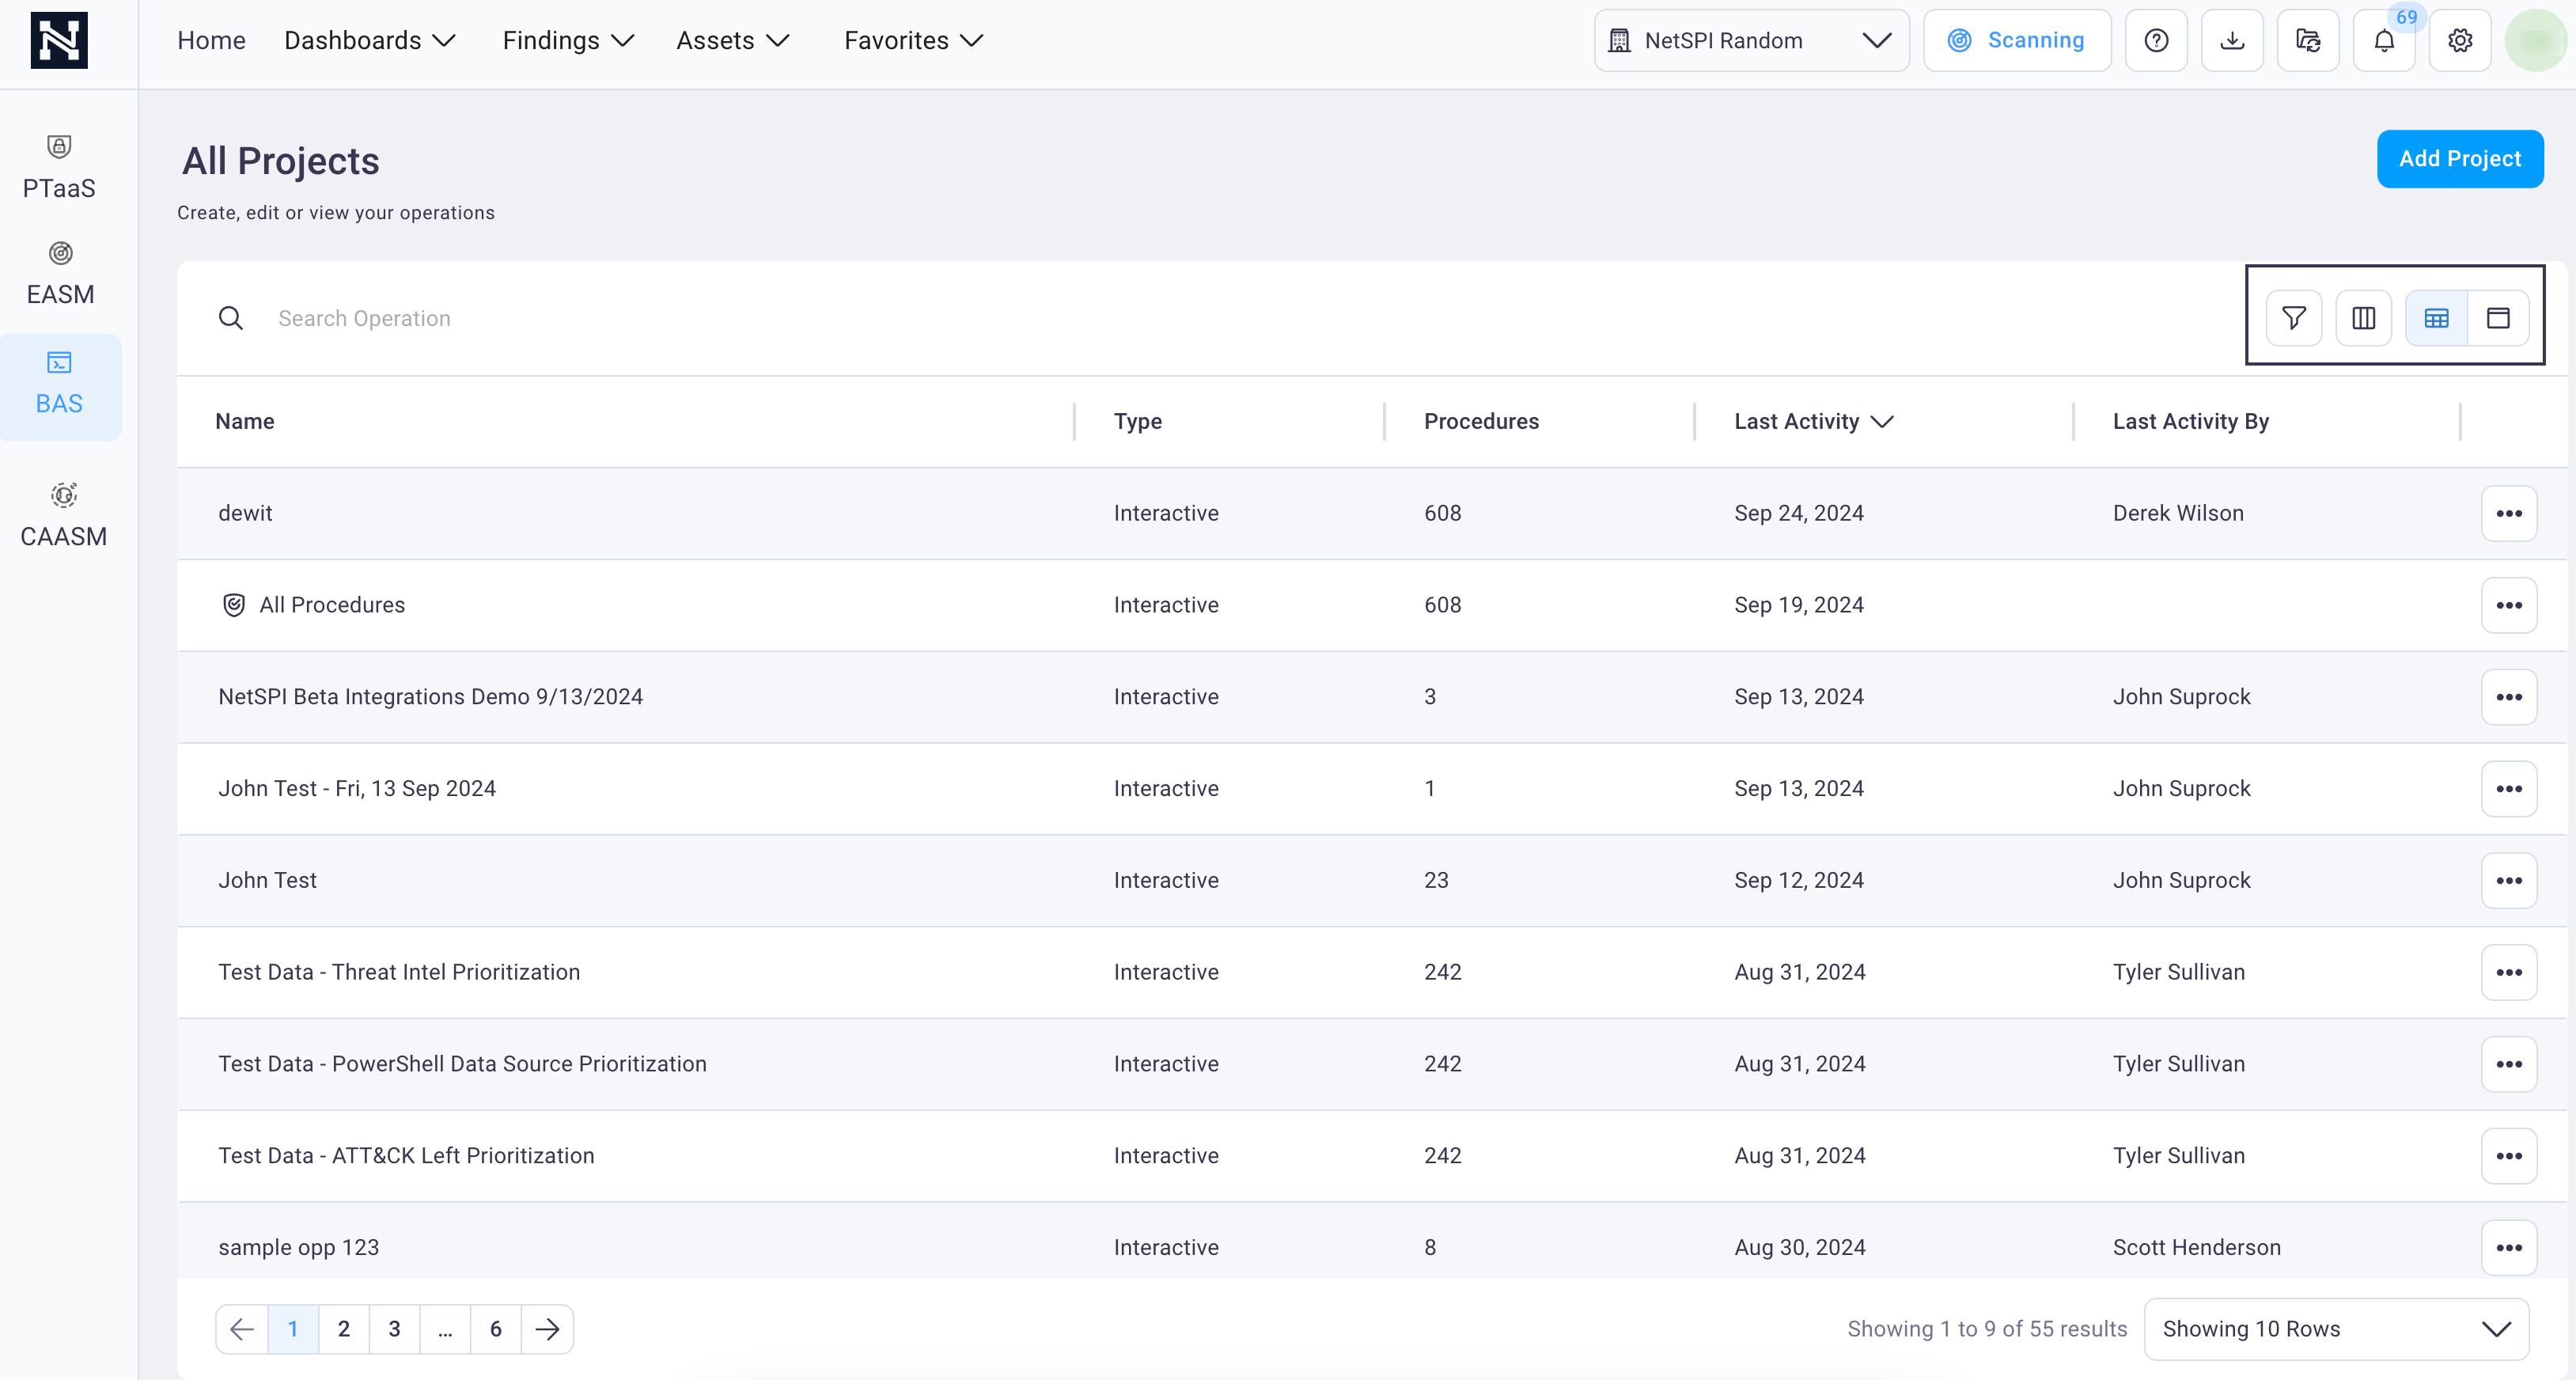
Select the Filter and/or Table column icons to manage how the table displays. See the Search, sort, and filter tables section for further details. And select the Dashboard icon
 if you want to return to view your
projects in dashboard format.
#
All projects cards
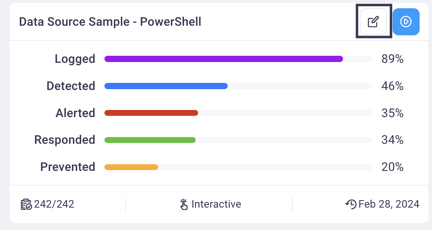
Within each project card, you can see the percentage of coverage for each detection category.
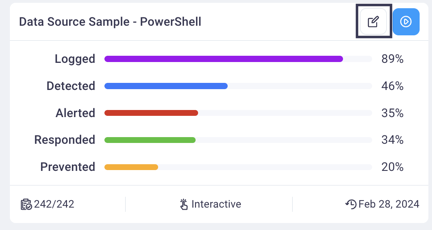
You can also see how many procedures you have scoped to that project, as well as whether it is an interactive or scheduled project.
The
242/242in the image above indicates that there are 242 procedures associated with the project and that 242 have been tested (i.e., they have a detection level set).
Be default, a project called All Procedures is created. This project contains all current, as well as future, procedures. This procedure will be used in the initial assessment by NetSPI to provide a baseline.
#
Searching all projects
Enter a project name or other search term in the Search field to refine the page's display to conform to your search criteria.

See the section below and the Projects section for further details on working with projects.
#
Creating a project
Use the following steps to create a project.
1. From the All Projects page, select the Add Project button to display the Create Project page.
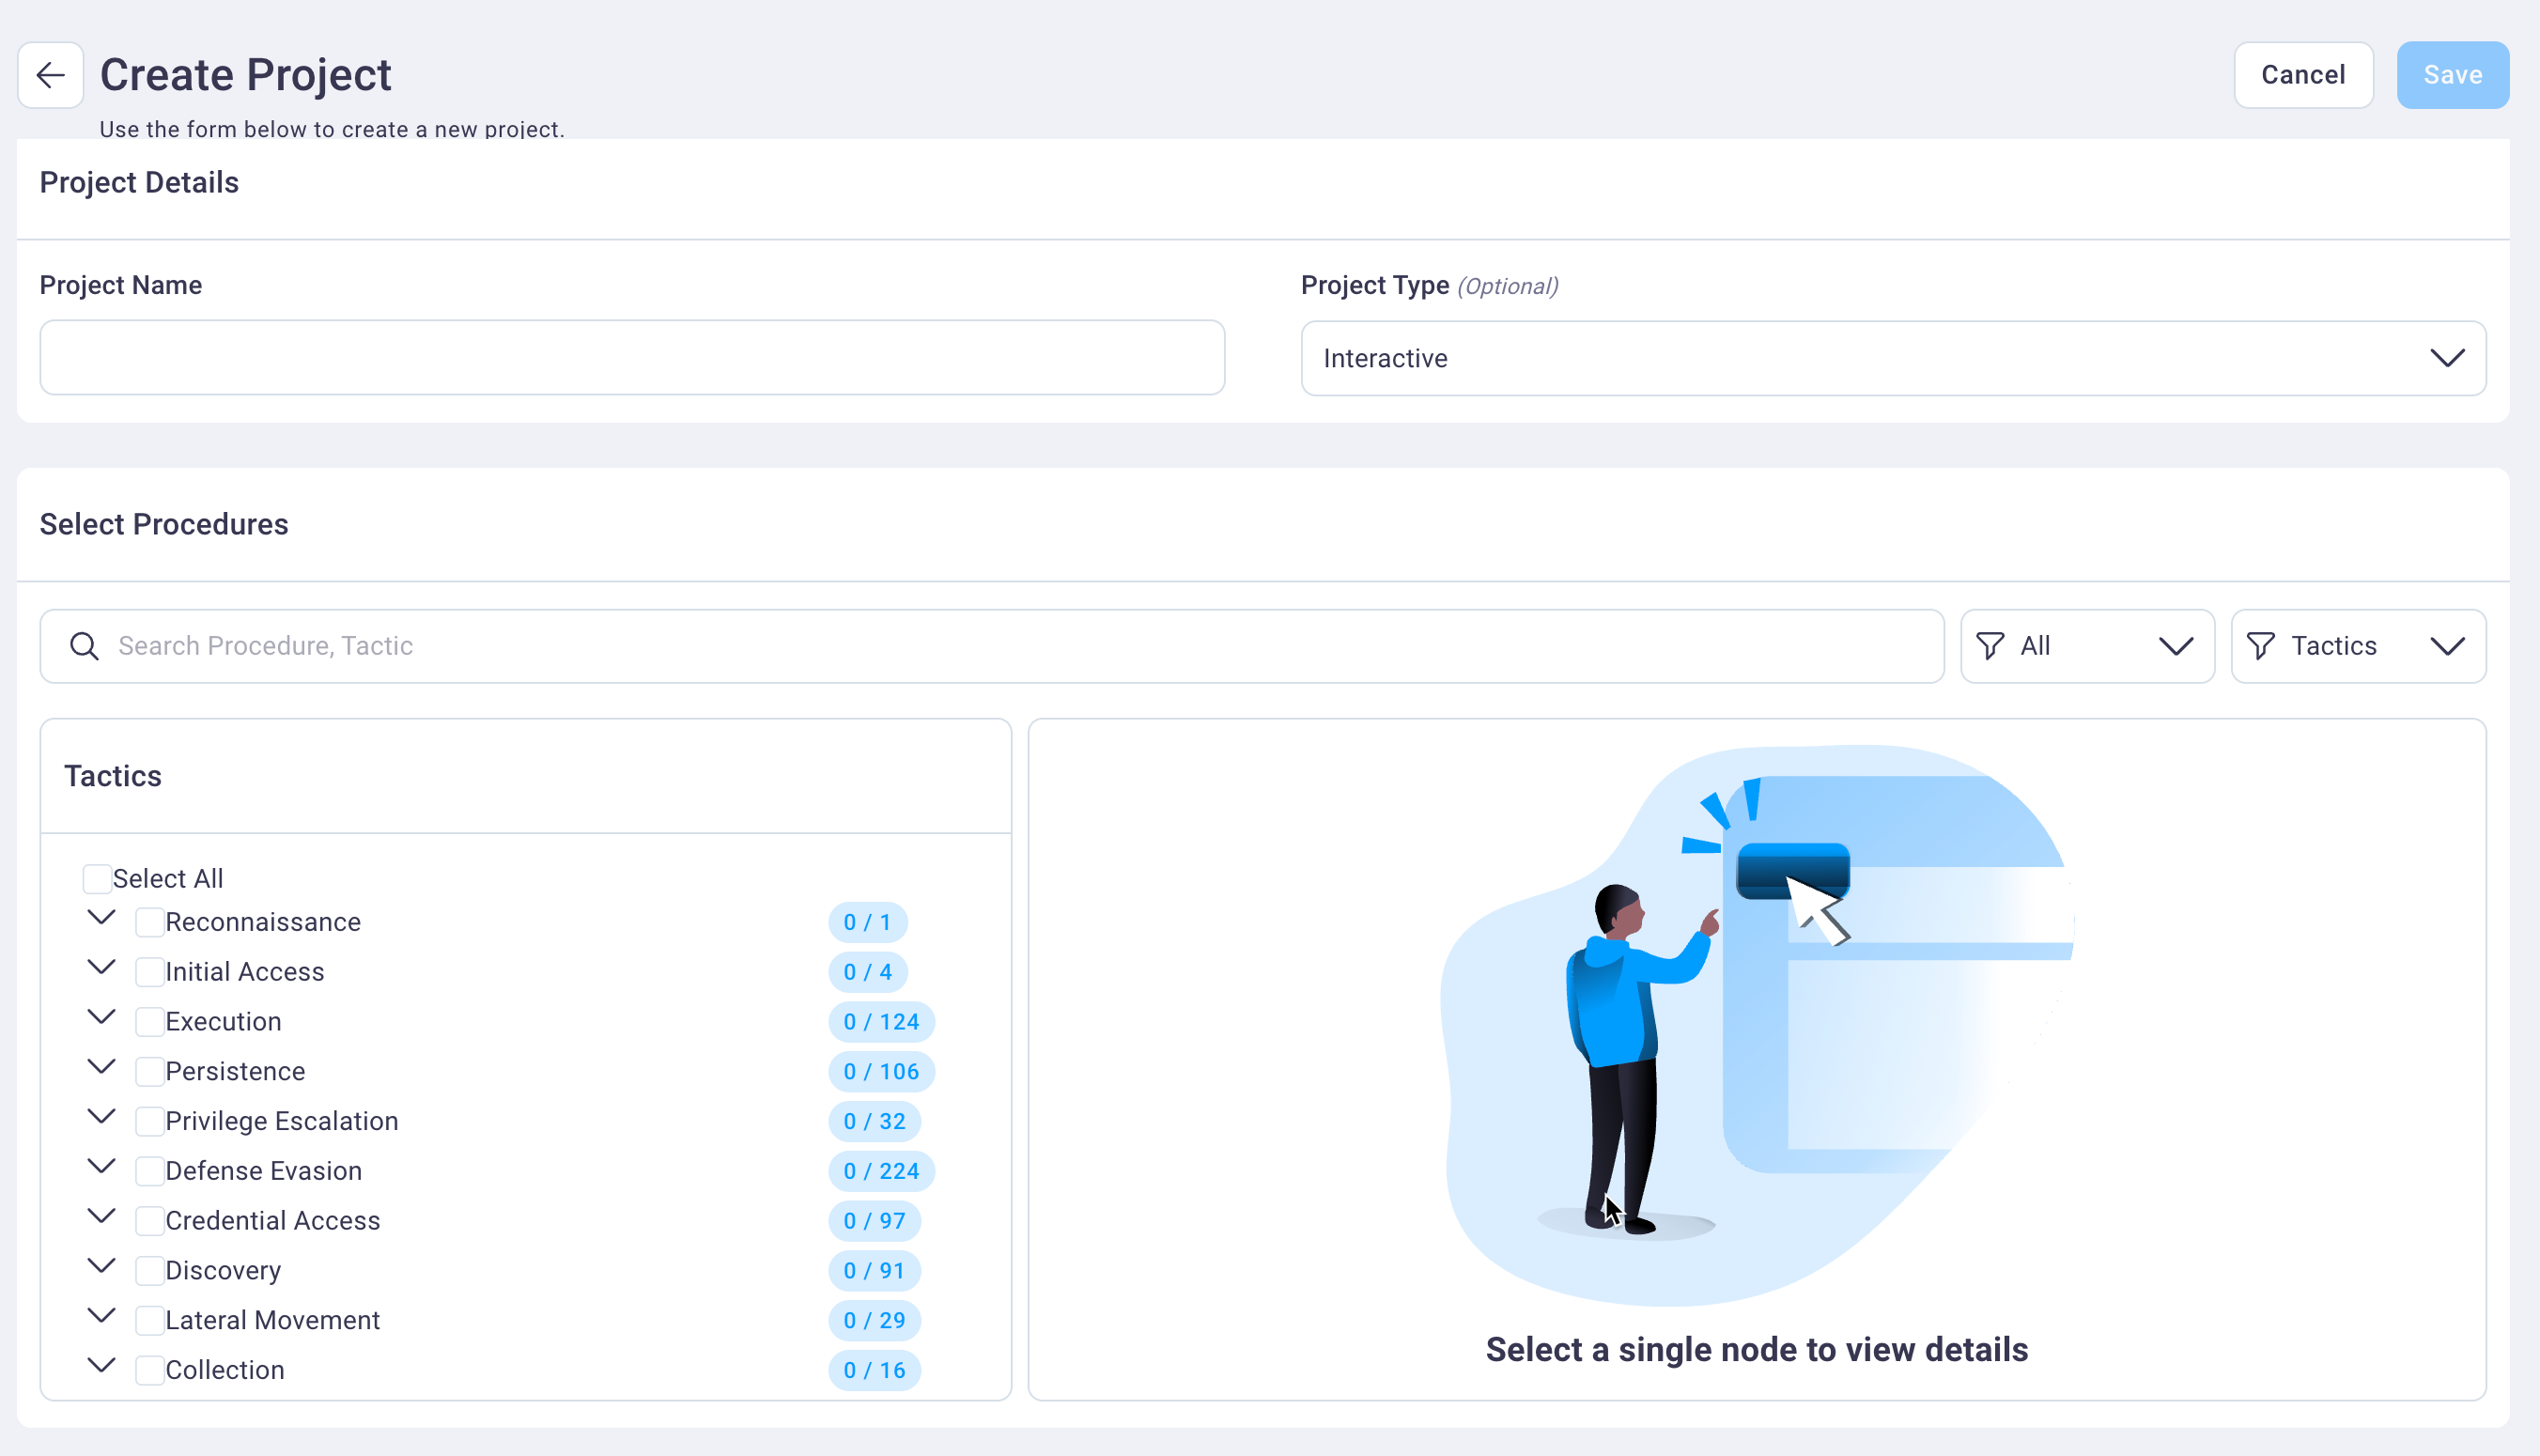
2. Enter a name for your project in the Project Name field.
3. Select the project type, either Interactive or Scheduled, from the drop-down list.
Interactive Projects are run ad-hoc at the user's discretion. Interactive projects will not run at any set interval and provide you with the ability to continually run and re-run your Playbooks and Procedures wherever appropriate.
Scheduled Projects enable you to run Playbooks at consistent intervals. You are able to configure the recurrence of the schedule including "Daily, Monthly, or Yearly" at a specific time.
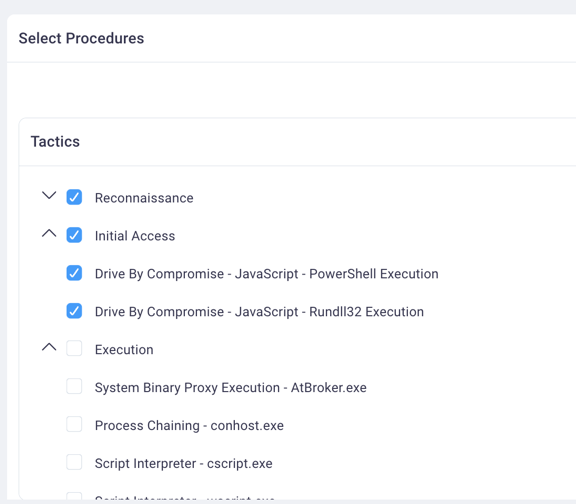
4. Select the tactics you want included in the project.
- Select the expand/hide icon to show all actions within each tactic.
- Select the top-most checkbox to select all actions for that tactic, or expand the tactic list and select individual actions.
5. Select the Save button to save your project.
#
Editing a project
Use the following steps to edit a project.
1. Select the edit icon to display the Edit Project page, where you can edit components of the project.
You can also initiate editing a project from the Run Project page and selecting the Edit Project button.
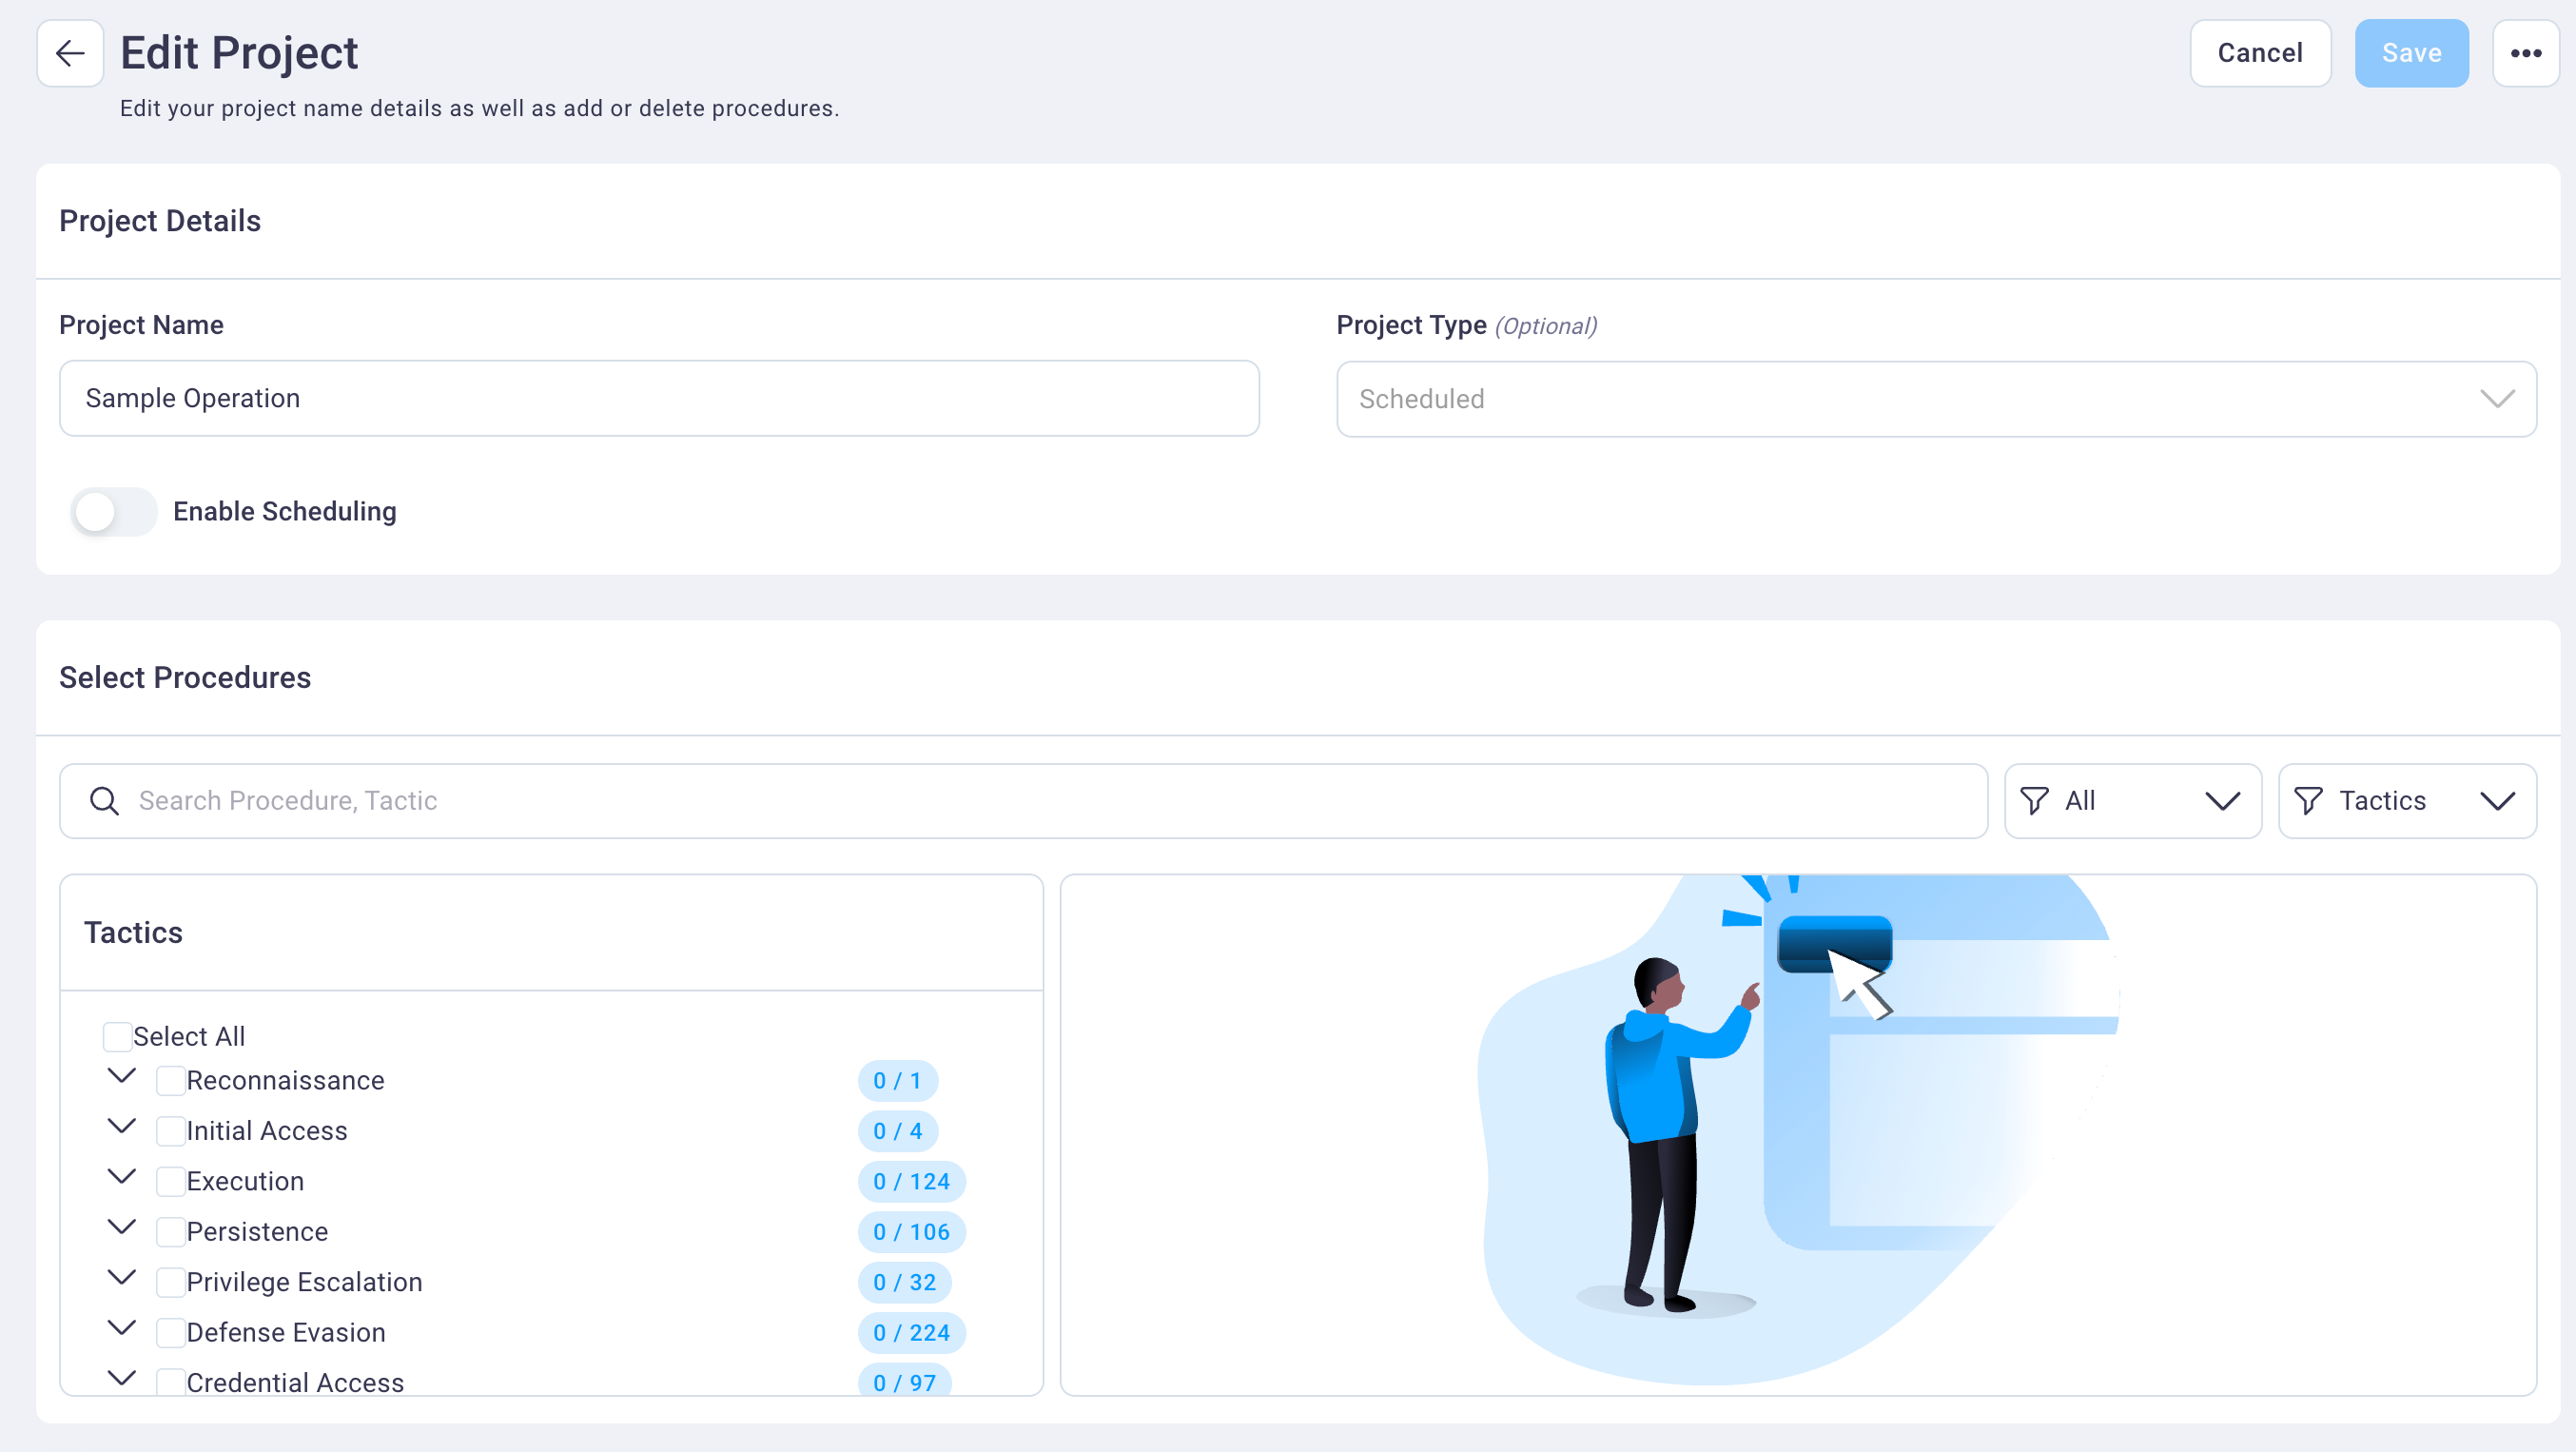
2. Make edits for any of the following project details:
- Change the name of the project
- Delete the project
- Select or deselect Procedures
3. Select Save to save your changes and return focus to the Workspace page for that project.
#
Run a project
Use the following steps to run a project.
1. From the All Projects page, select the play
button ![]() for any project to display the
Run page, where you can configure and run procedures.
for any project to display the
Run page, where you can configure and run procedures.
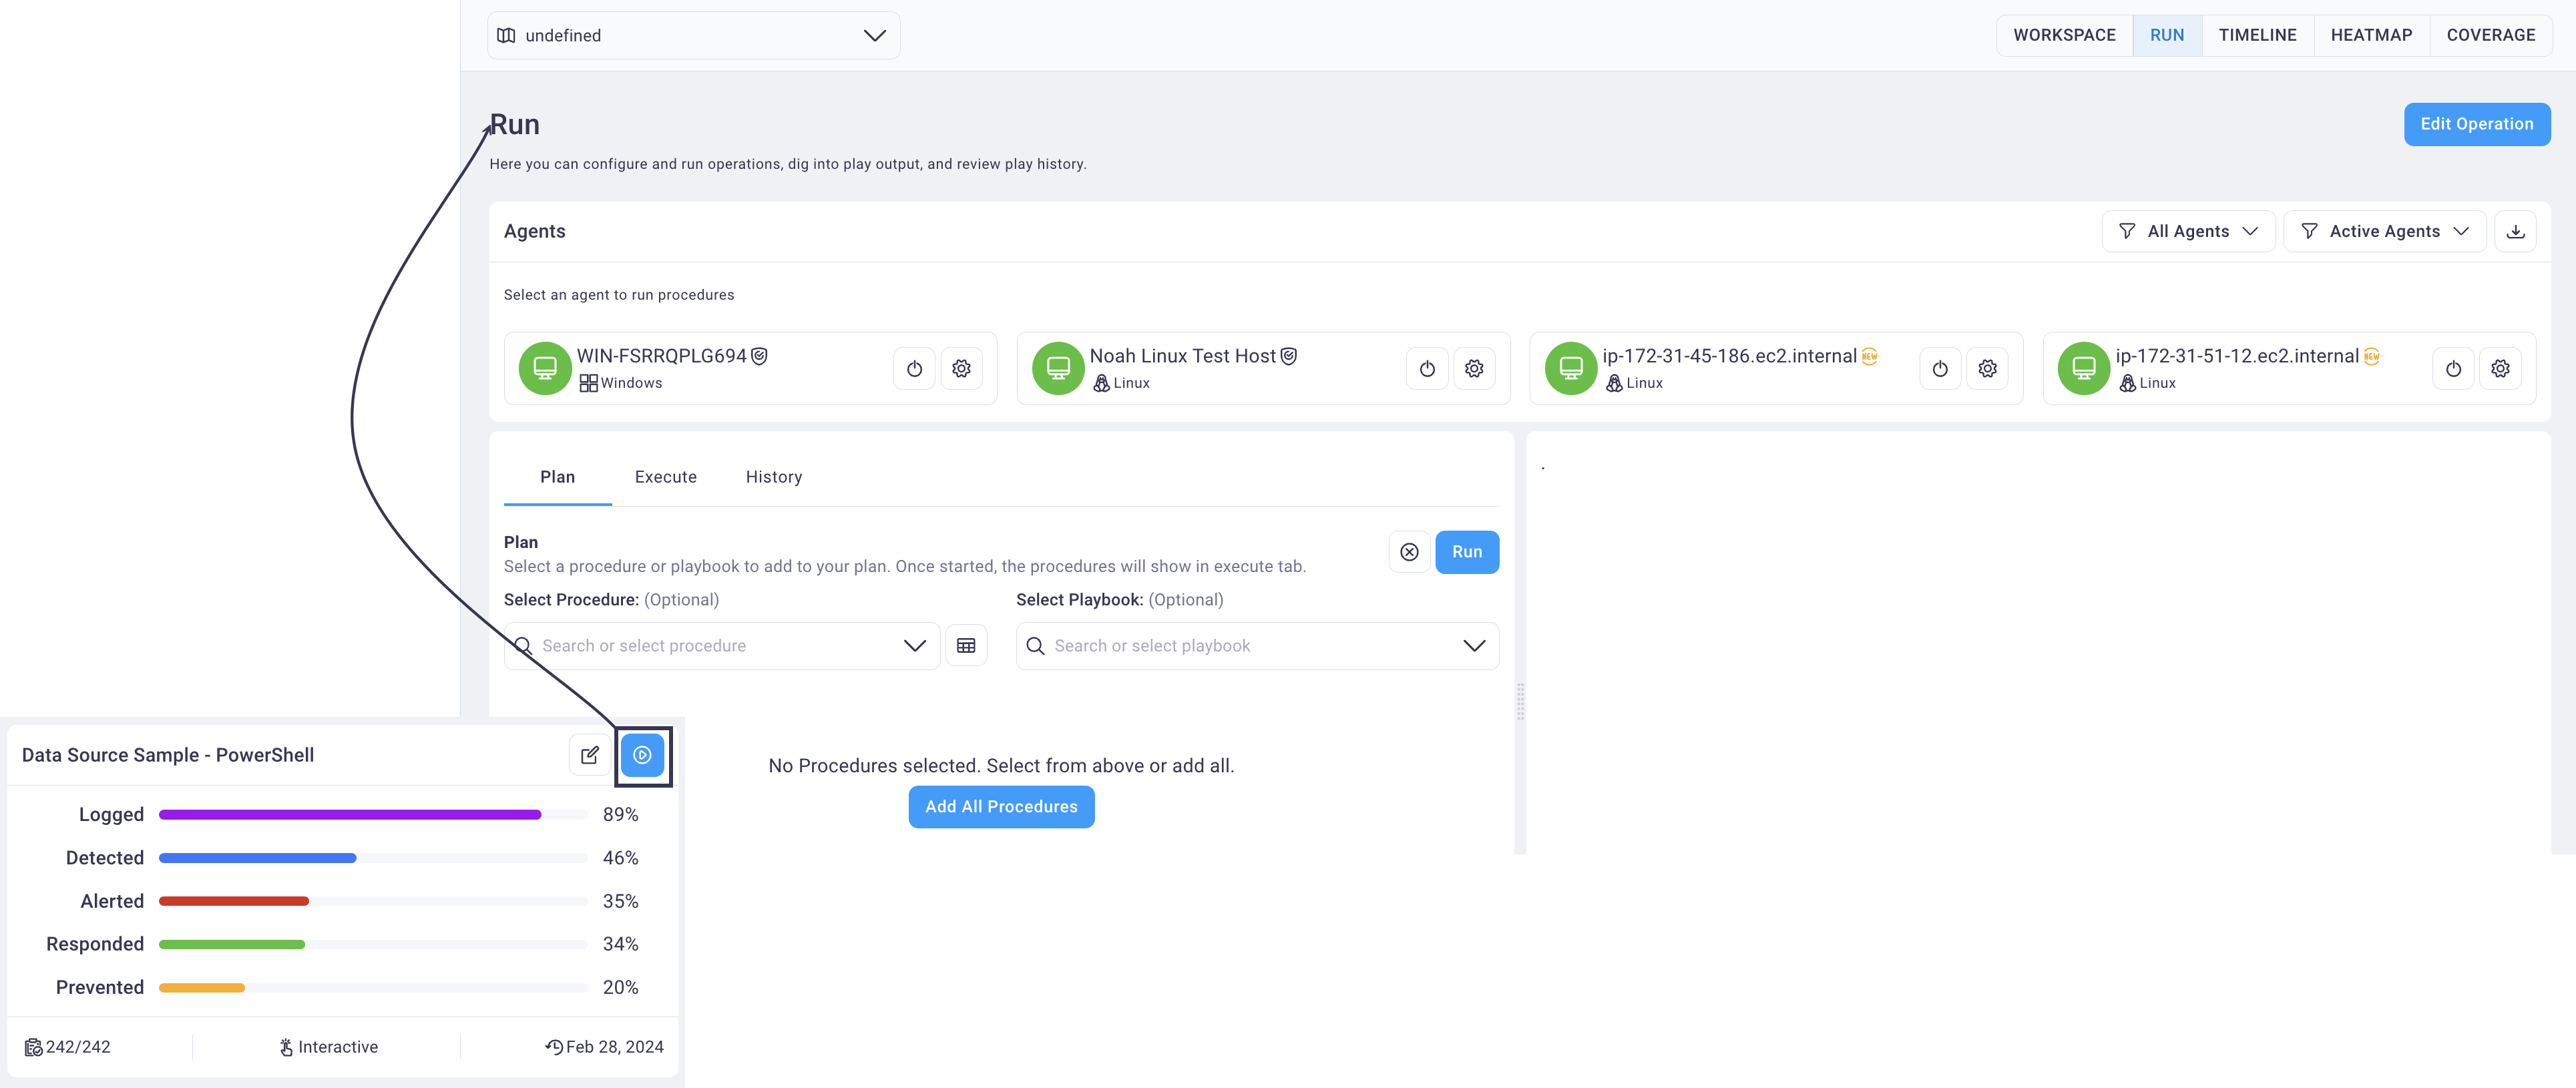
2. See the Run Project page for more details.
#
Project Workspace
1. Select anywhere in a project card to display its Workspace page in an expanded view.
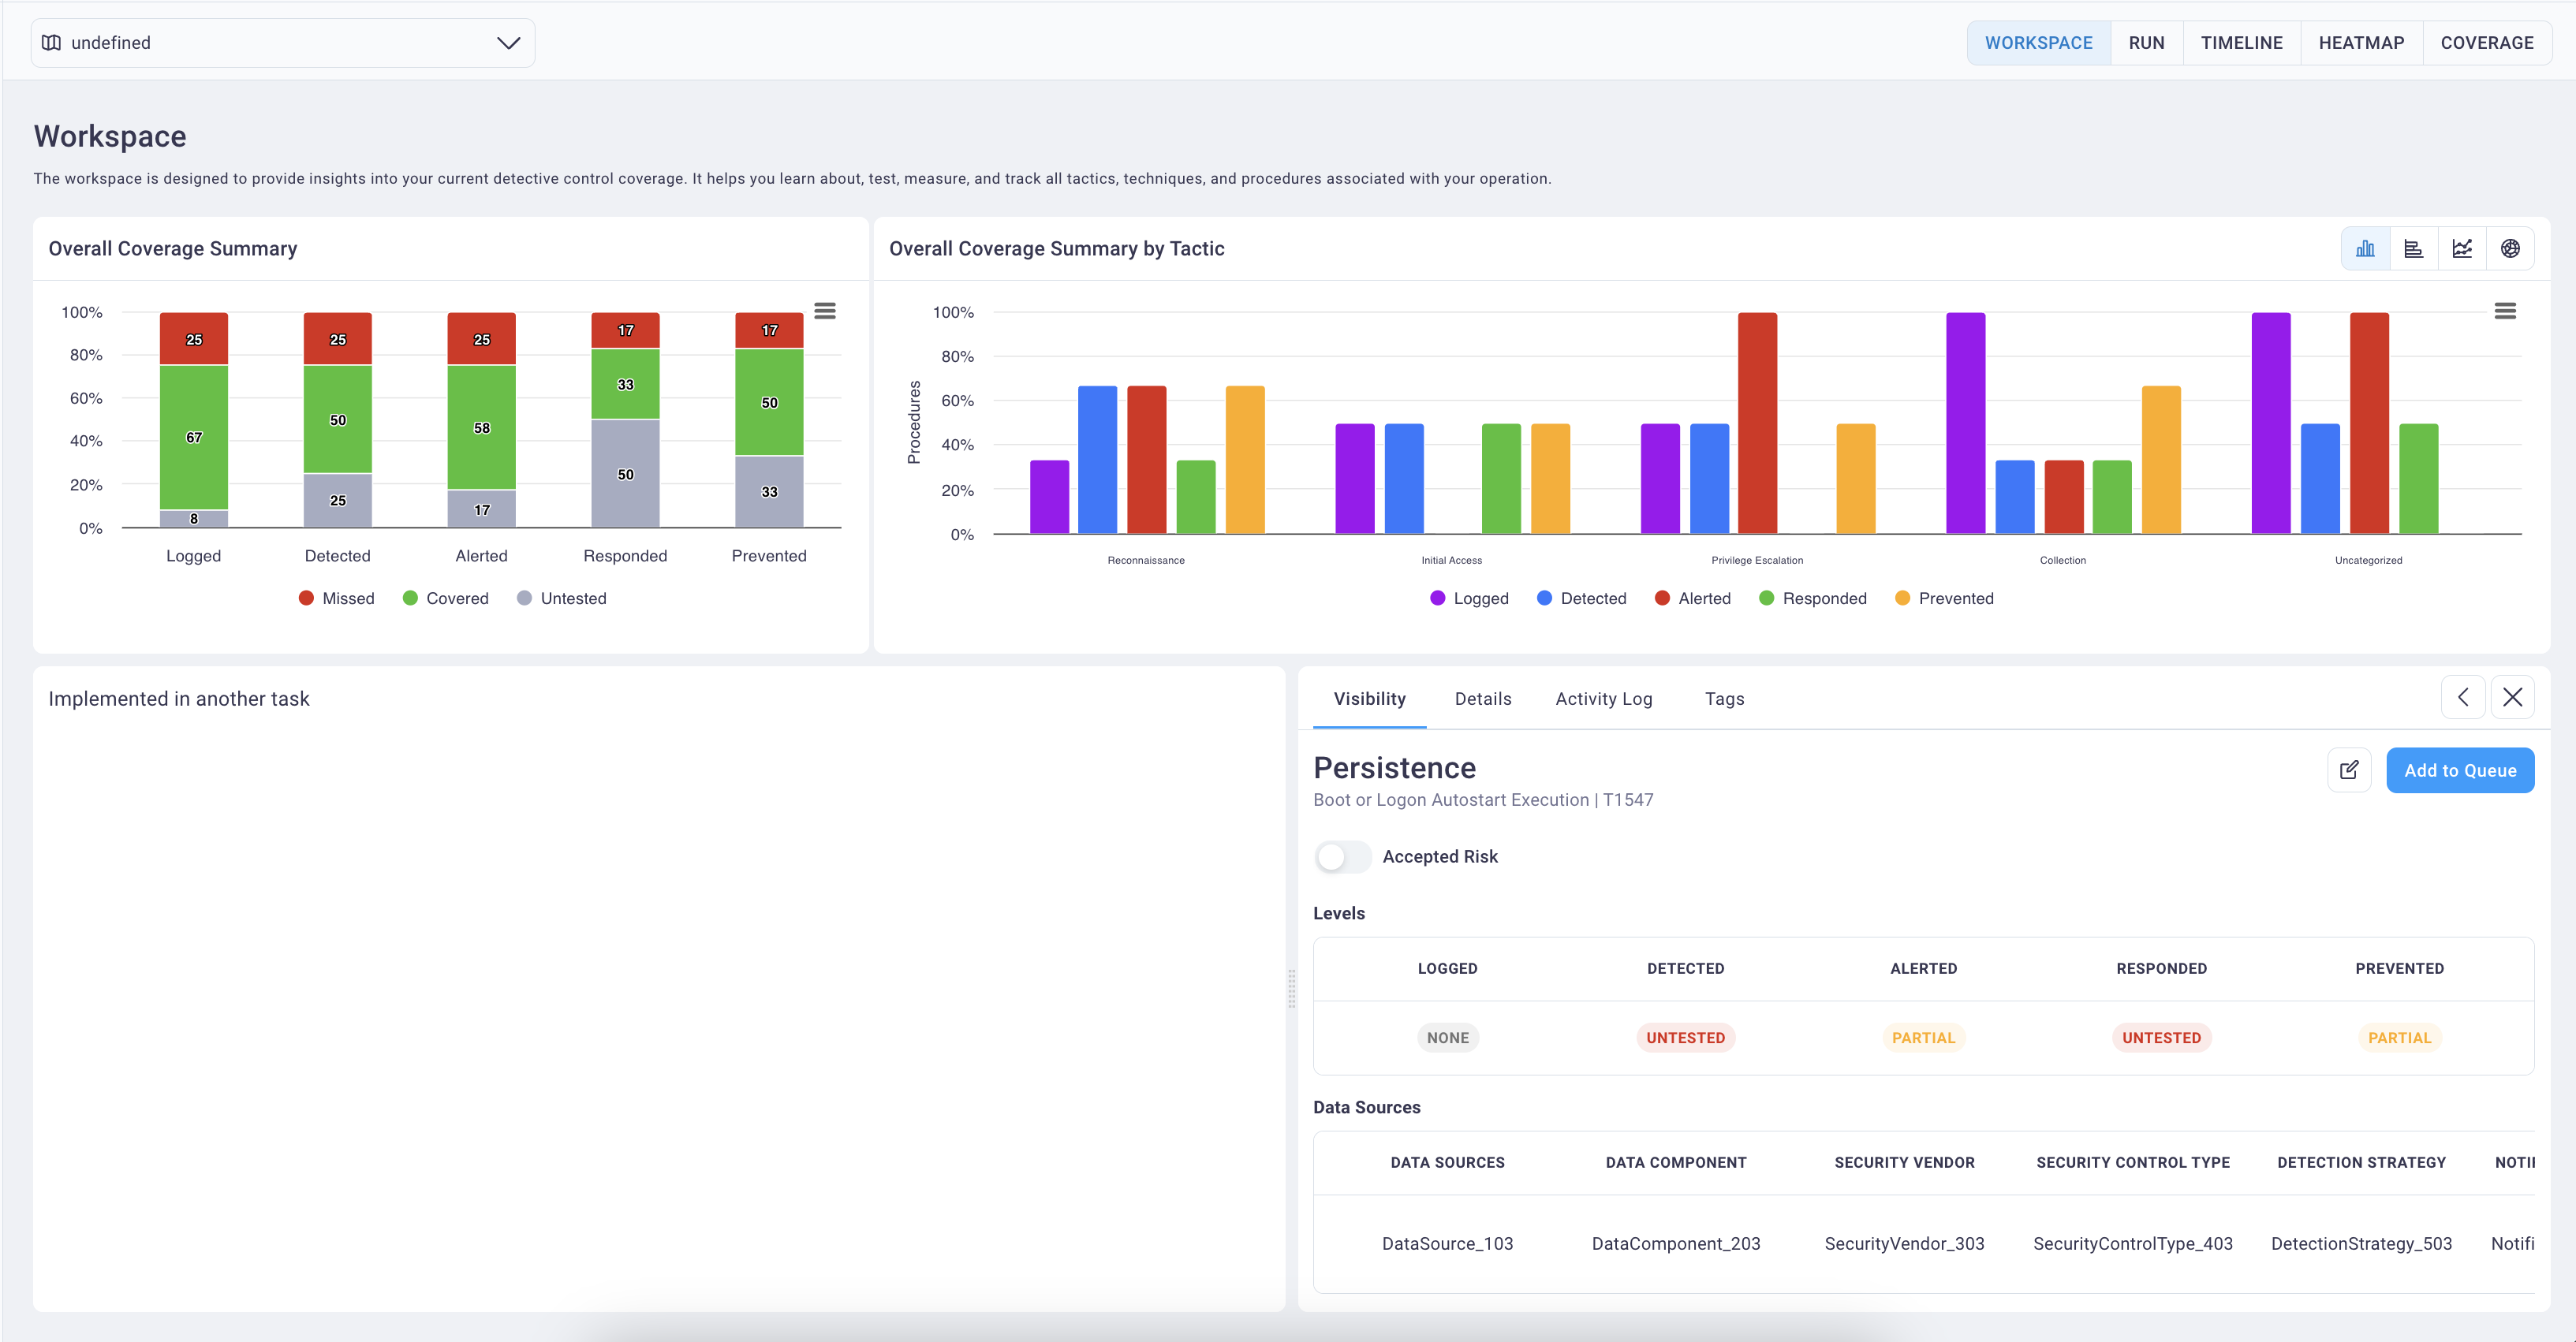
2. From here you can review the Overall Coverage Summary and Overall Coverage Summary by Tactic dashboards and the table of tactics for the project.
See the Workspace section for full details.

