#
Windows Agent instructions
This page includes instructions on deploying the BAS Agent for the Windows platform.
#
Requirements
The BAS agent supports:
- Windows 10 or Windows Server 2019 or newer platforms
- .NET Framework version 4.7.2 or greater is required
The .NET Framework 4.7.2 is installed on most modern versions of Windows (Windows 10 1803 and newer or Windows Server 1803 and newer).
Use the PowerShell script below to verify you have the correct version of the .NET Framework installed if you are unsure.
#
Downloading the BAS Agent
You can download as many instances of the Agent as you'd like for your environment. To download the Agent, log into the NetSPI Platform's BAS module and take the following steps.
Navigate to BAS -> Agents in the NetSPI Platform's left navigation.

This displays the Agents page.

Select the Download Agent drop-down list and then Download Windows Agent. The BAS Windows Agent will download to your default download location (often your Downloads folder).
#
Set up the BAS Agent
This section provides instructions on setting up the downloaded Windows BAS Agent once it's downloaded.
Navigate to the directory that contains the downloaded BAS Windows Agent and double click the file to display the BAS Agent screen.
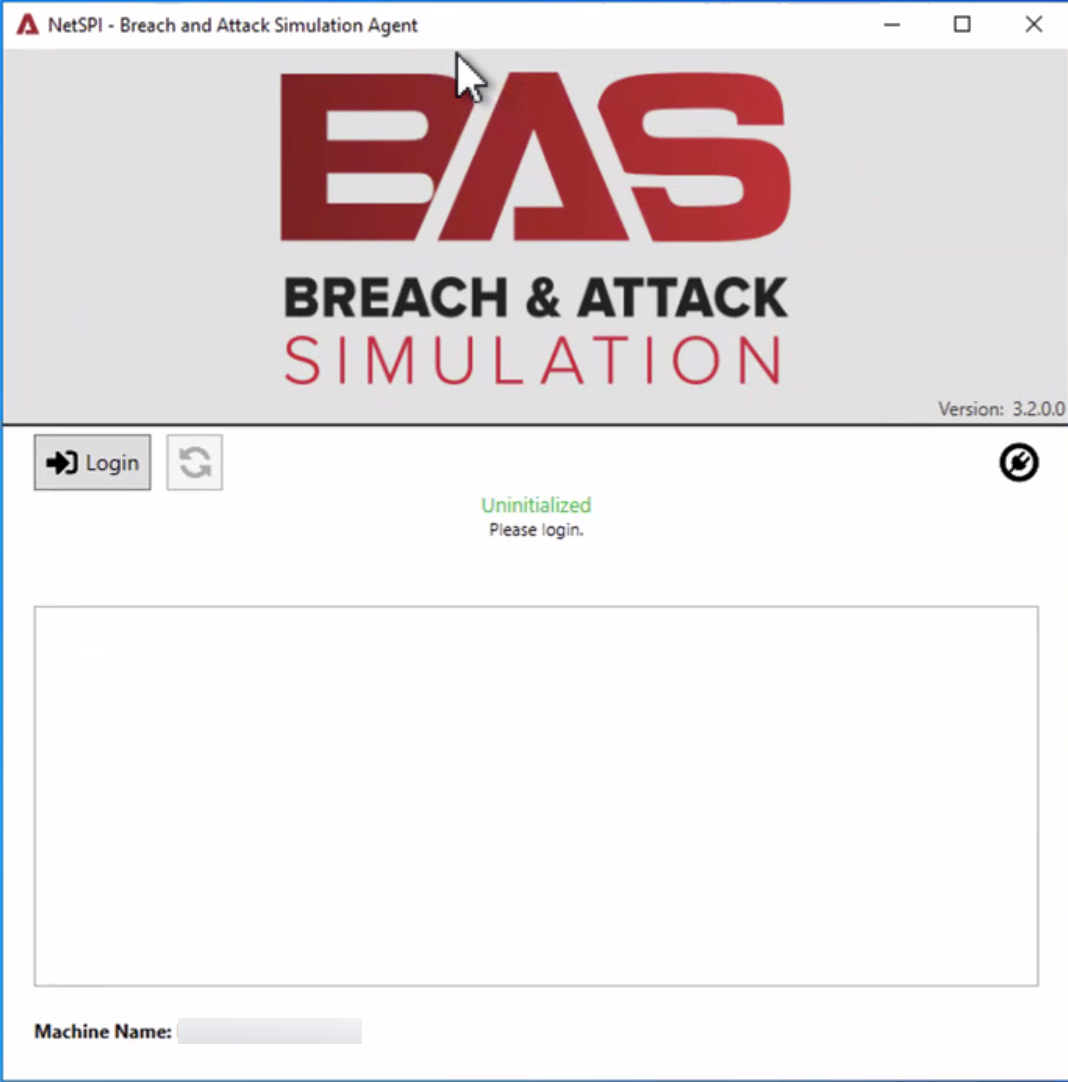
Select the Login button to display the Login prompt screen.
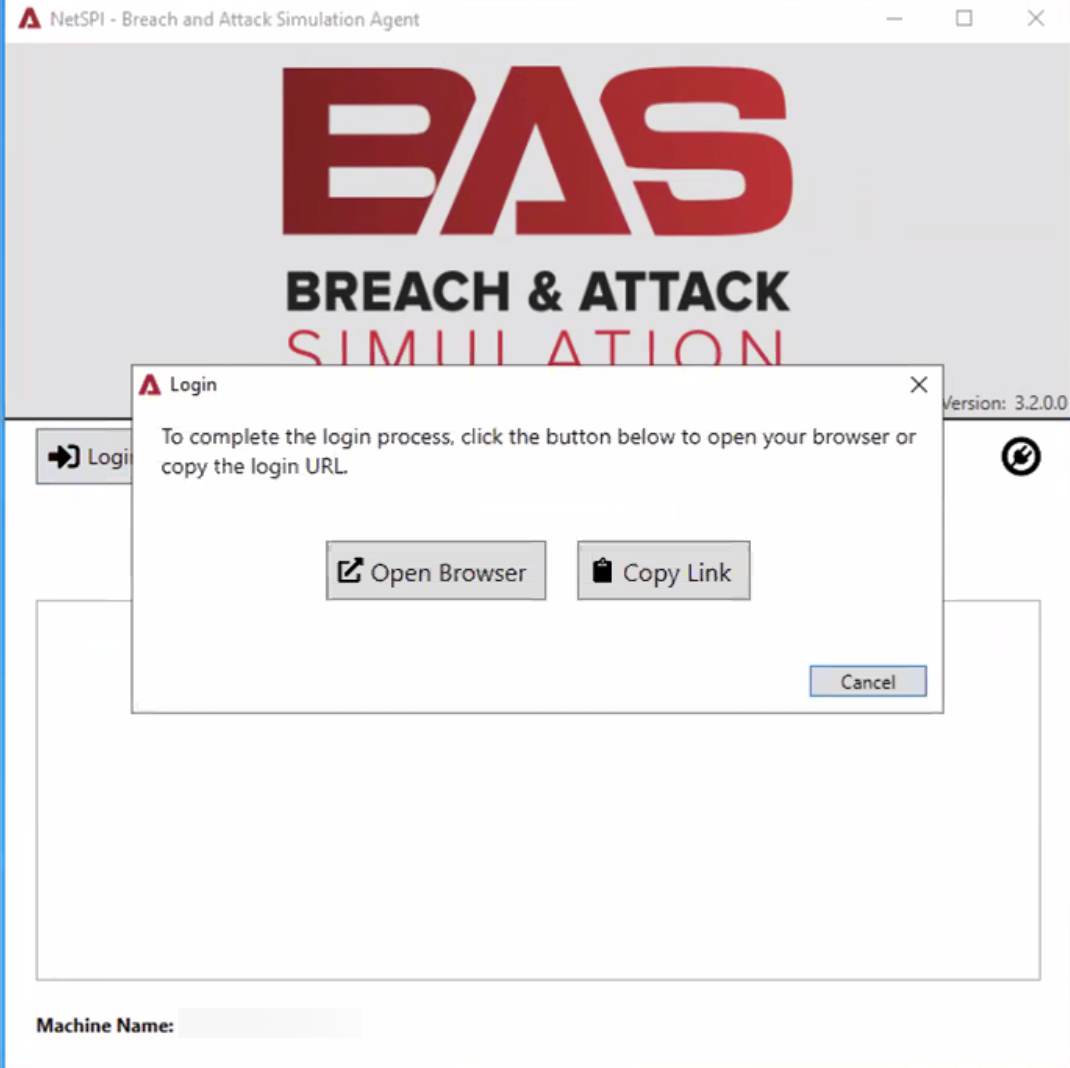
Select the Open Browser button to display the NetSPI Platform login page.
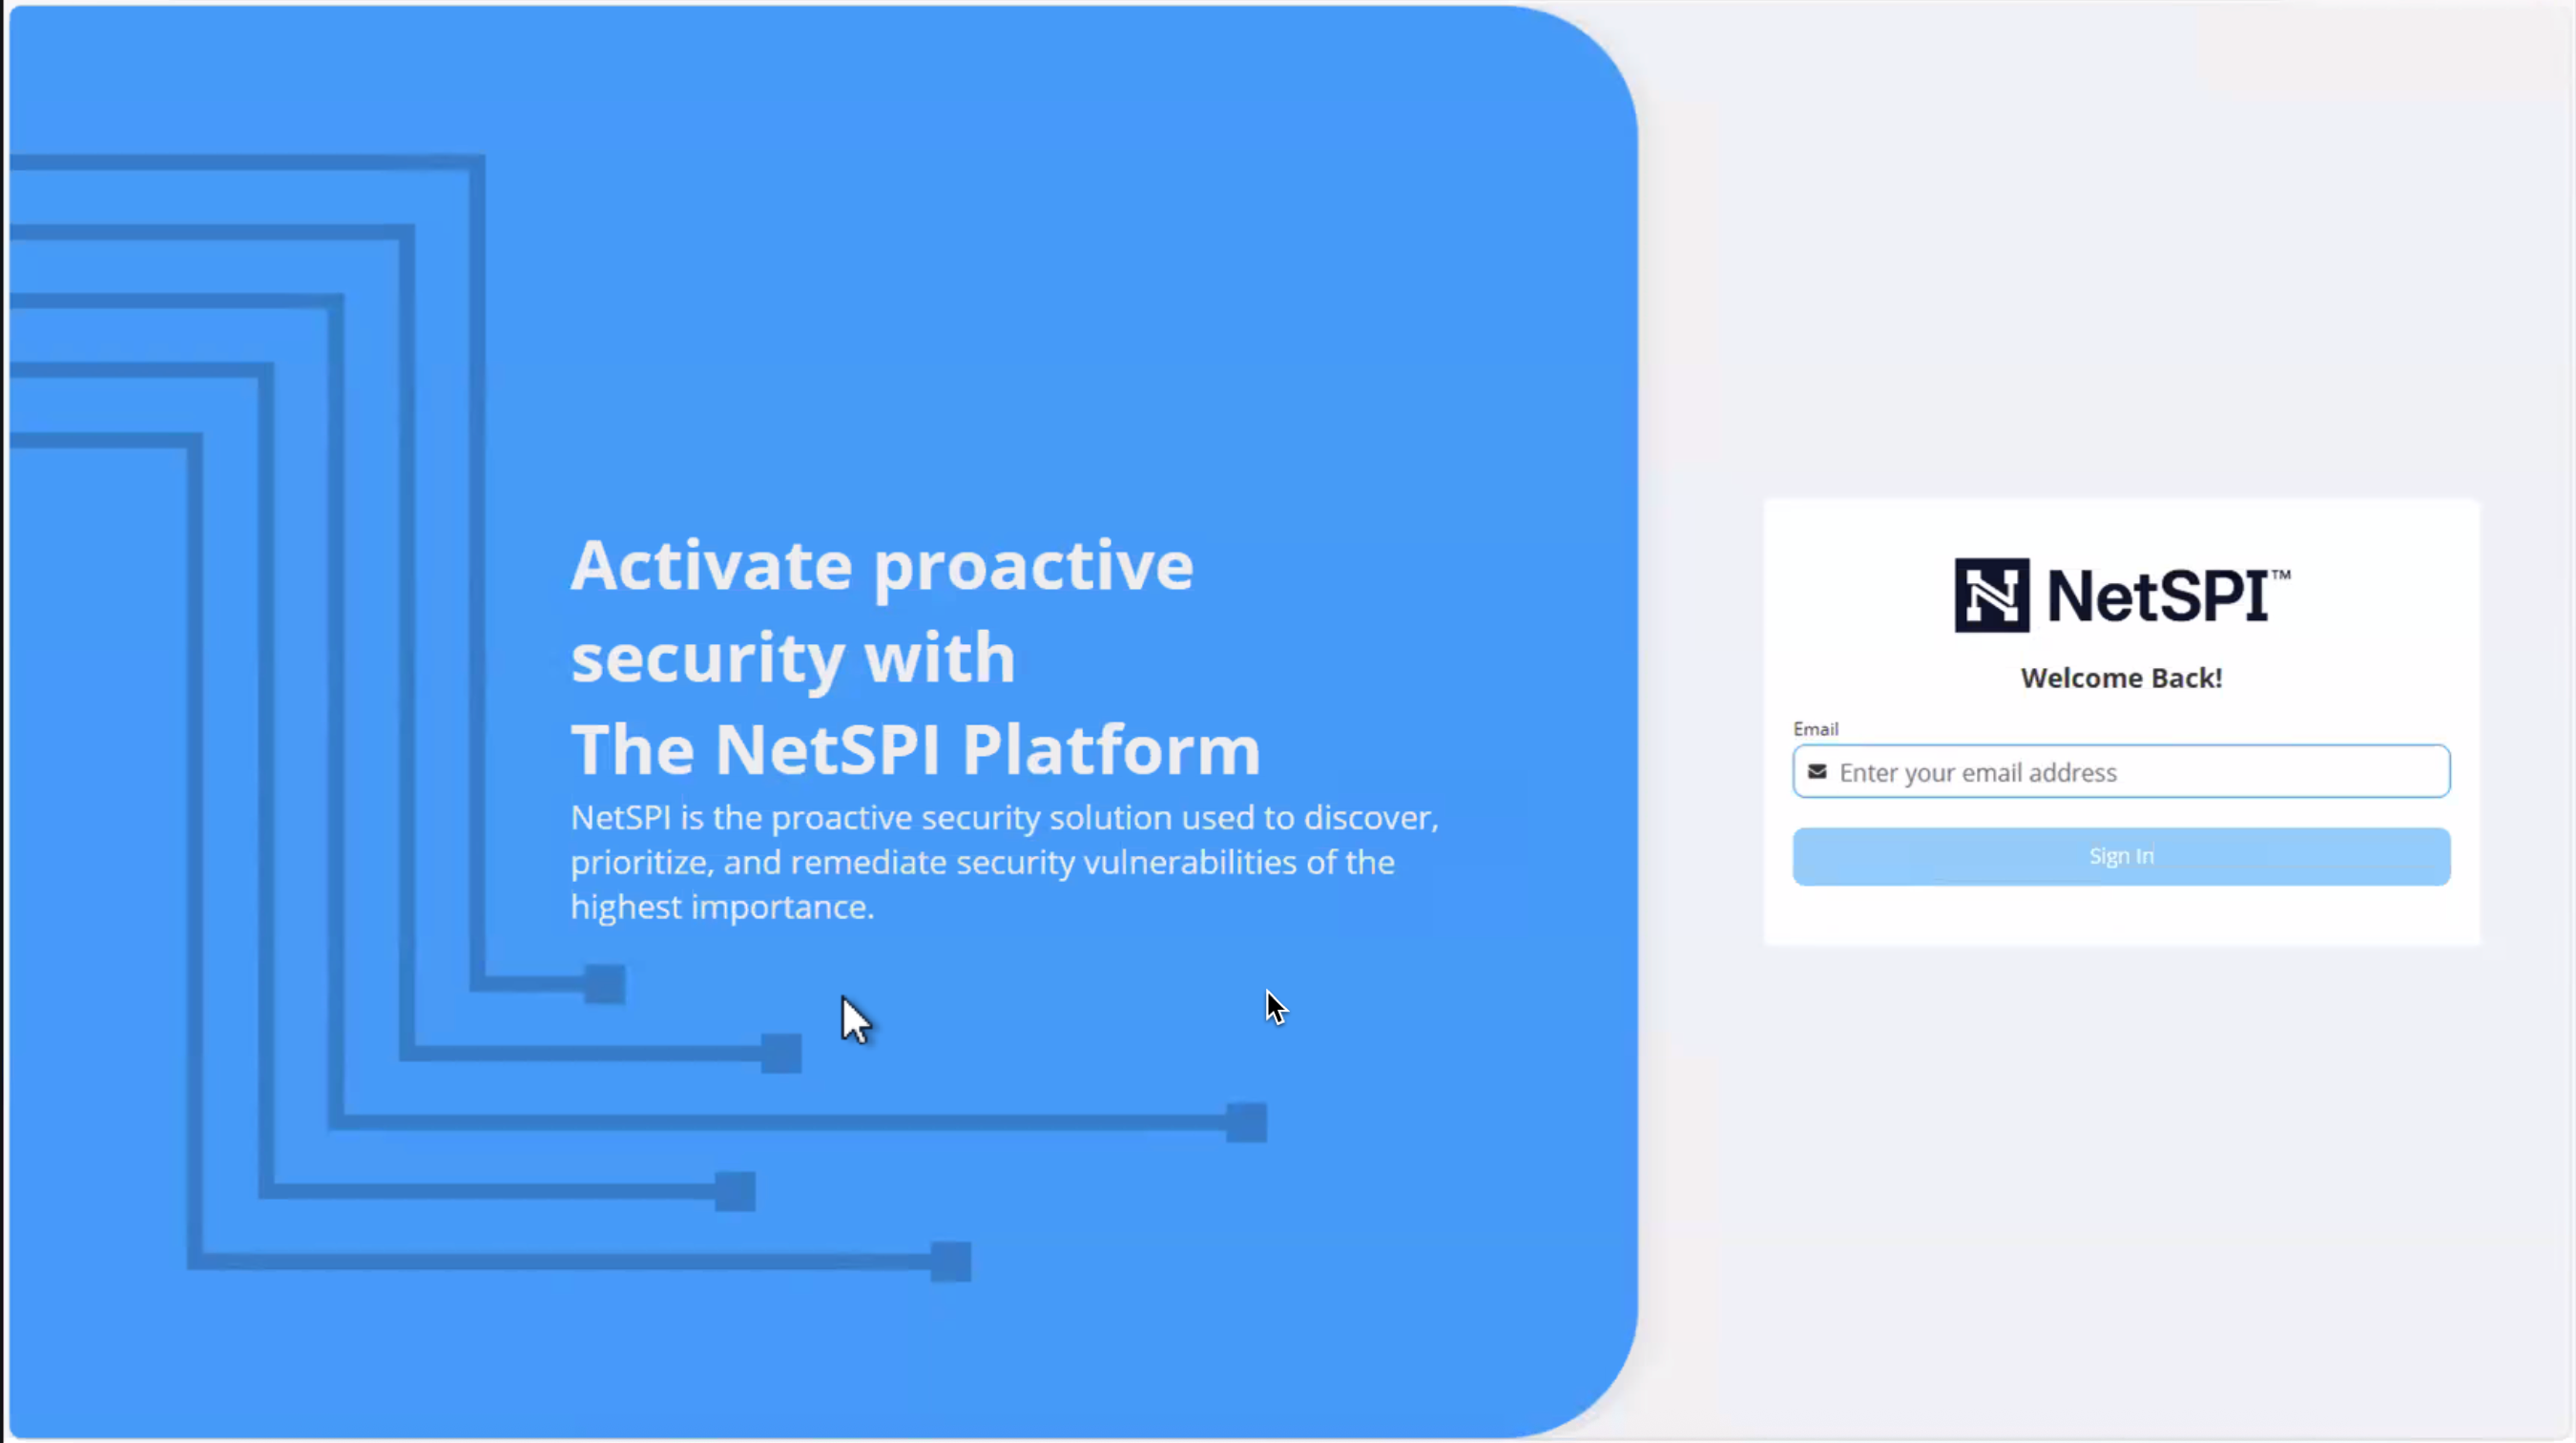
Enter your NetSPI Platform credentials and you are prompted to confirm that you grant access to the NetSPI BAS Agent.

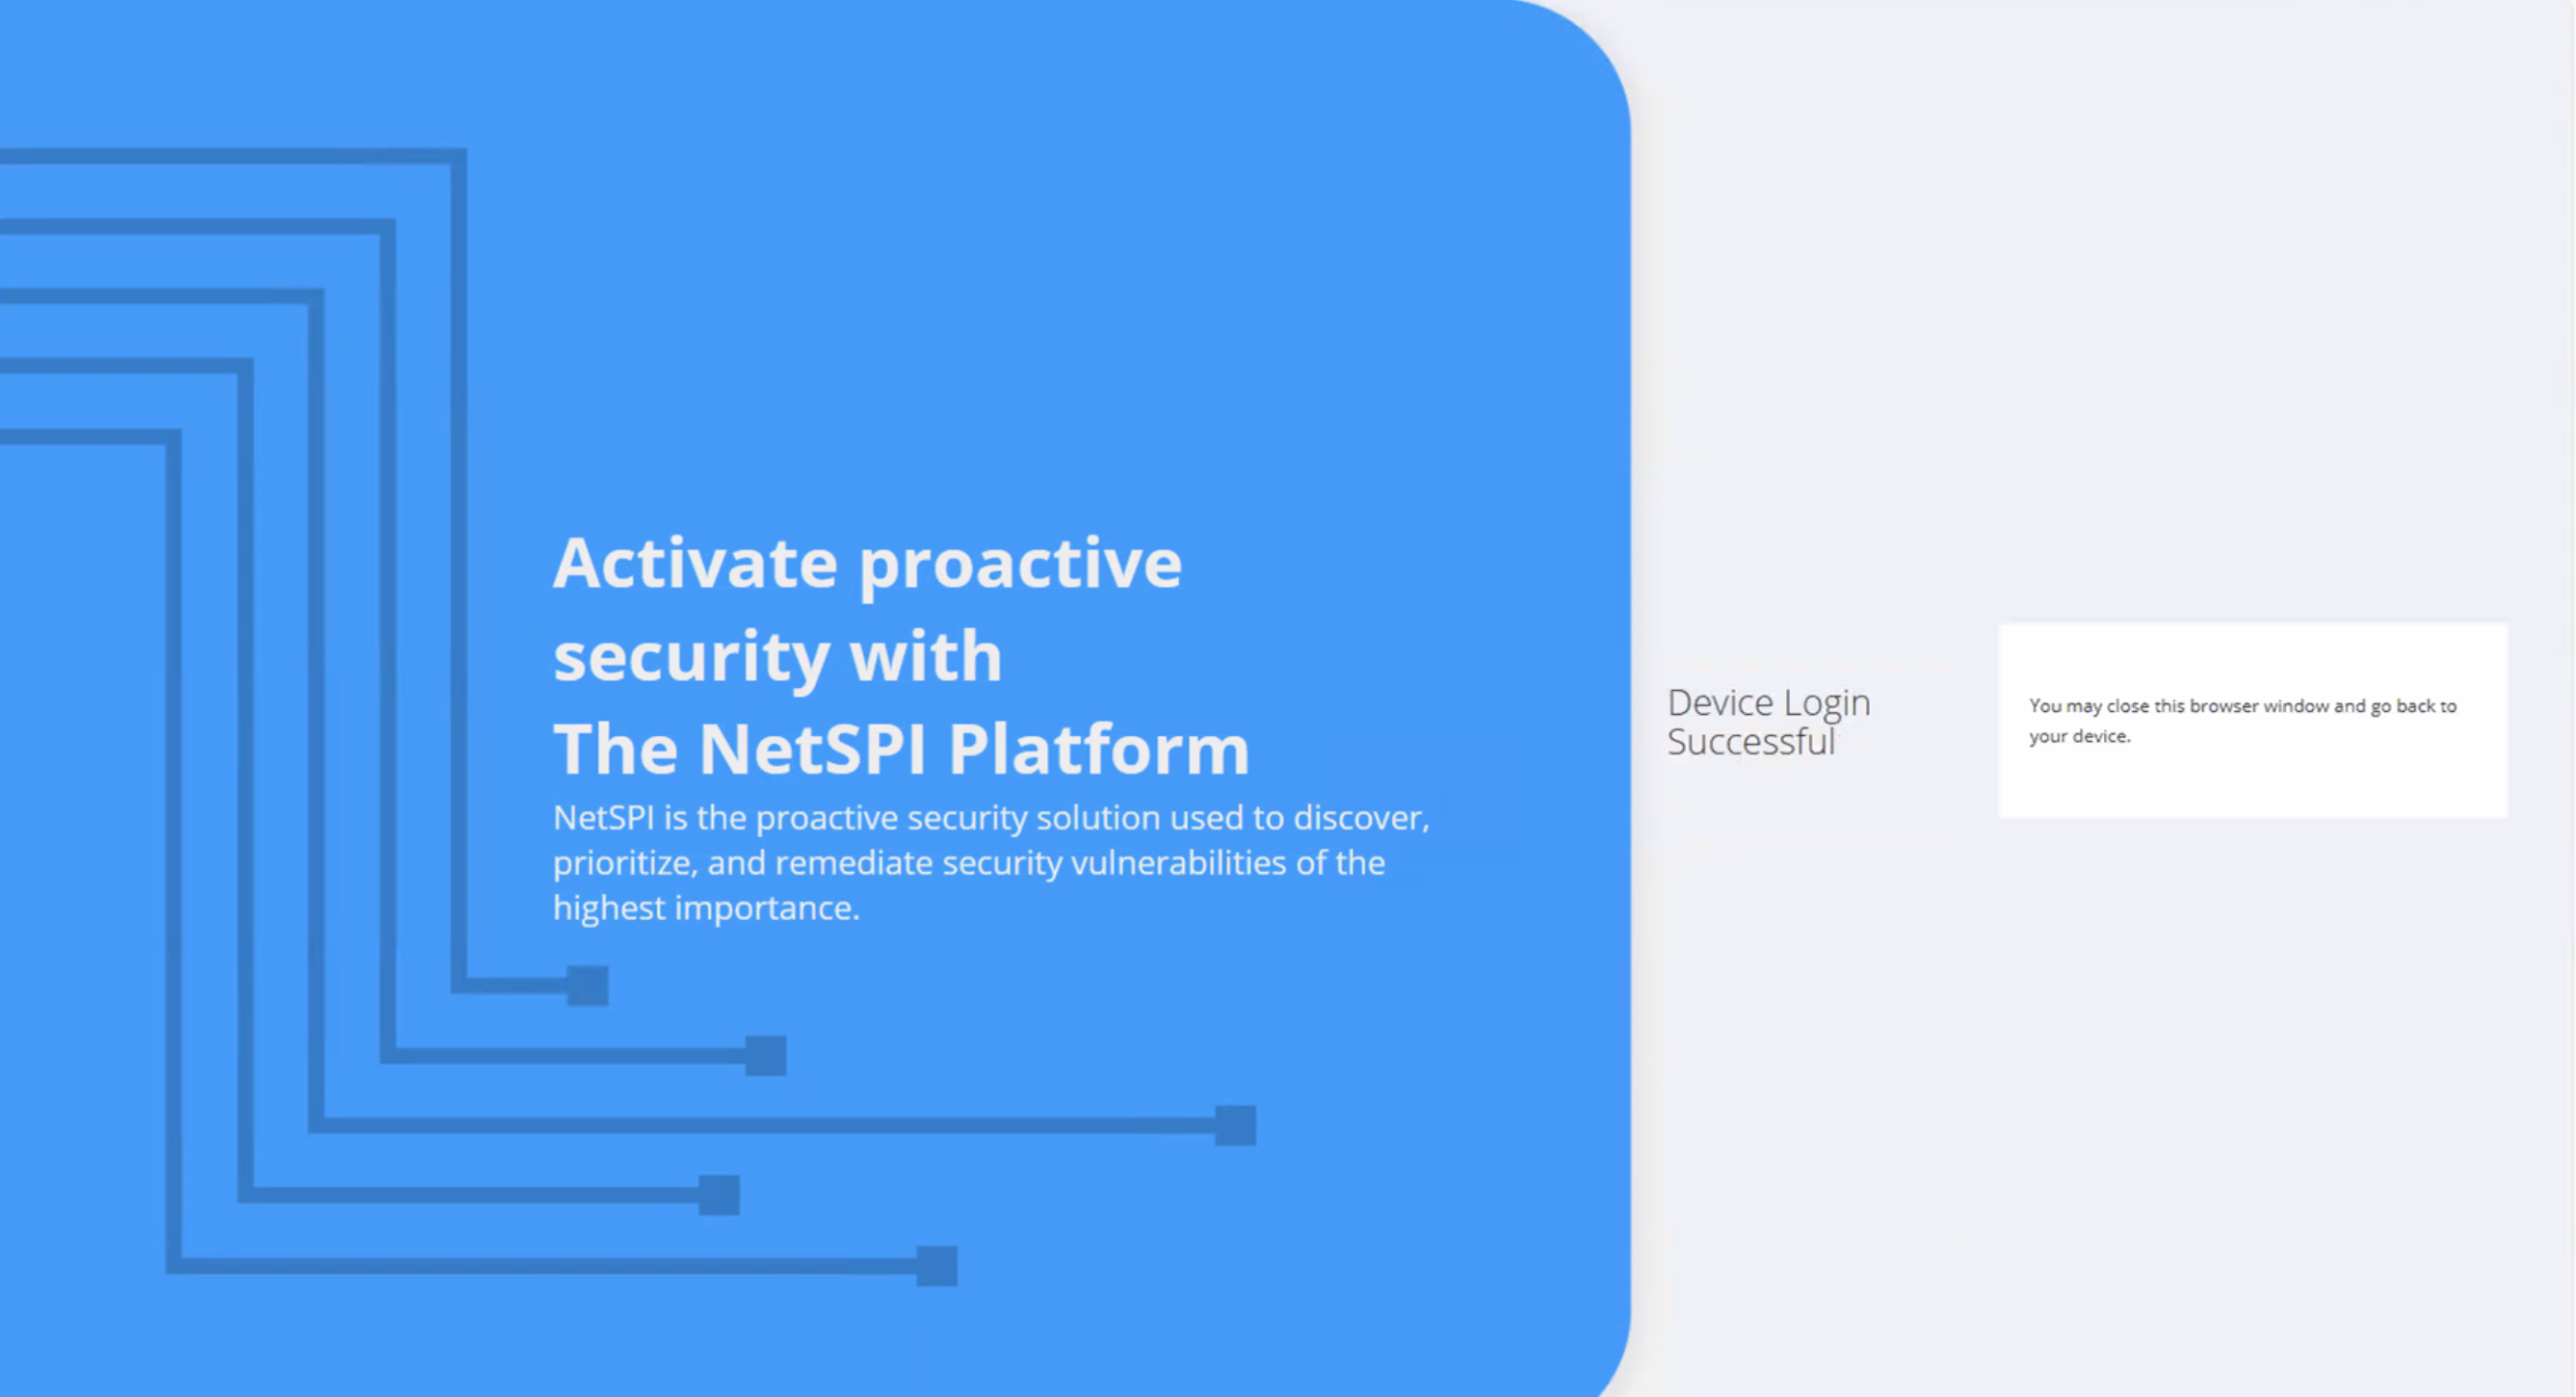
Select Yes to confirm BAS Agent access and a Device Login Successful message displays and you redirected to the BAS Agent screen.
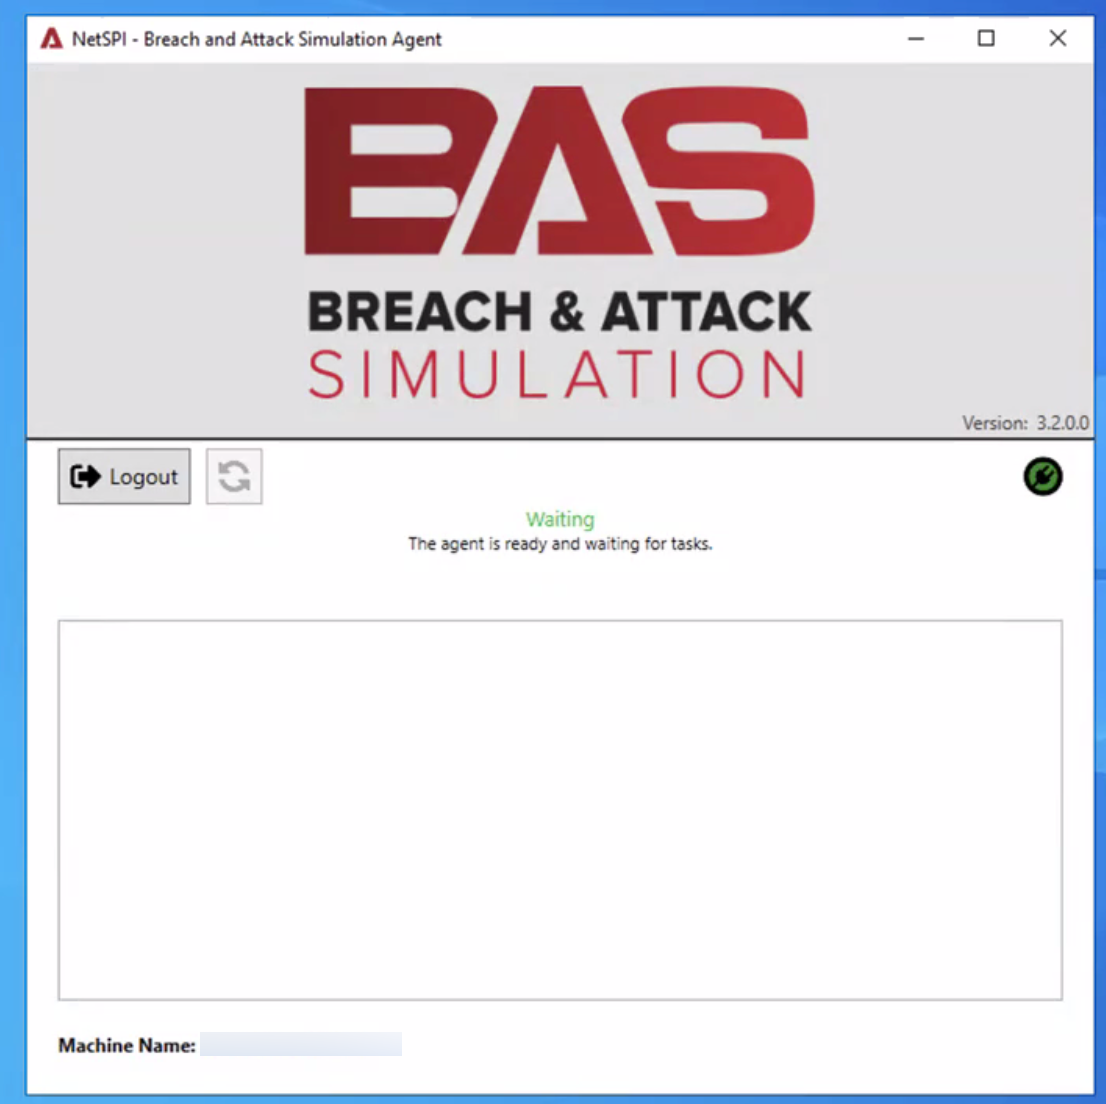
Navigate back to the BAS Agent screen, where a message indicates it is ready for tasks.
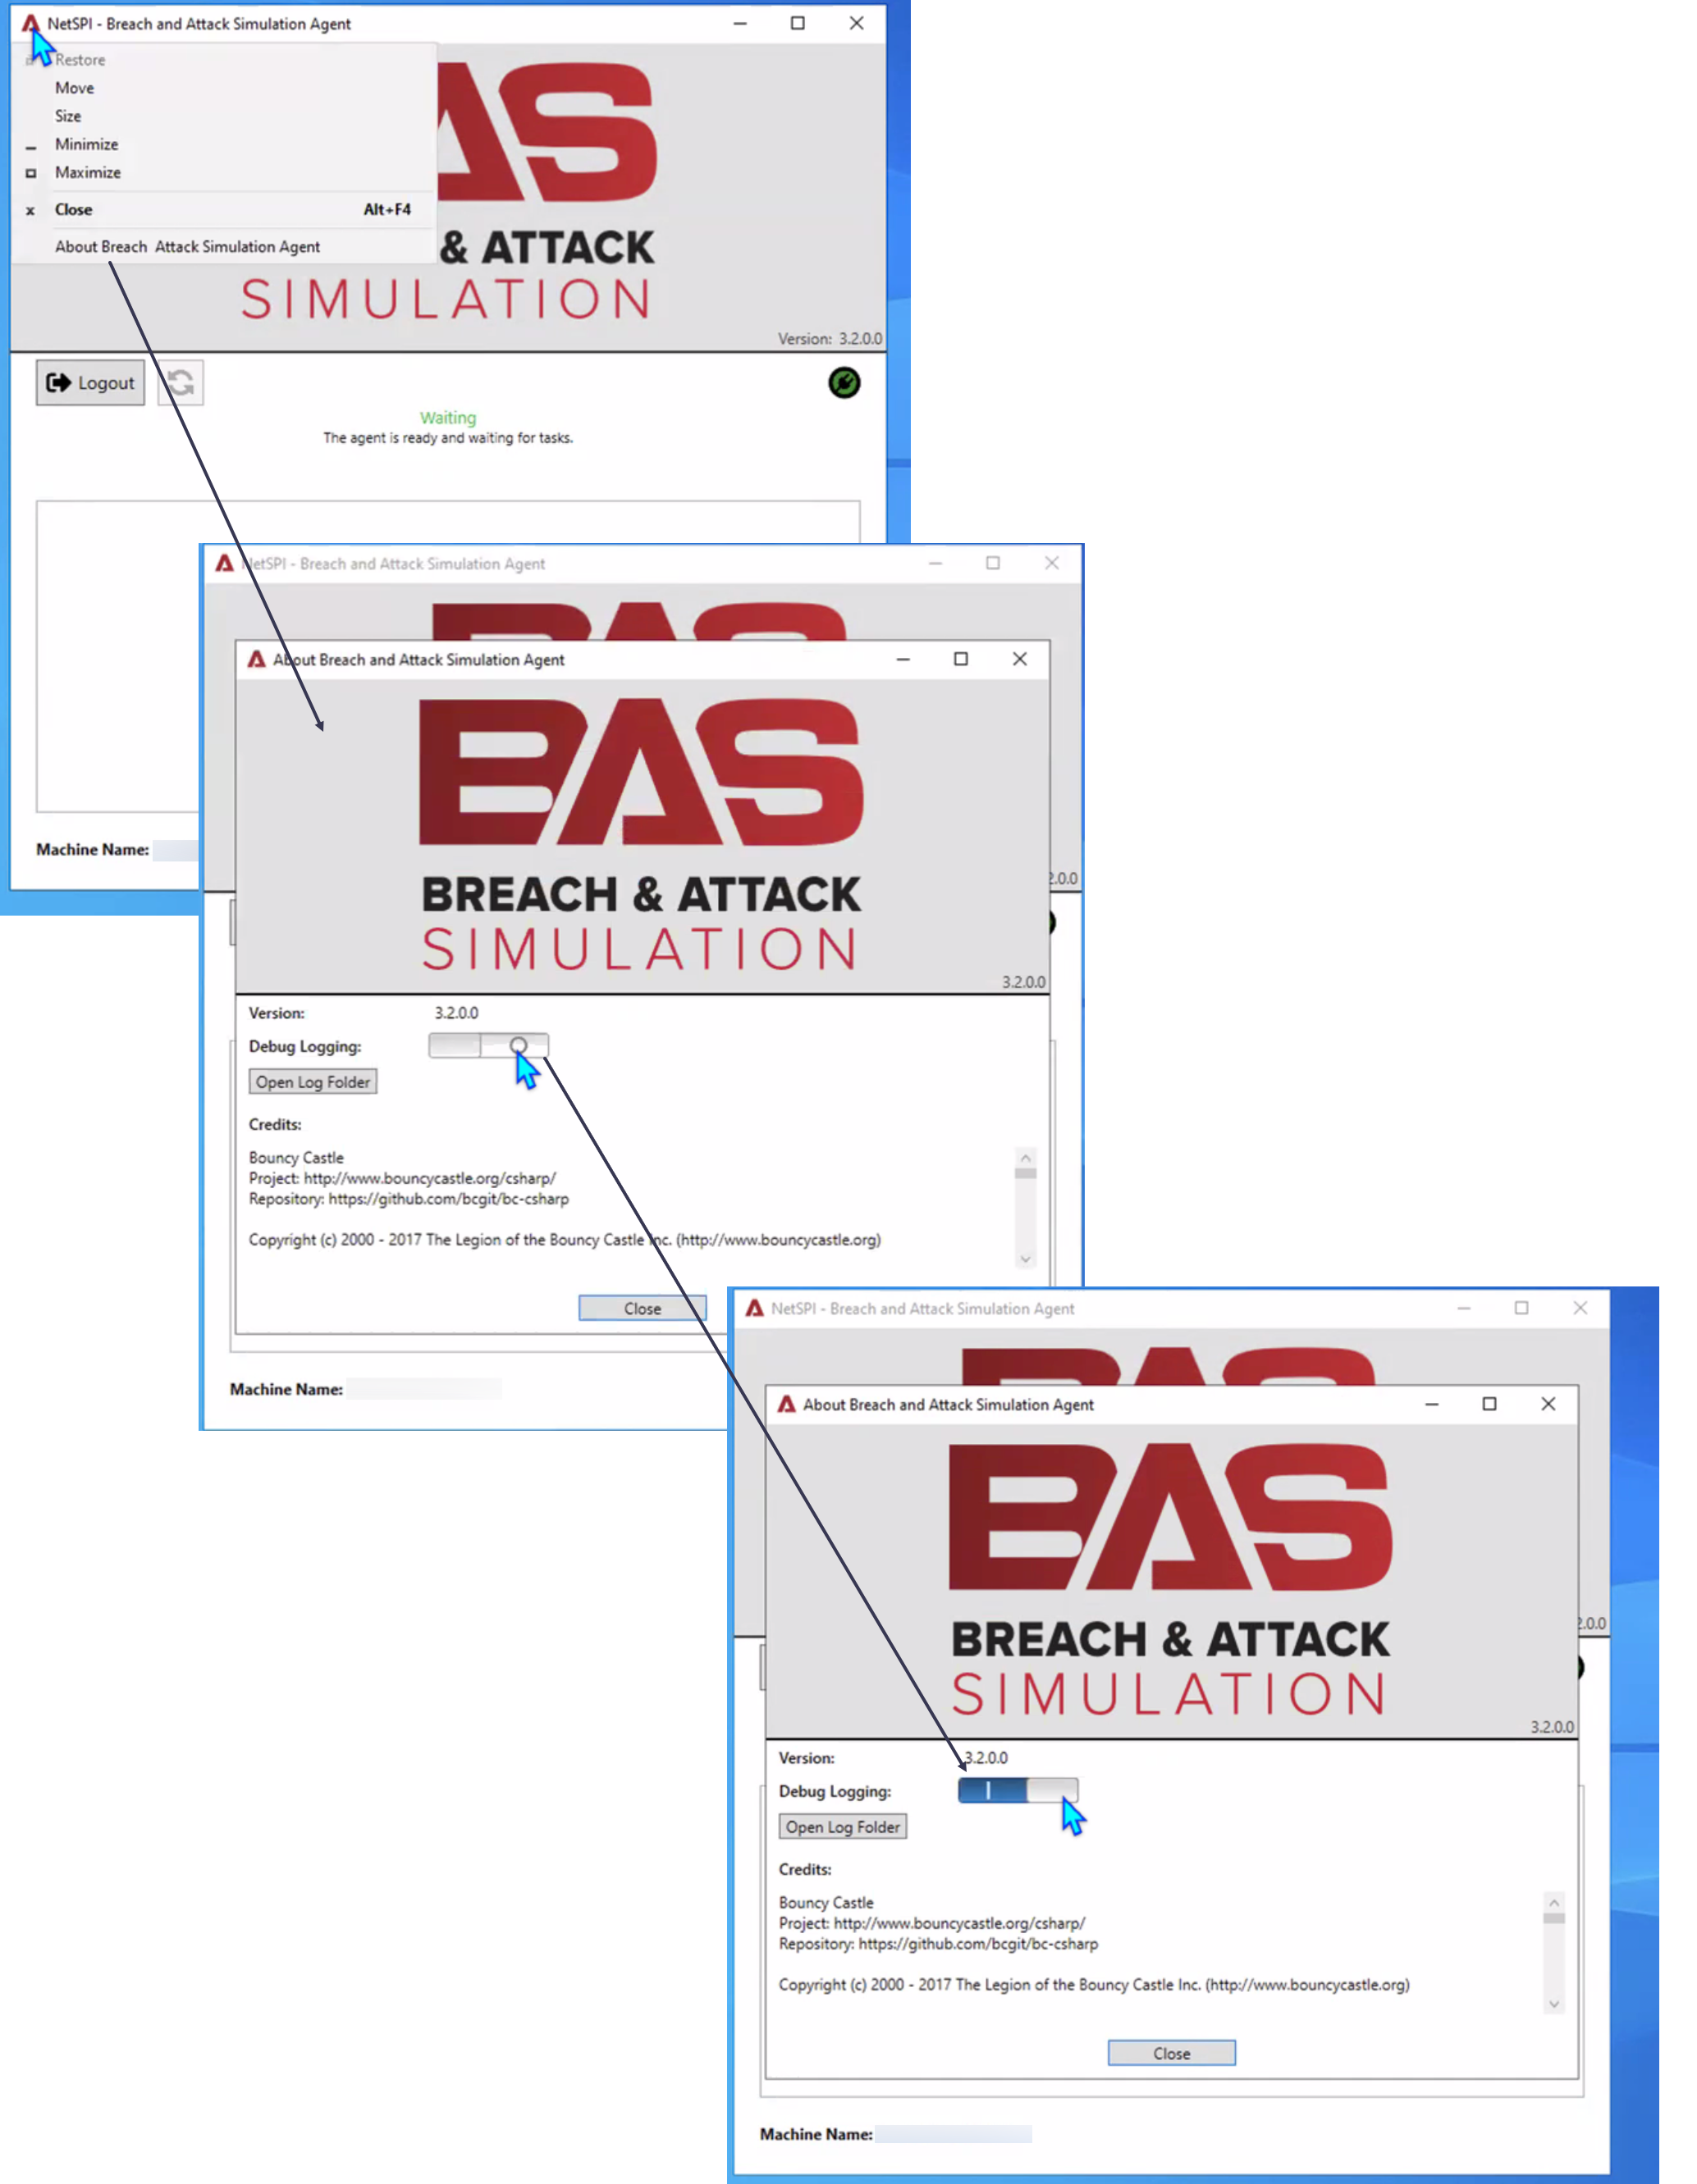
If you want to configure logging for the BAS Agent, select the BAS Agent icon in the top left corner of the BAS Agent screen to select About Breach Attack Simulation Agent, then select the Debug Logging toggle button to enable logging.