#
Notification management
To help streamline your workflow and filter out any unnecessary noise, the NetSPI Platform allows you to customize your notifications. When a new user account is created, all notifications are enabled by default.
To configure the notifications the NetSPI Platform can send you:
Select your name in upper right of the NetSPI Platform page and then select Notification Settings to display the Notification Settings page.
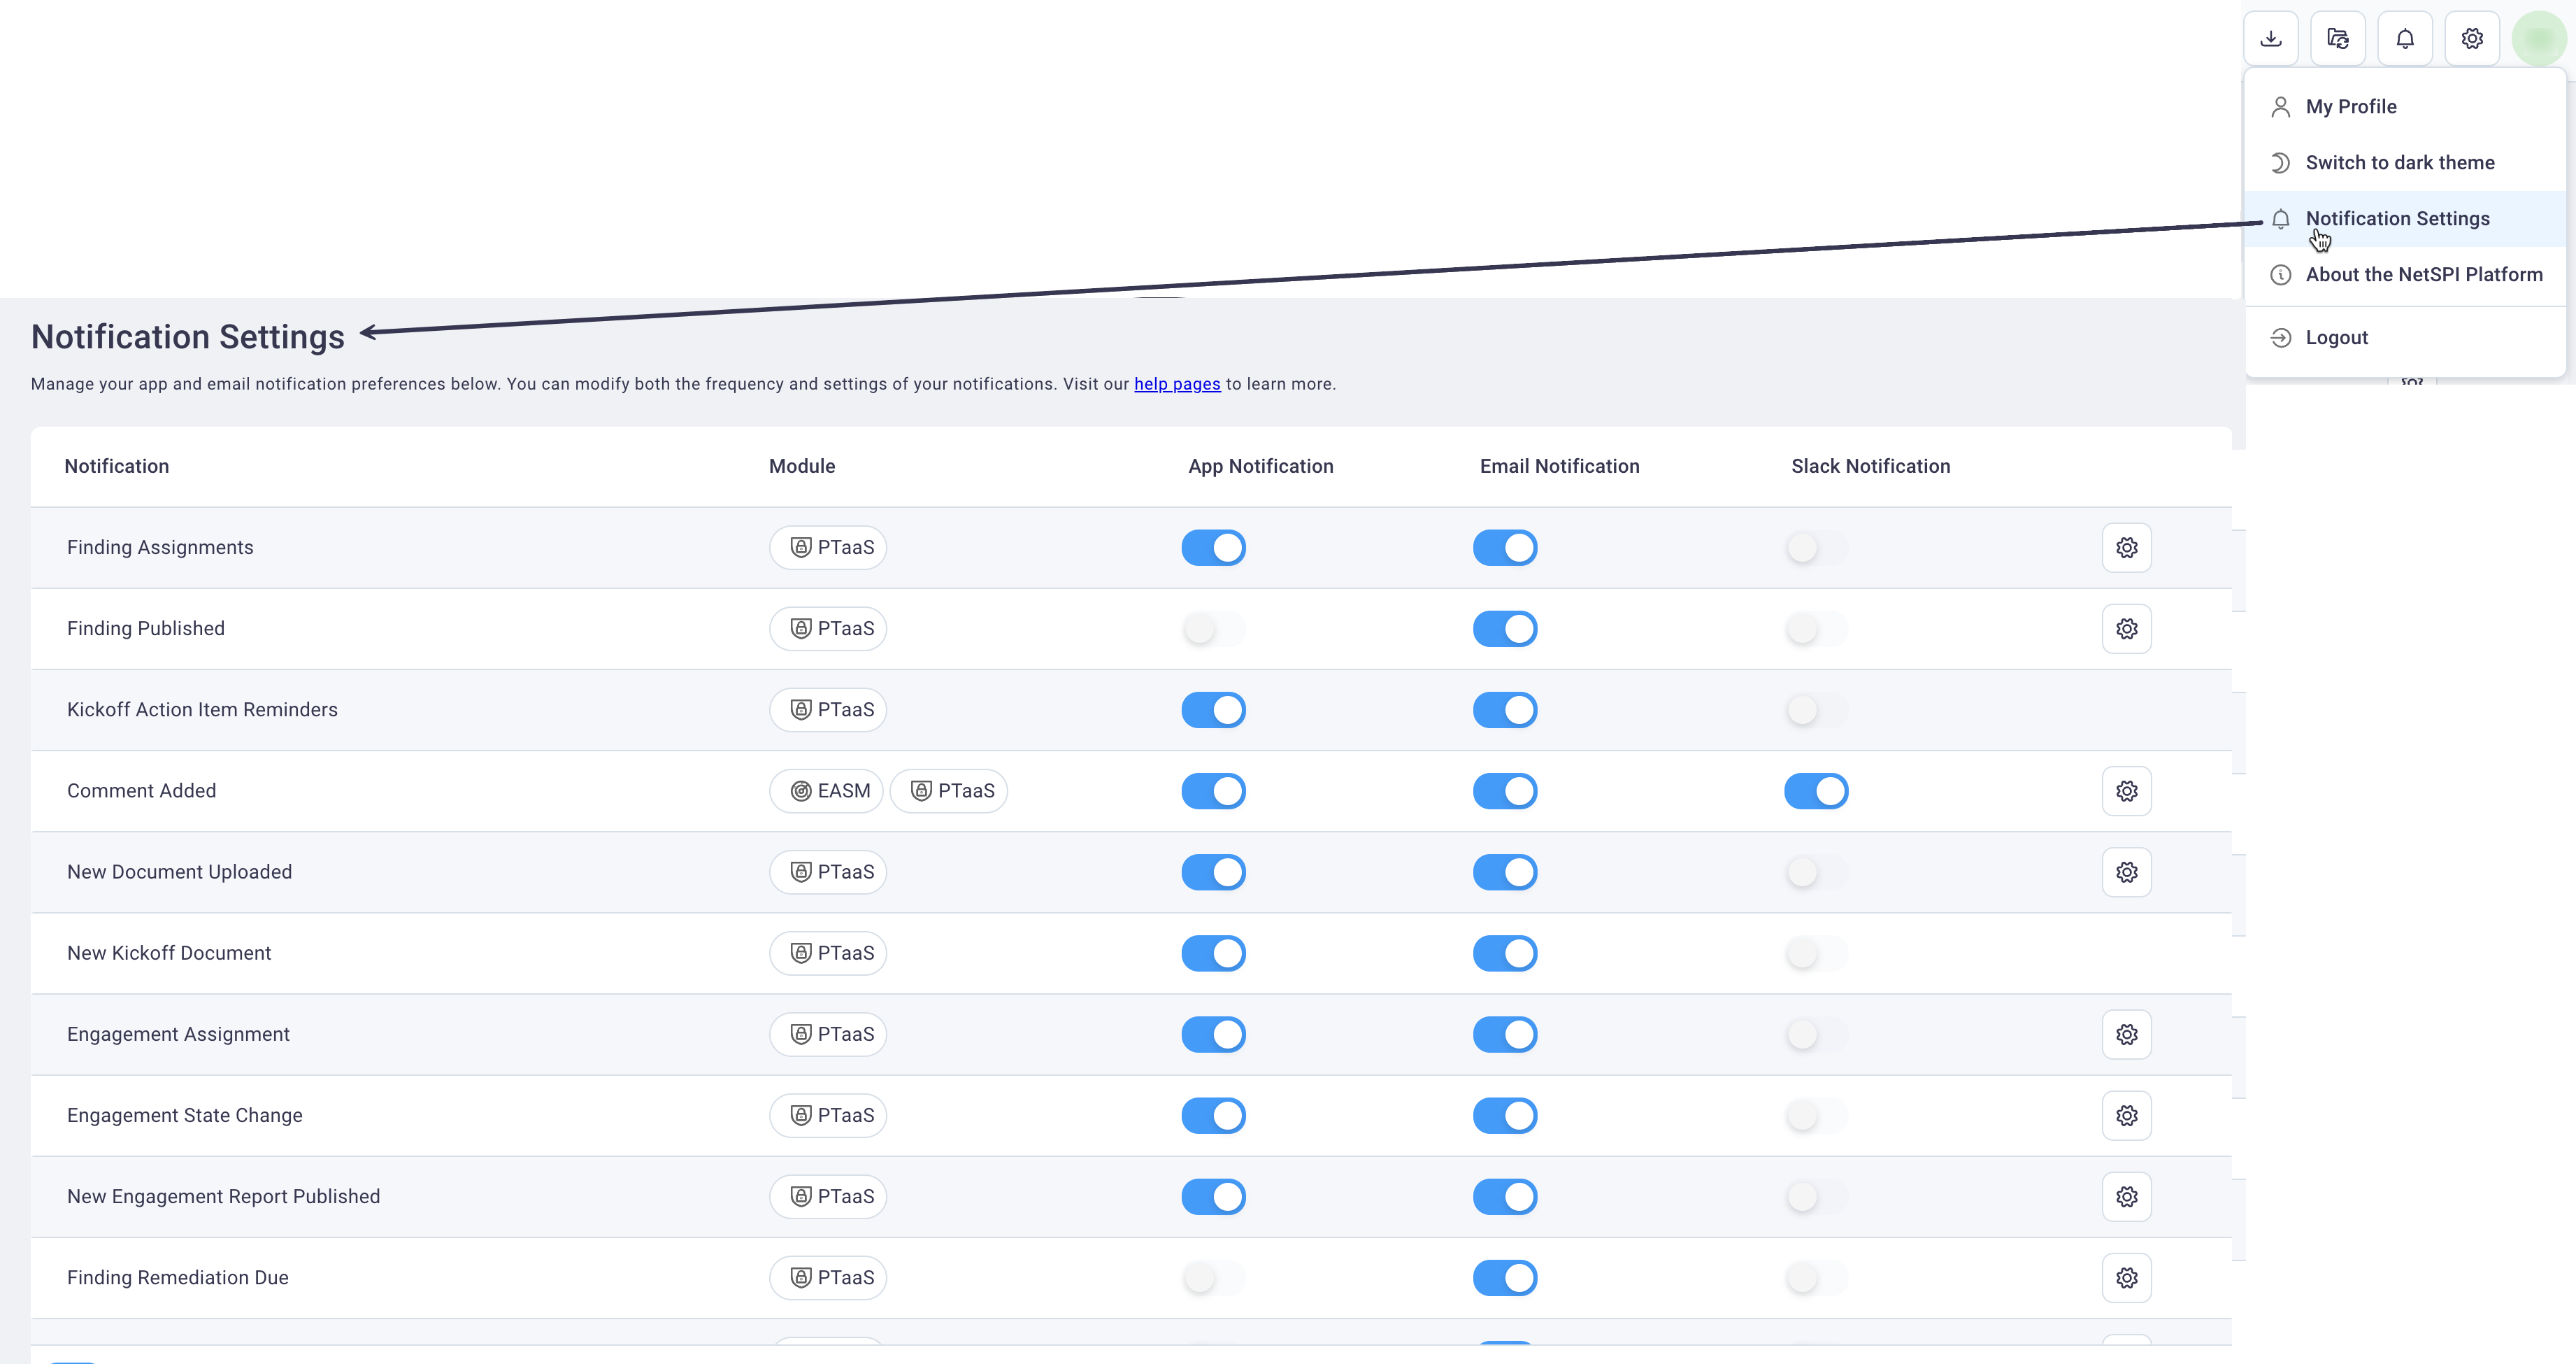
Move the slider for each NetSPI Platform notification type to receive notifications (blue) or not (gray). You can choose to receive notification in the NetSPI Platform only and/or to receive notifications to your email associated with your NetSPI account.
#
Email frequency settings
For all notification items, you can configure how often you receive email notifications.
Select the gear icon (if available) at the end of the Notification to display the Notification Configuration dialog box.
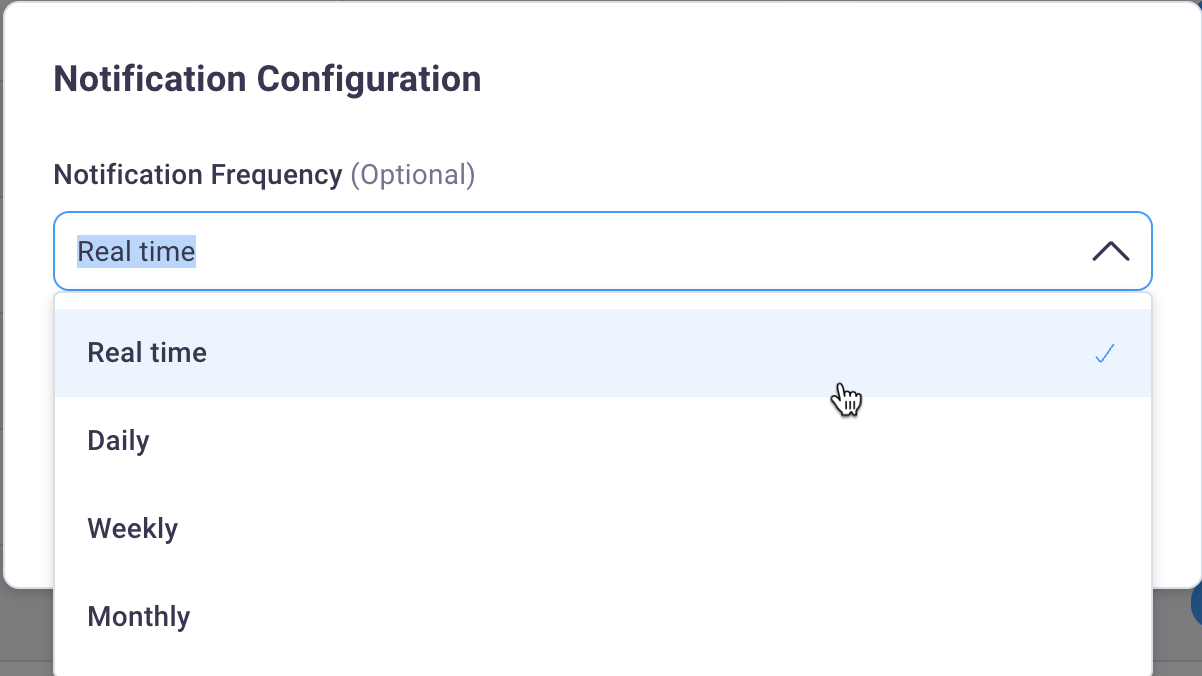
Options that display for email frequency will vary by notification type.
Select the frequency from the Notification Frequency drop-down list.
Use the table below as a guide for how often you want to receive notifications.
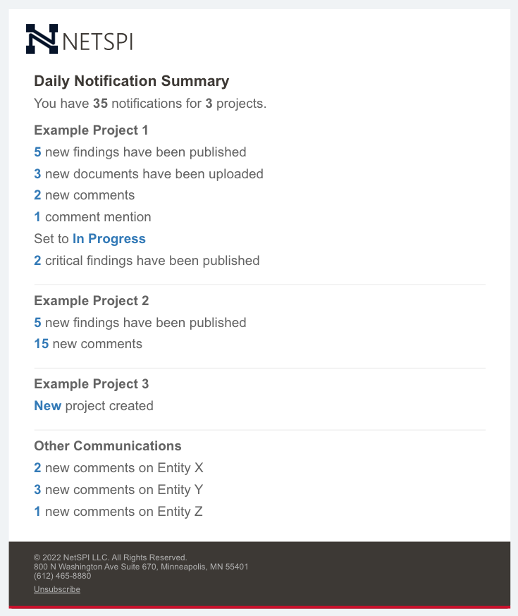
Sample notification:
#
Using comment mentions
If you want to reach a specific person at your organization or at NetSPI, use the NetSPI Platform’s comment mentions.
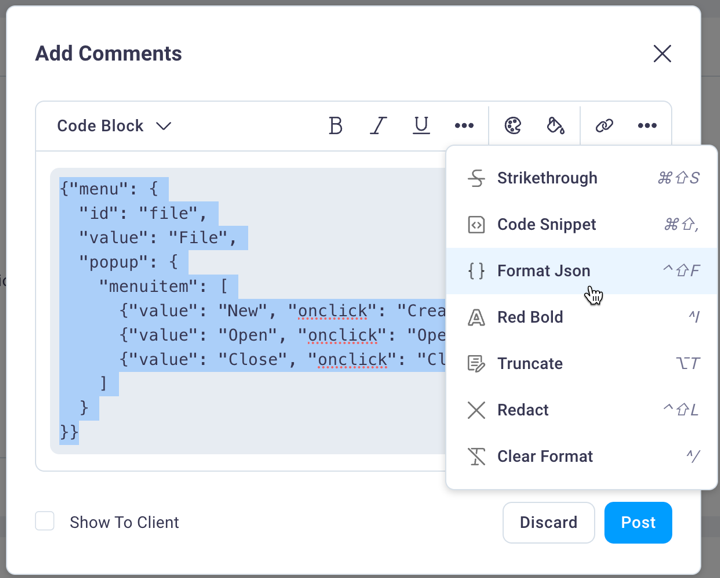
Add Comments dialog boxes are available throughout the NetSPI Platform. Selecting the + icon displays the Add Comments dialog box where you can enter comments or notes related to the section of the Platform where you select it.
Enter "@" and the first few letters of the person’s name you would like to tag in your comment. Their name should appear in the auto-selection drop-down list where you can select it.
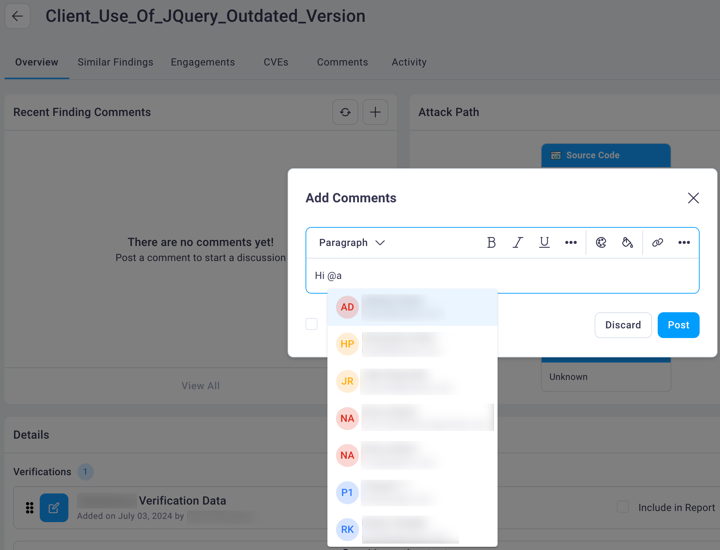
Enter any further comment information you’d like to share and select the Post button to save the comment. The person you included in the comment will receive a notification as long as they configured their Notification Settings to notify them when a comment is added.
You can apply formatting to your comments in any Add Comments dialog box. Select the meatballs menu to display further formatting options and their keyboard shortcuts.