Search, sort, and filter tables
You can apply filters to and modify the appearance of table rows to help you view and locate records.
- Access a page with a table.
- Perform any of the following tasks using the directions outlined below.
Search table rows
-
Above the table, enter the search text in the search field.

The search is applied, and the search filter option appears above the table. -
To remove the search, select the X for that search entry.
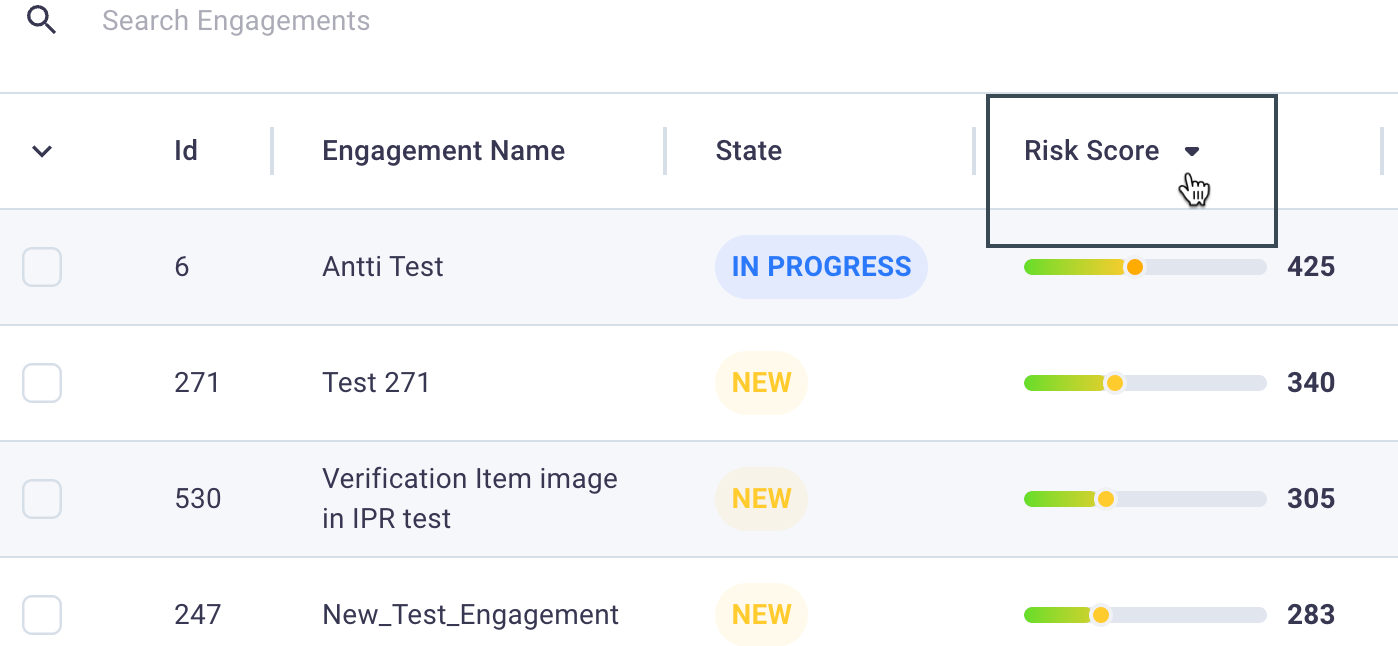
Sort rows
Select any table header and then select the up/down arrow toggle to sort by that attribute.
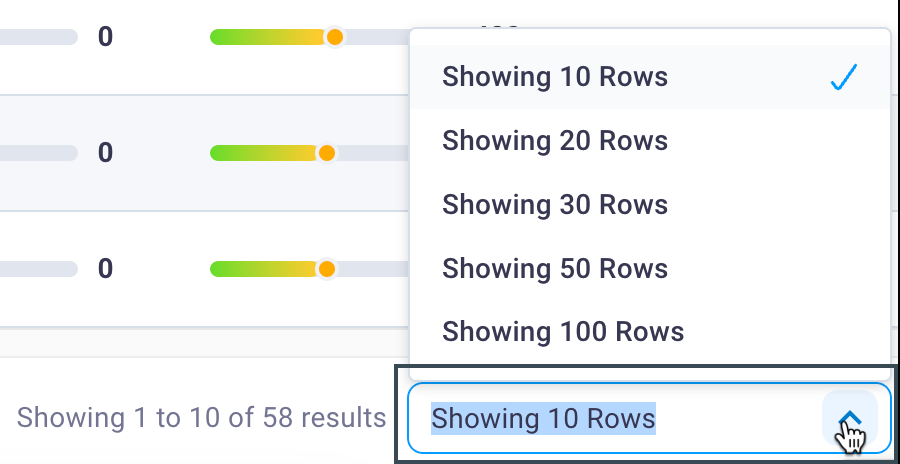
Modify the rows that display
Below the table, select the Rows Per Page drop-down menu to set the number of rows that display per table page.
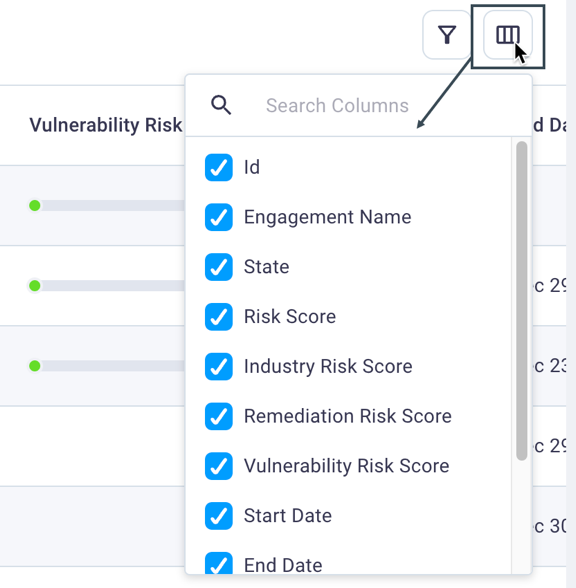
Configure column heading display
-
Select the Table icon to display the column selector.
-
Select and clear column checkboxes to configure which columns display or don’t display in the table. Selected column checkboxes will cause those columns to display.
-
Click anywhere on the page outside of the column selector to display the table with your configuration applied.
You can select the Restore Default Columns link to reset the table's columns to their original, default state. See the User Profile section of this guide for the option to restore all tables throughout the NetSPI Platform to their default state all at once.
Apply a new filter
-
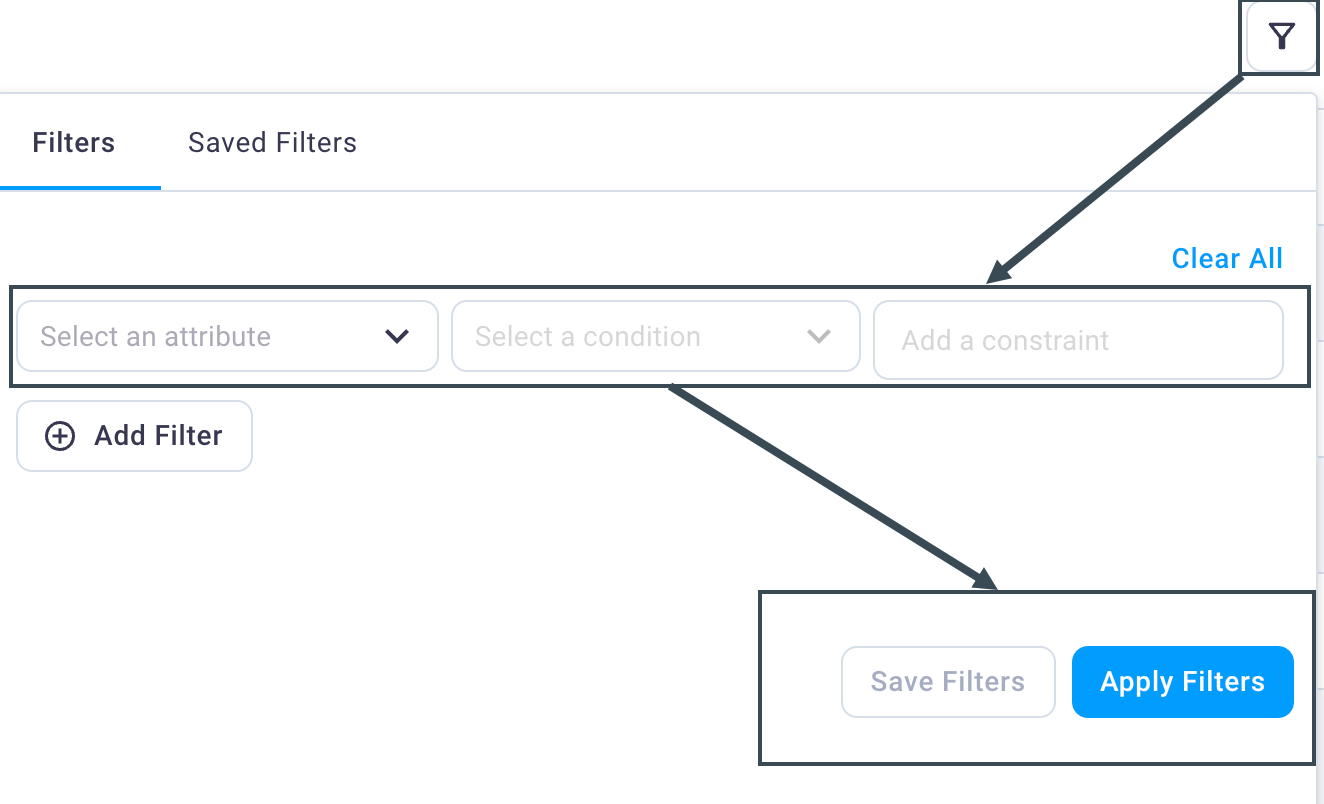
Select the filter icon above the table’s top right corner to display the Filters dialog box. Be sure focus is on the Filters tab.
-
Select values from the drop-down field menus to select the column and condition.\
Some attributes have system-defined values, such “State” (i.e. New, In Progress, etc.) that display as a drop-down list from the Add a constraint field. Selecting attributes do not have system-defined values allow you to enter freeform text in the Add a constraint field.
-
Select the Add Filter button to add additional constraints.
-
Select Apply Filters to close the Filters dialog box and display the table with the filters applied.
Remove an active filter
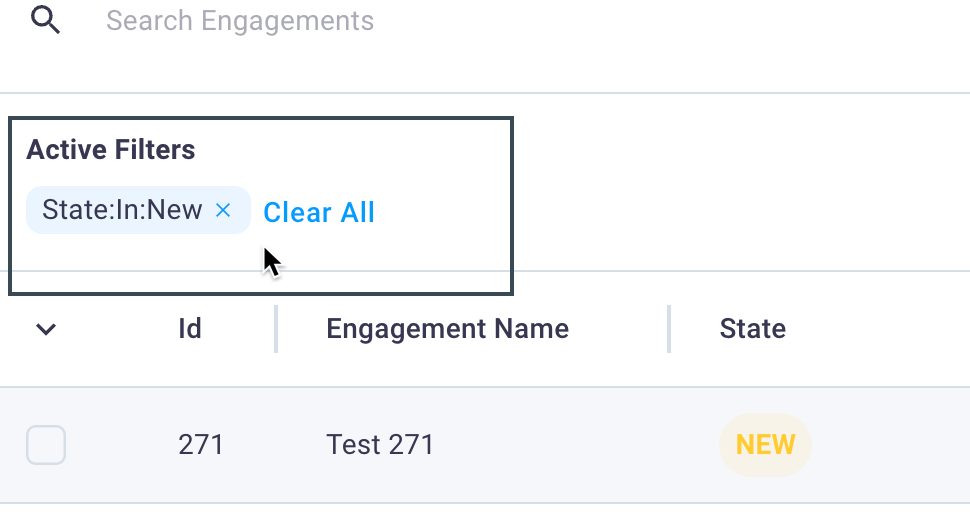
Select the X in the Active Filters display above the table’s left corner to remove any applied filters.
Save applied filters as a preset
Use the steps below to save a filter that can be reused at your convenience.
-
Follow the steps to create a new filter as described in
Apply a new filter above but instead of selecting the Apply Filters button, select the Save Filters button.
This displays the Save filter dialog box.

-
Enter a name for the filter in the Name of filter field and select Save Filter.
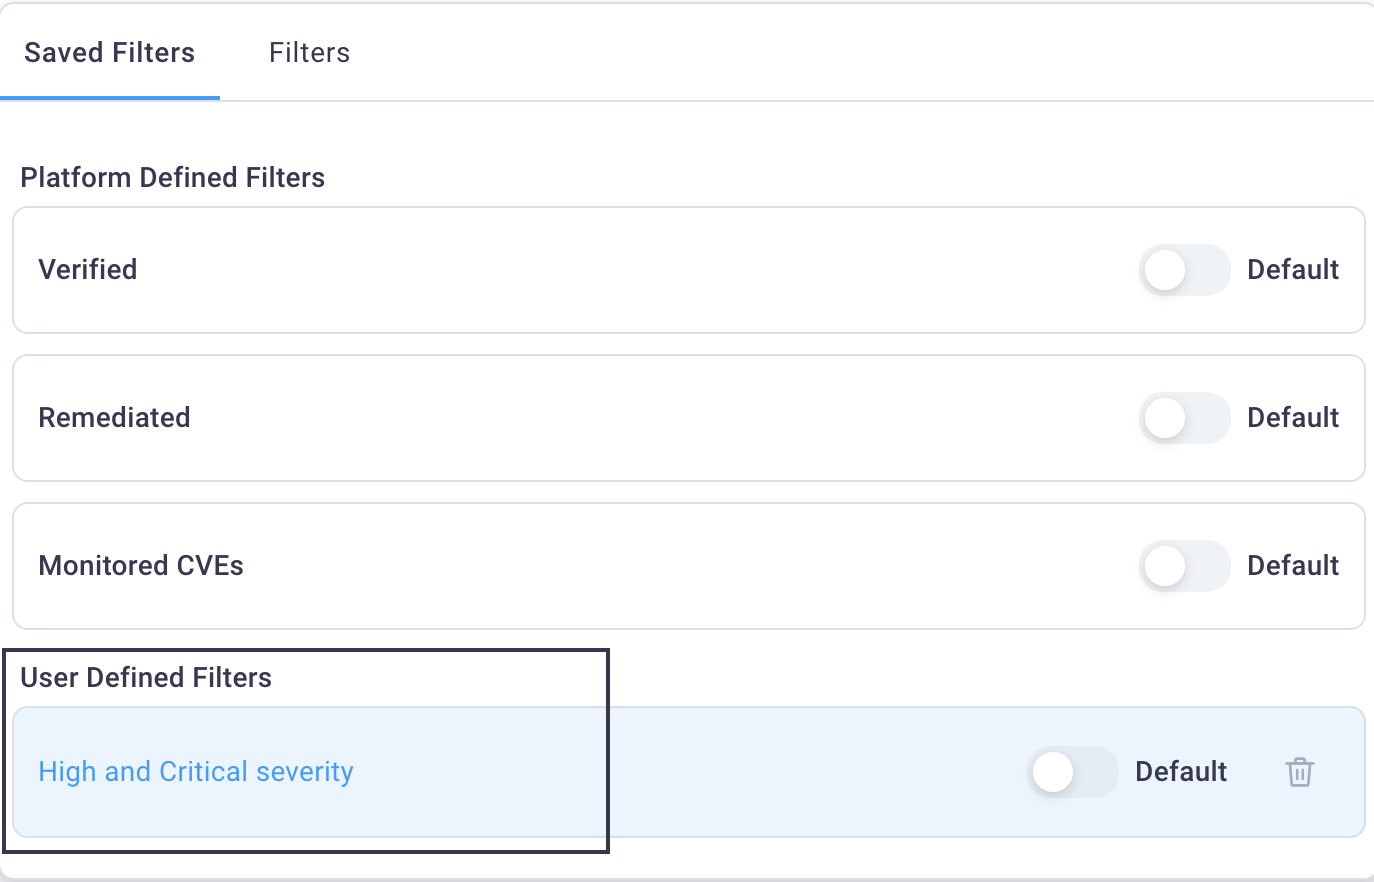
Now when you select the Filter icon and the Saved Filters tab is in focus, your saved filter displays under the User Defined Filters section of the list.
Apply a preset filter
-
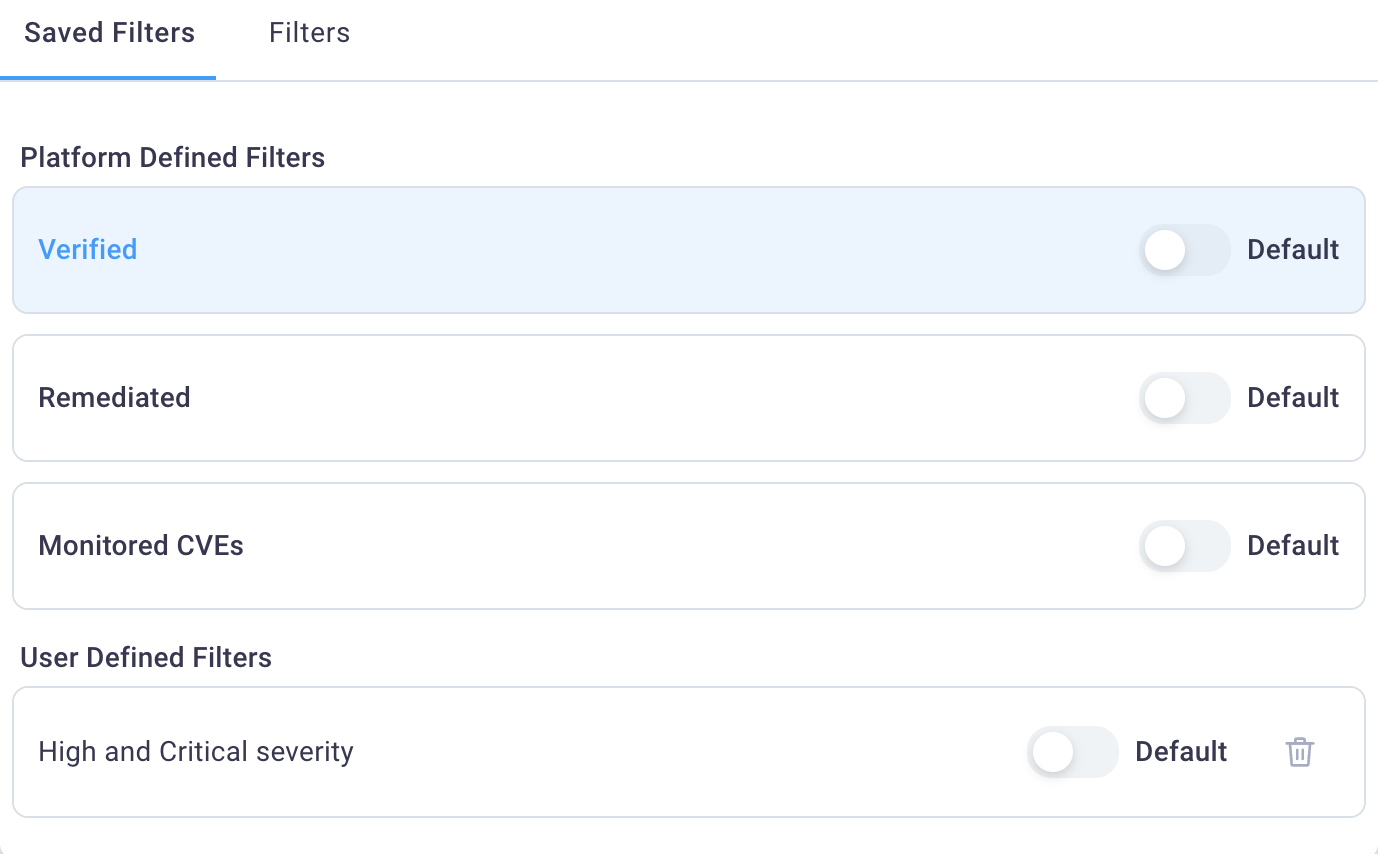
Select the Filter icon to display the Filter dialog box with the Saved Filters tab in focus.
-
Select any Platform-defined filter or User-defined filter to close the Filters dialog box and display the table with that filter applied.
Delete a preset filter
-
Select the Filter icon to display the Filters dialog box with the Saved Filters tab in focus.
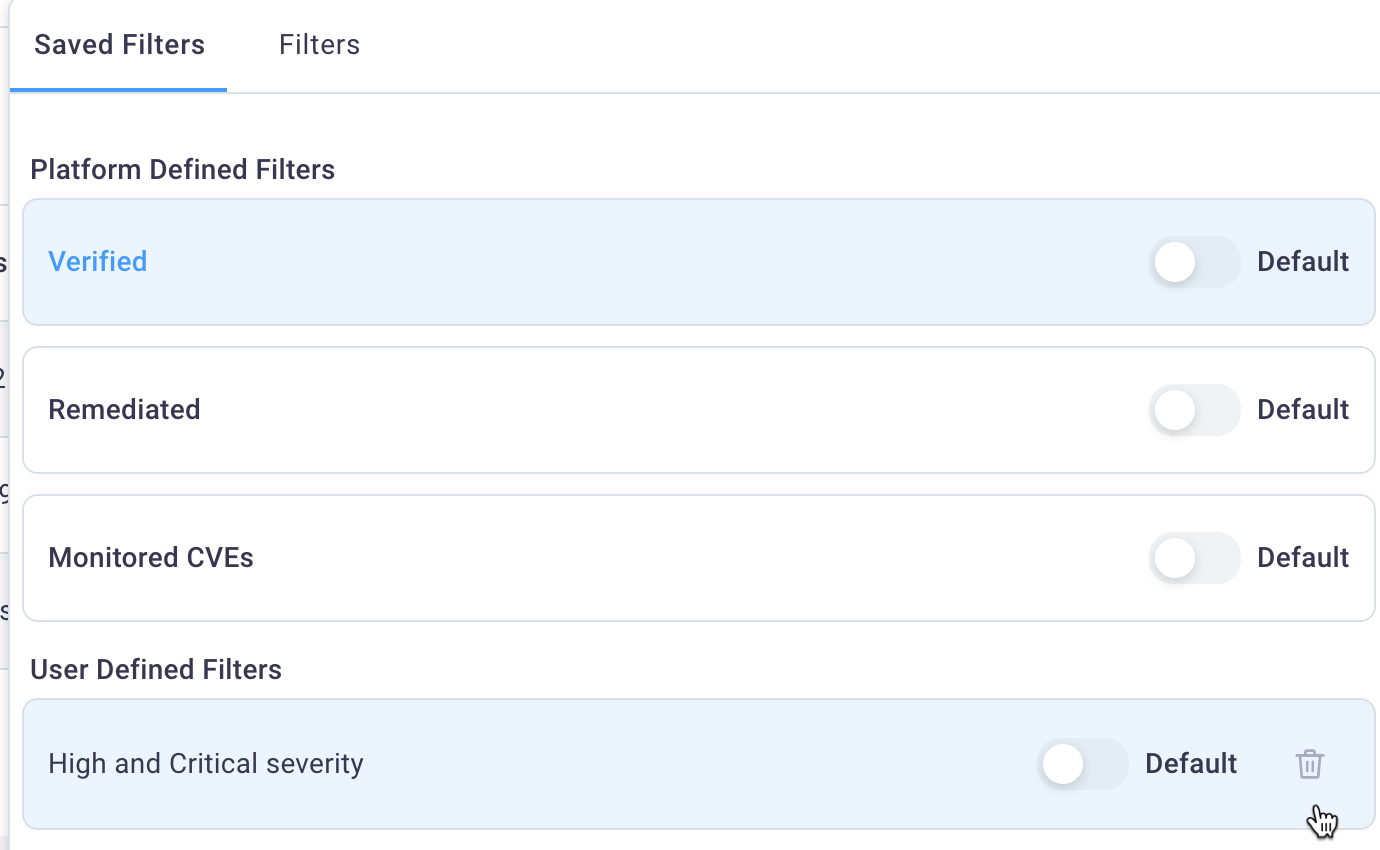
-
Select the Delete icon on the same row as the saved filter to immediately delete it.
-
Click outside the Filters dialog box to close it. If the filter had previously been applied to the table, you may need to select the Clear all link to remove the currently-filtered table.

Copy table text
Any text that displays in a table is available for copying and pasting.
-
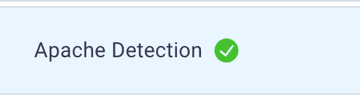
Hover over the text in a NetSPI Platform table to display the copy icon.
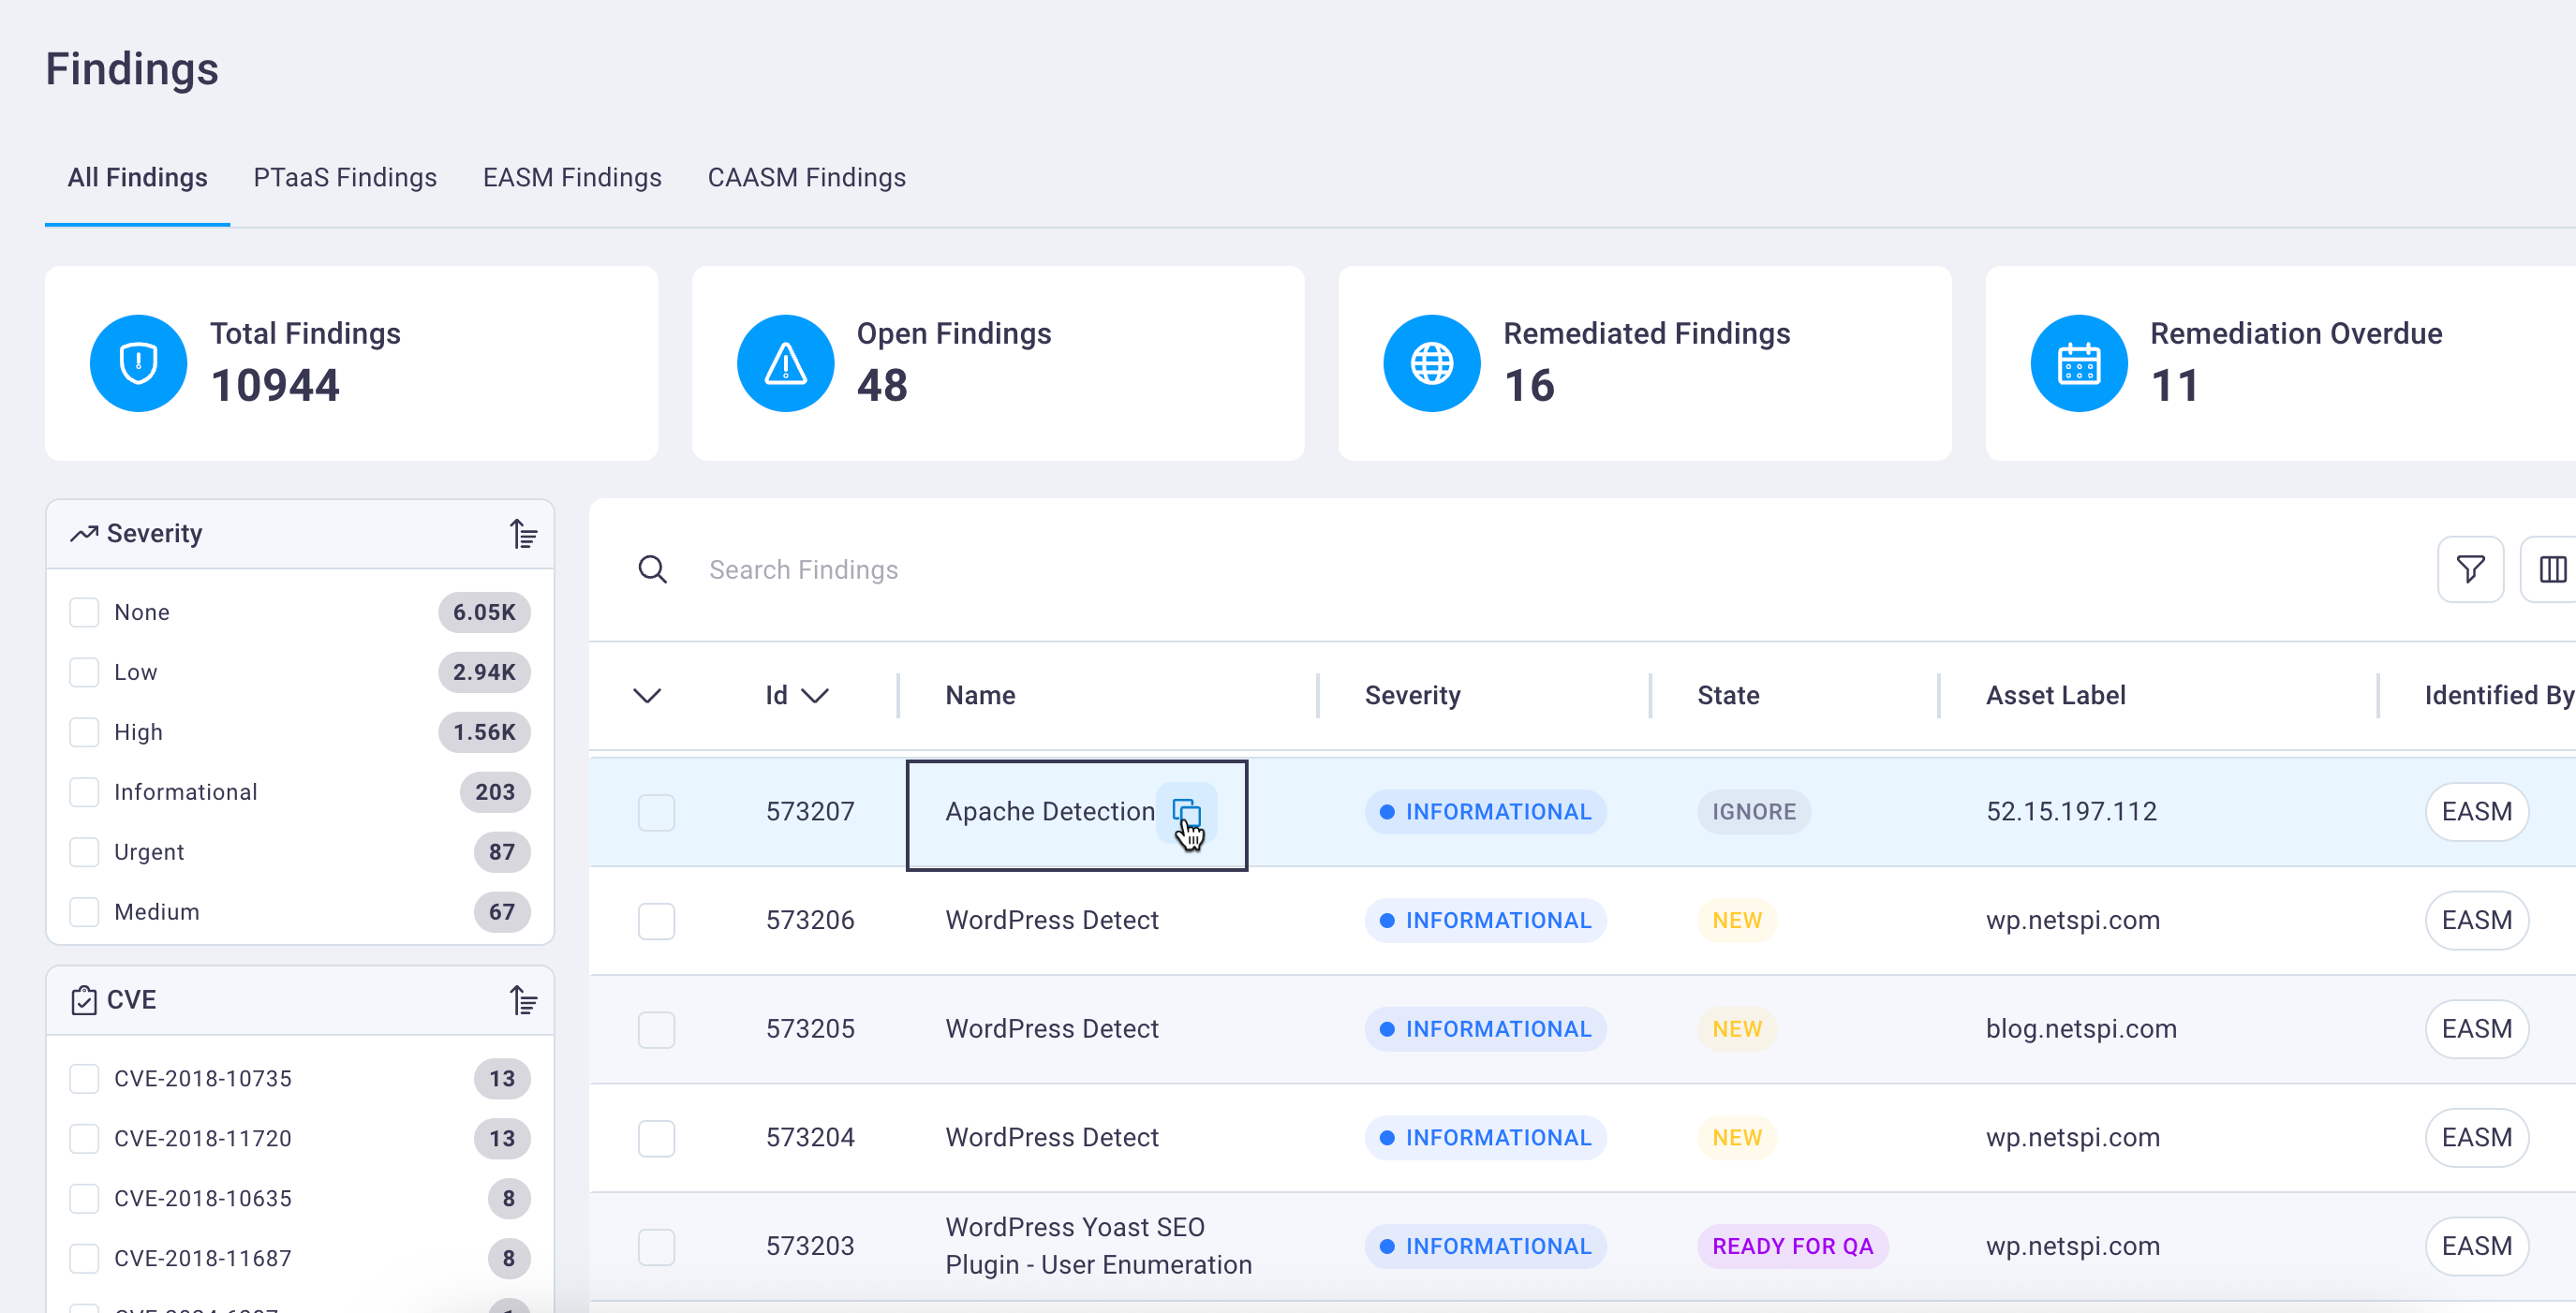
-
Select the copy icon to copy that text to your clipboard so that it can be pasted elsewhere. A green icon with a checkmark displays to visually confirm the text has been copied to your clipboard.