#
Set Allowed Login IPs
The Set Allowed Login IPs page is where you configure the domain and optional IPs that your organization's NetSPI Platform users may use when logging into the platform.
Use the steps below to configure the allowed domains and IPs for your organization.
Select the Settings icon
 to display the Settings page.
Select the Set Allowed Login IPs card to display the Set Allowed Login IPs page.

Select the Add button to display the Add IP Address dialog box.

Note: Select the Edit icon to edit an existing allow list or the Delete icon to remove an existing allow list.
Select the domain from the Domains drop-down list and optionally enter any IPs in the IP Addresses field.
Note
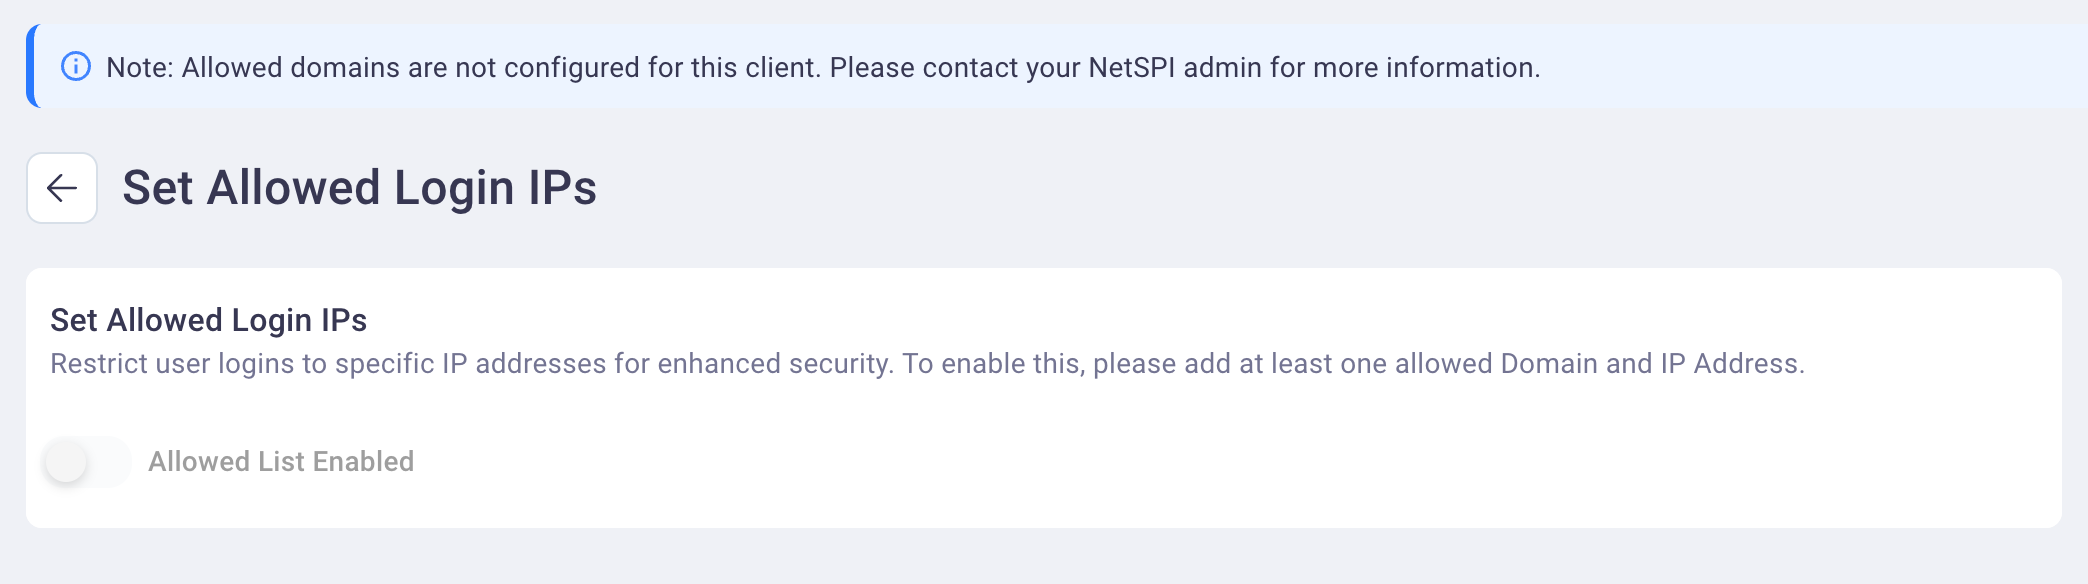
If you have not yet set allowed domains for your organization in the NetSPI Platform, the following displays on the Set Allowed Login IPs page directing you to contact your NetSPI Admin.
Select Add to save your settings. If you did not enter any optional IP addresses, then an asterisk (*) displays under saved domain name indicating that all IPs associated with that domain are allowed.
If a NetSPI Platform user from your organization attempts to log into the platform from a non-approved domain or IP address, a 403 Forbidden page displays with messaging indicating they need to log in from a valid IP address.