#
Microsoft Defender
The NetSPI Platform has a broad integration with Microsoft Defender.
This integration supports the Microsoft Defender product, which must be properly licensed in order for the integration to work.
Similar to our other integrations, the Microsoft Defender integration is read-only and does not perform actions to configure systems or otherwise change anything about your Microsoft Defencer system.
#
Supported asset types
The Microsoft Defender integration provides the NetSPI Platform visibility into the following asset types:
- Applications
- IPV4 Addresses
- Systems
- Users
#
Data run frequency
The Microsoft Defender integration pulls data every 12 hours.
#
Endpoints used
This integration needs access to the following API endpoints:
https://api.securitycenter.microsoft.com/api/machines https://api.securitycenter.microsoft.com/api/machines/{machine_id}/logonusers https://api.securitycenter.microsoft.com/api/machines/{machine_id}/recommendations https://api.securitycenter.microsoft.com/api/machines/SoftwareInventoryByMachine https://api.securitycenter.microsoft.com/api/machines/SoftwareVulnerabilitiesByMachine
#
Required permissions
This integration needs an API key with the following access permissions:
- Machine.Read.All
- User.Read.All
- SecurityRecommendation.Read.All
- Software.Read.All
- Vulnerability.Read.All
#
Configuration steps
Use the section below for configuring Microsoft Defender to integrate with the NetSPI Platform.
#
Step one: Microsoft Defender system configuration
Sign in to the Microsoft Entra ID portal (https://portal.azure.com/), and select View for the Manage Microsoft Entra ID option.
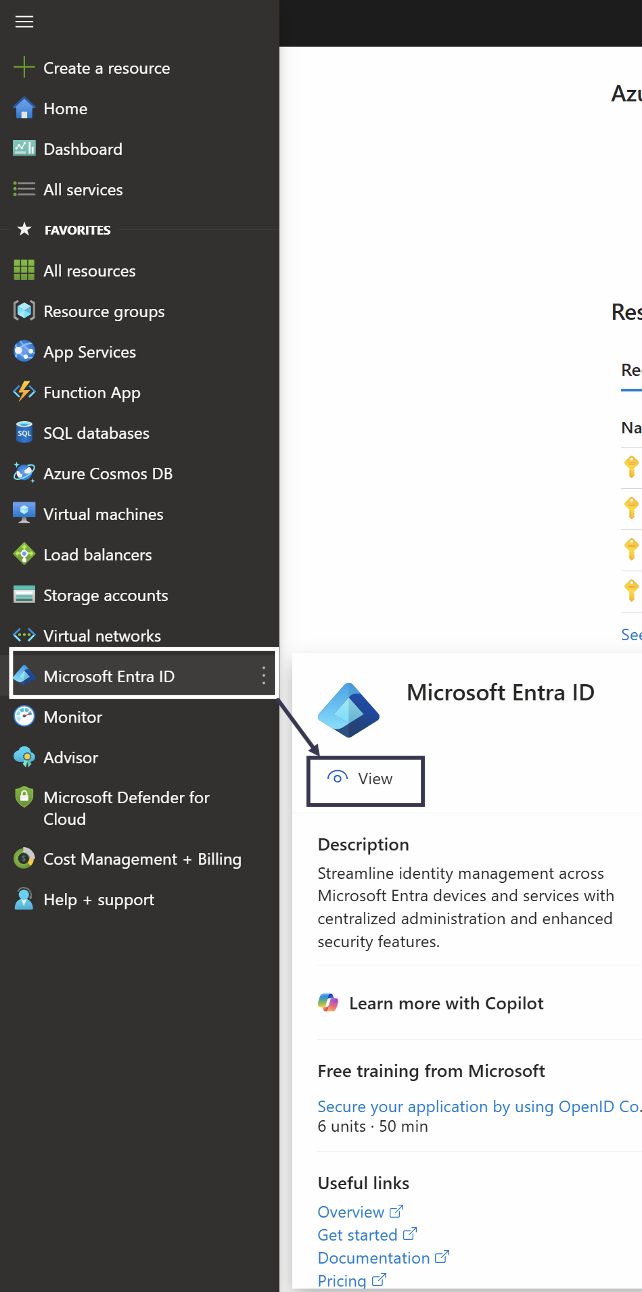
Select App registrations in the left pane.
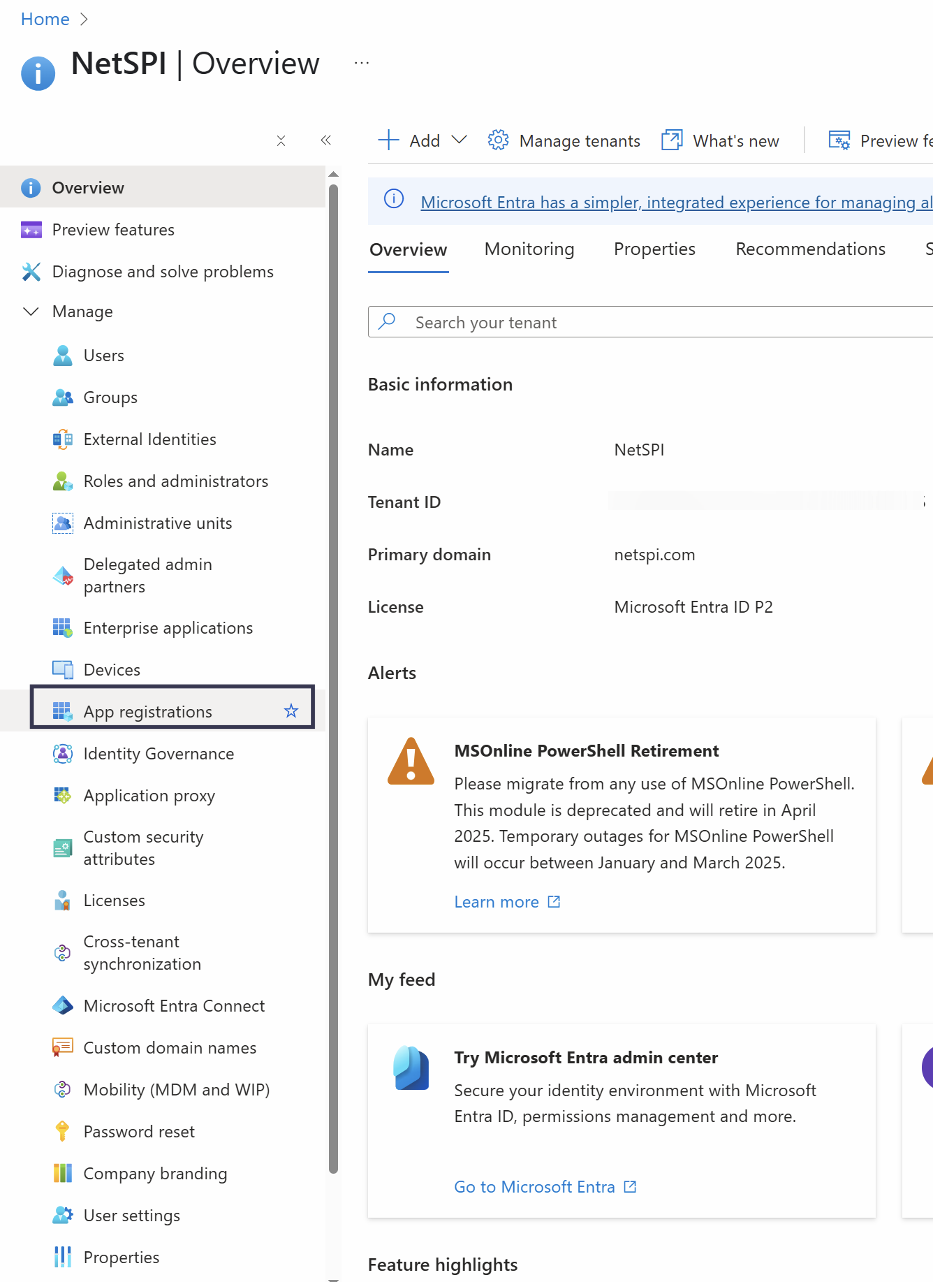
Select New registration along the top row of tabs.
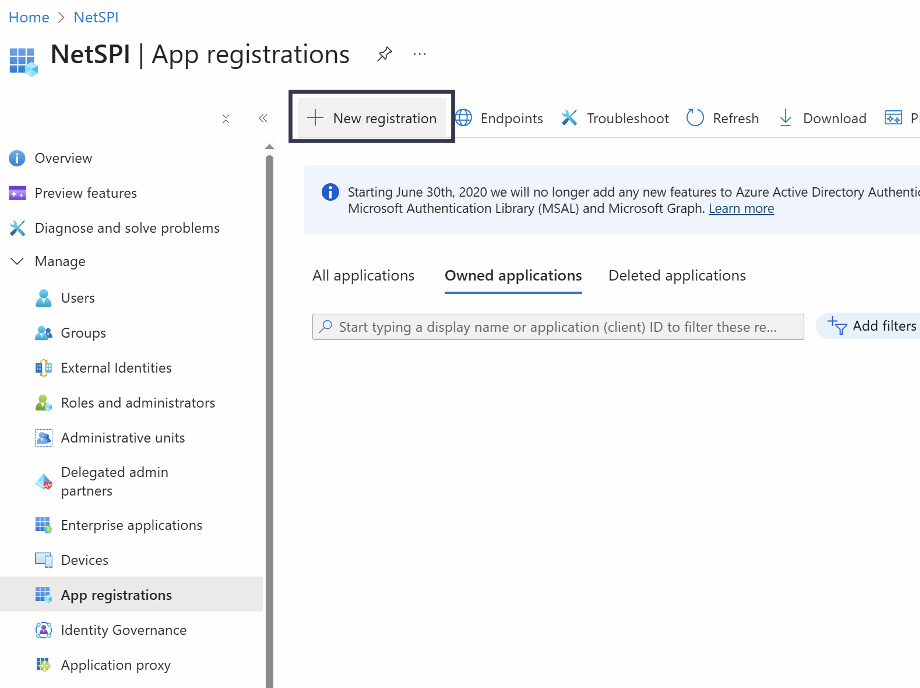
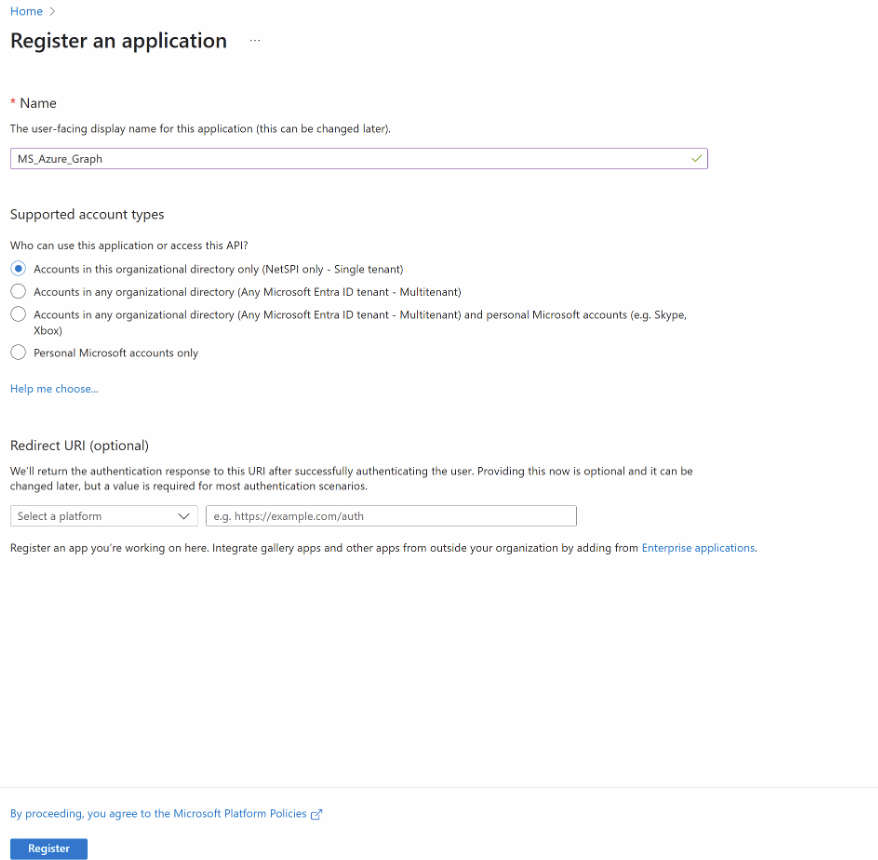
Provide a descriptive name for the registration in the Name field and select the Register button at the bottom to save
Locate your app registration on the the All Applications tab and select it to display the Preview Features information.
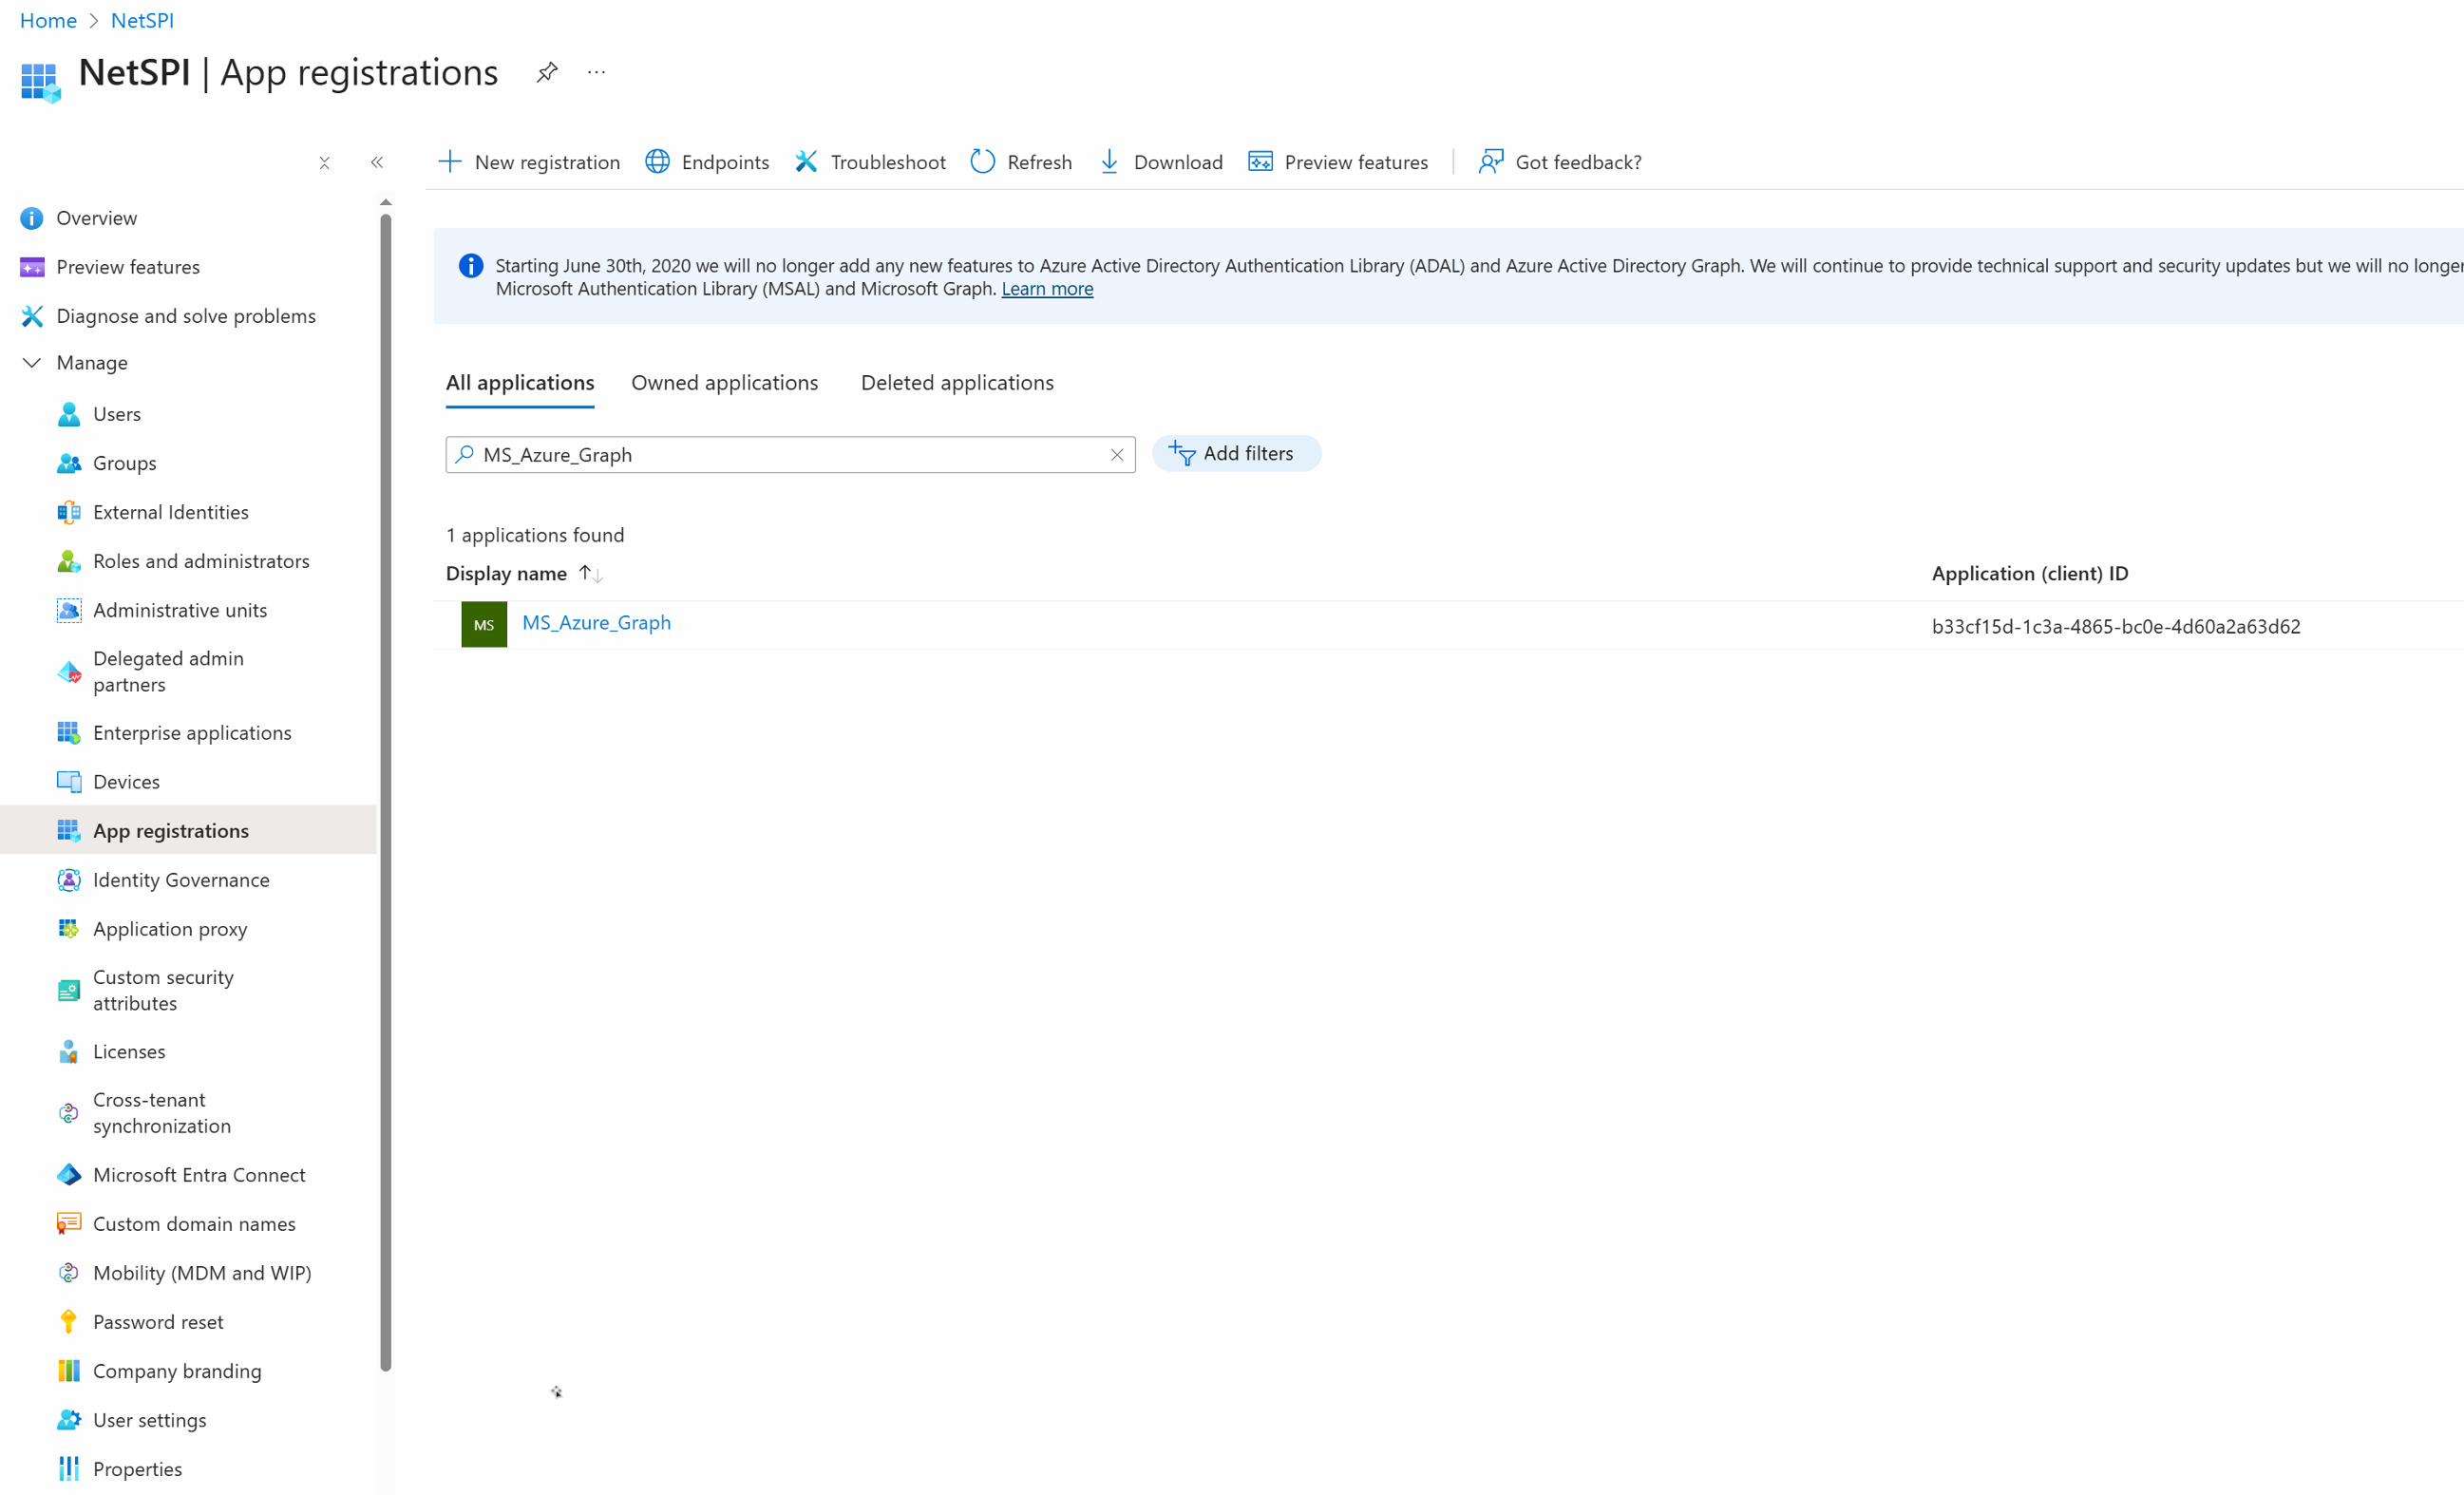
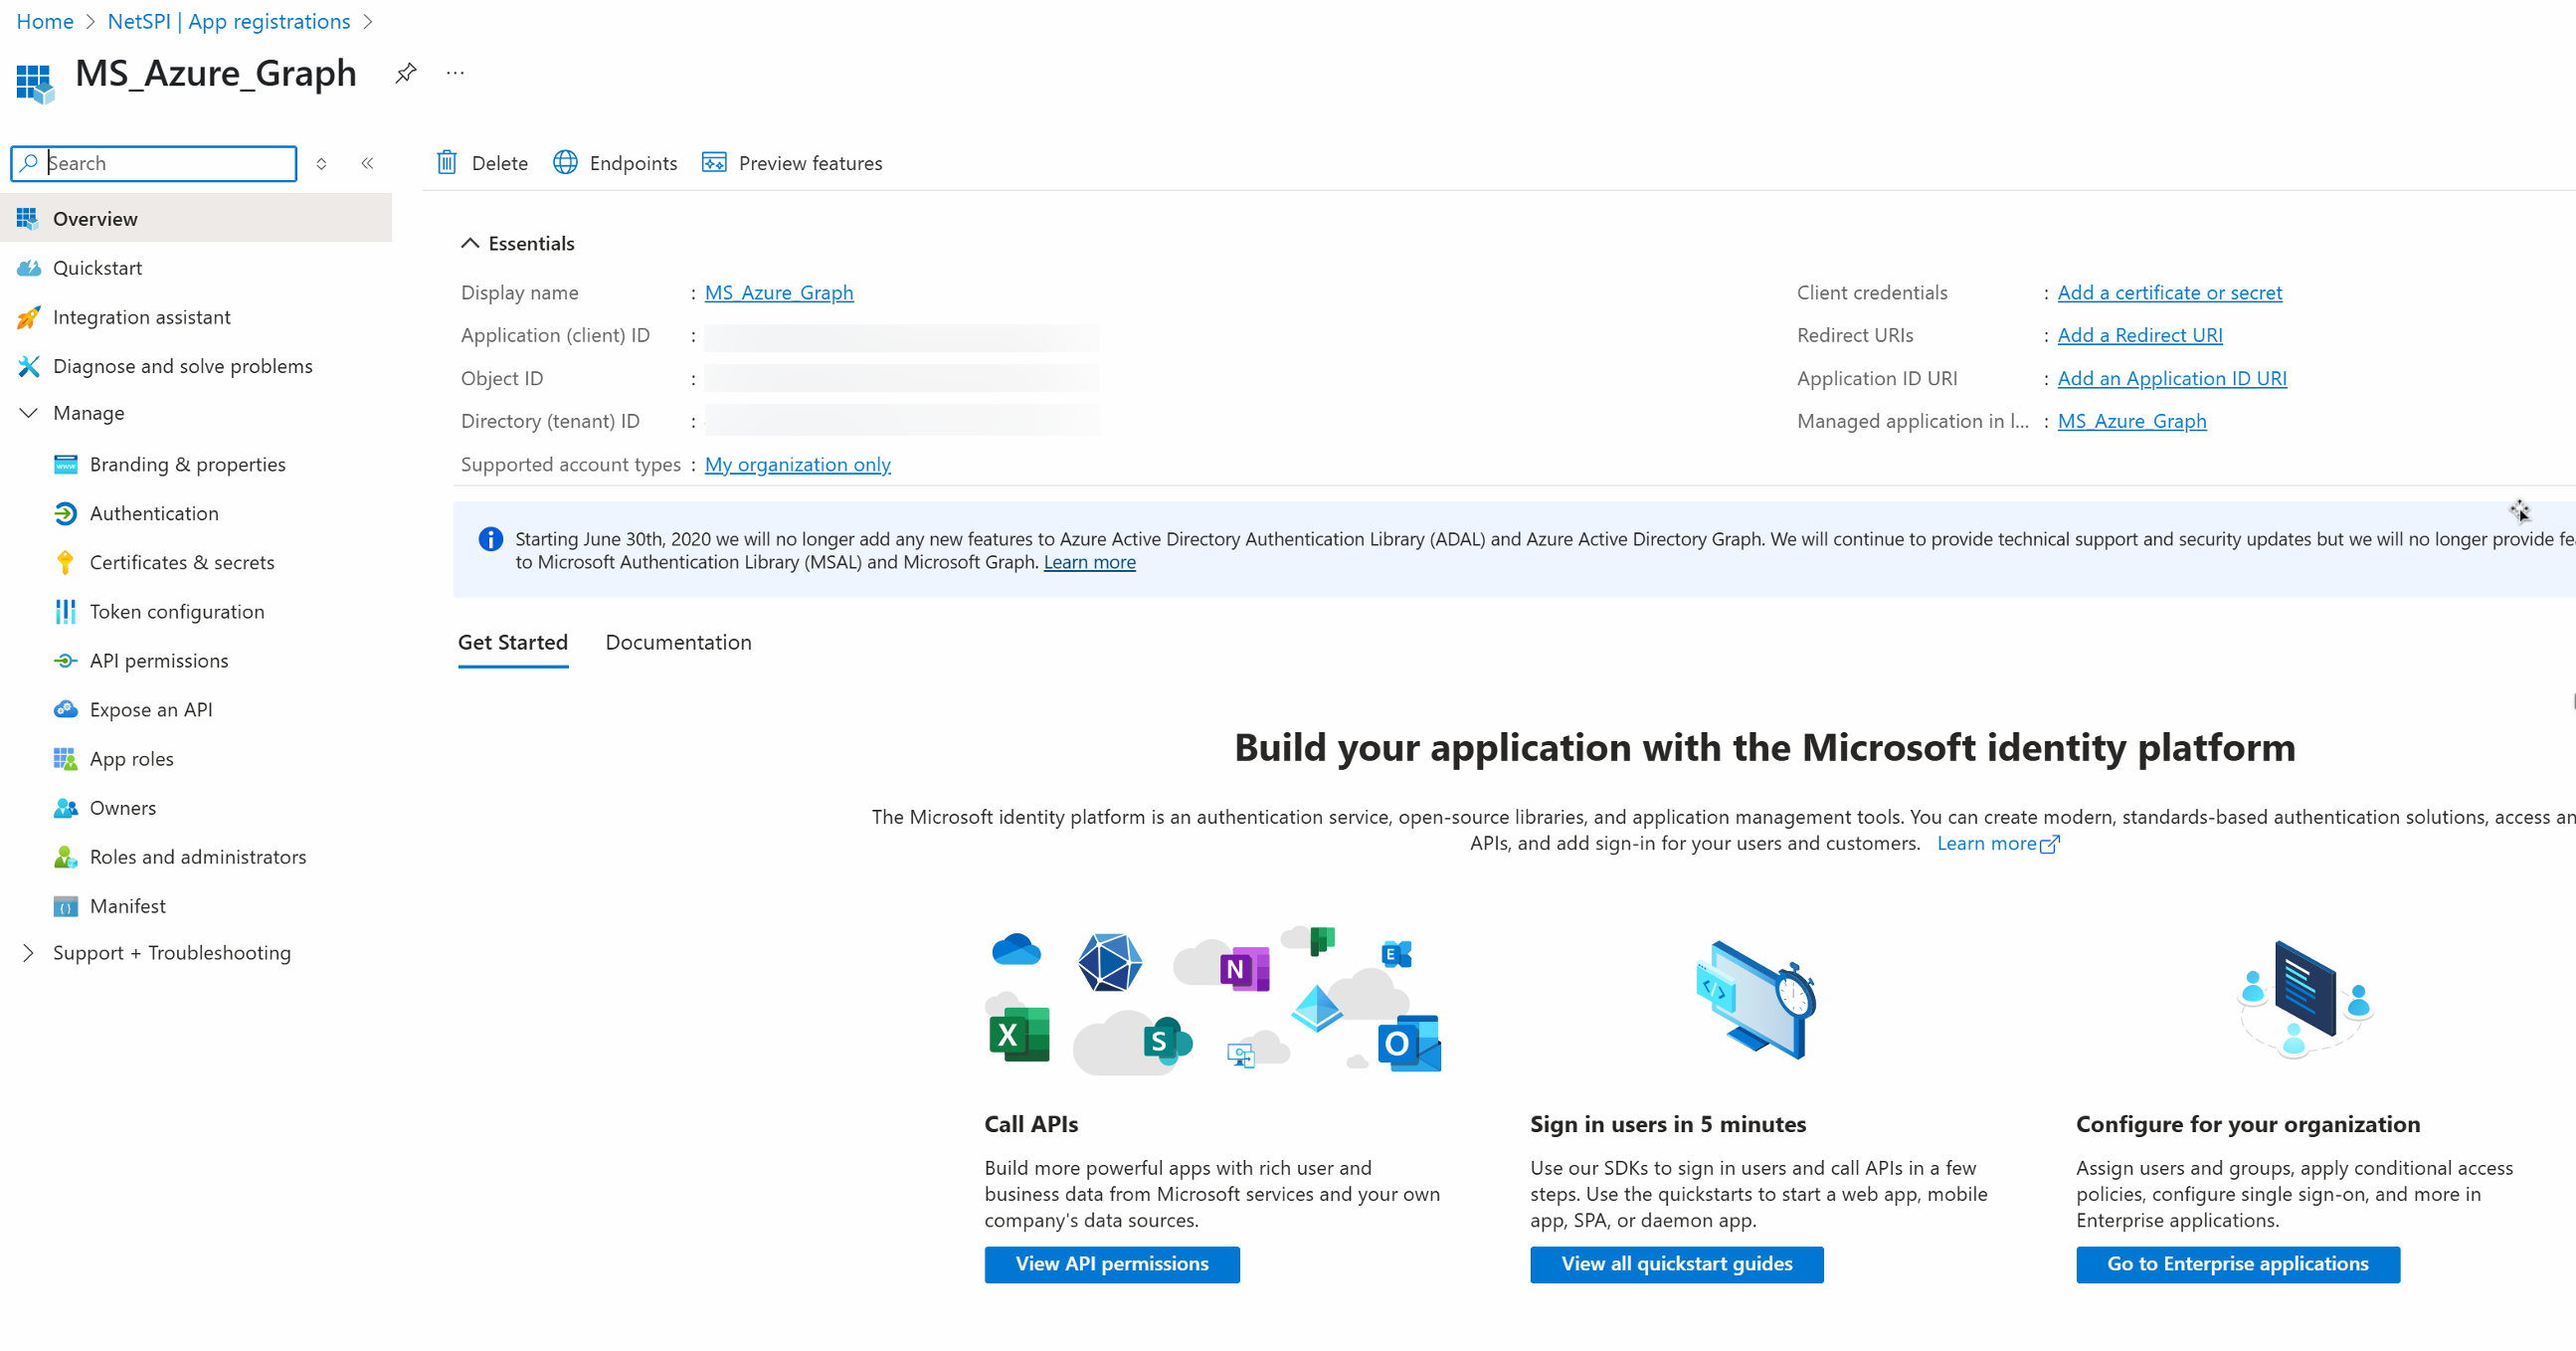
Copy the values for Application (client) ID and Directory (tenant) ID as they will be needed when configuring the integration in the NetSPI Platform.
Select Certificates & secrets in the left pane, select the Client secrets tab, and select New client secret to display the Add a client secret dialog box..
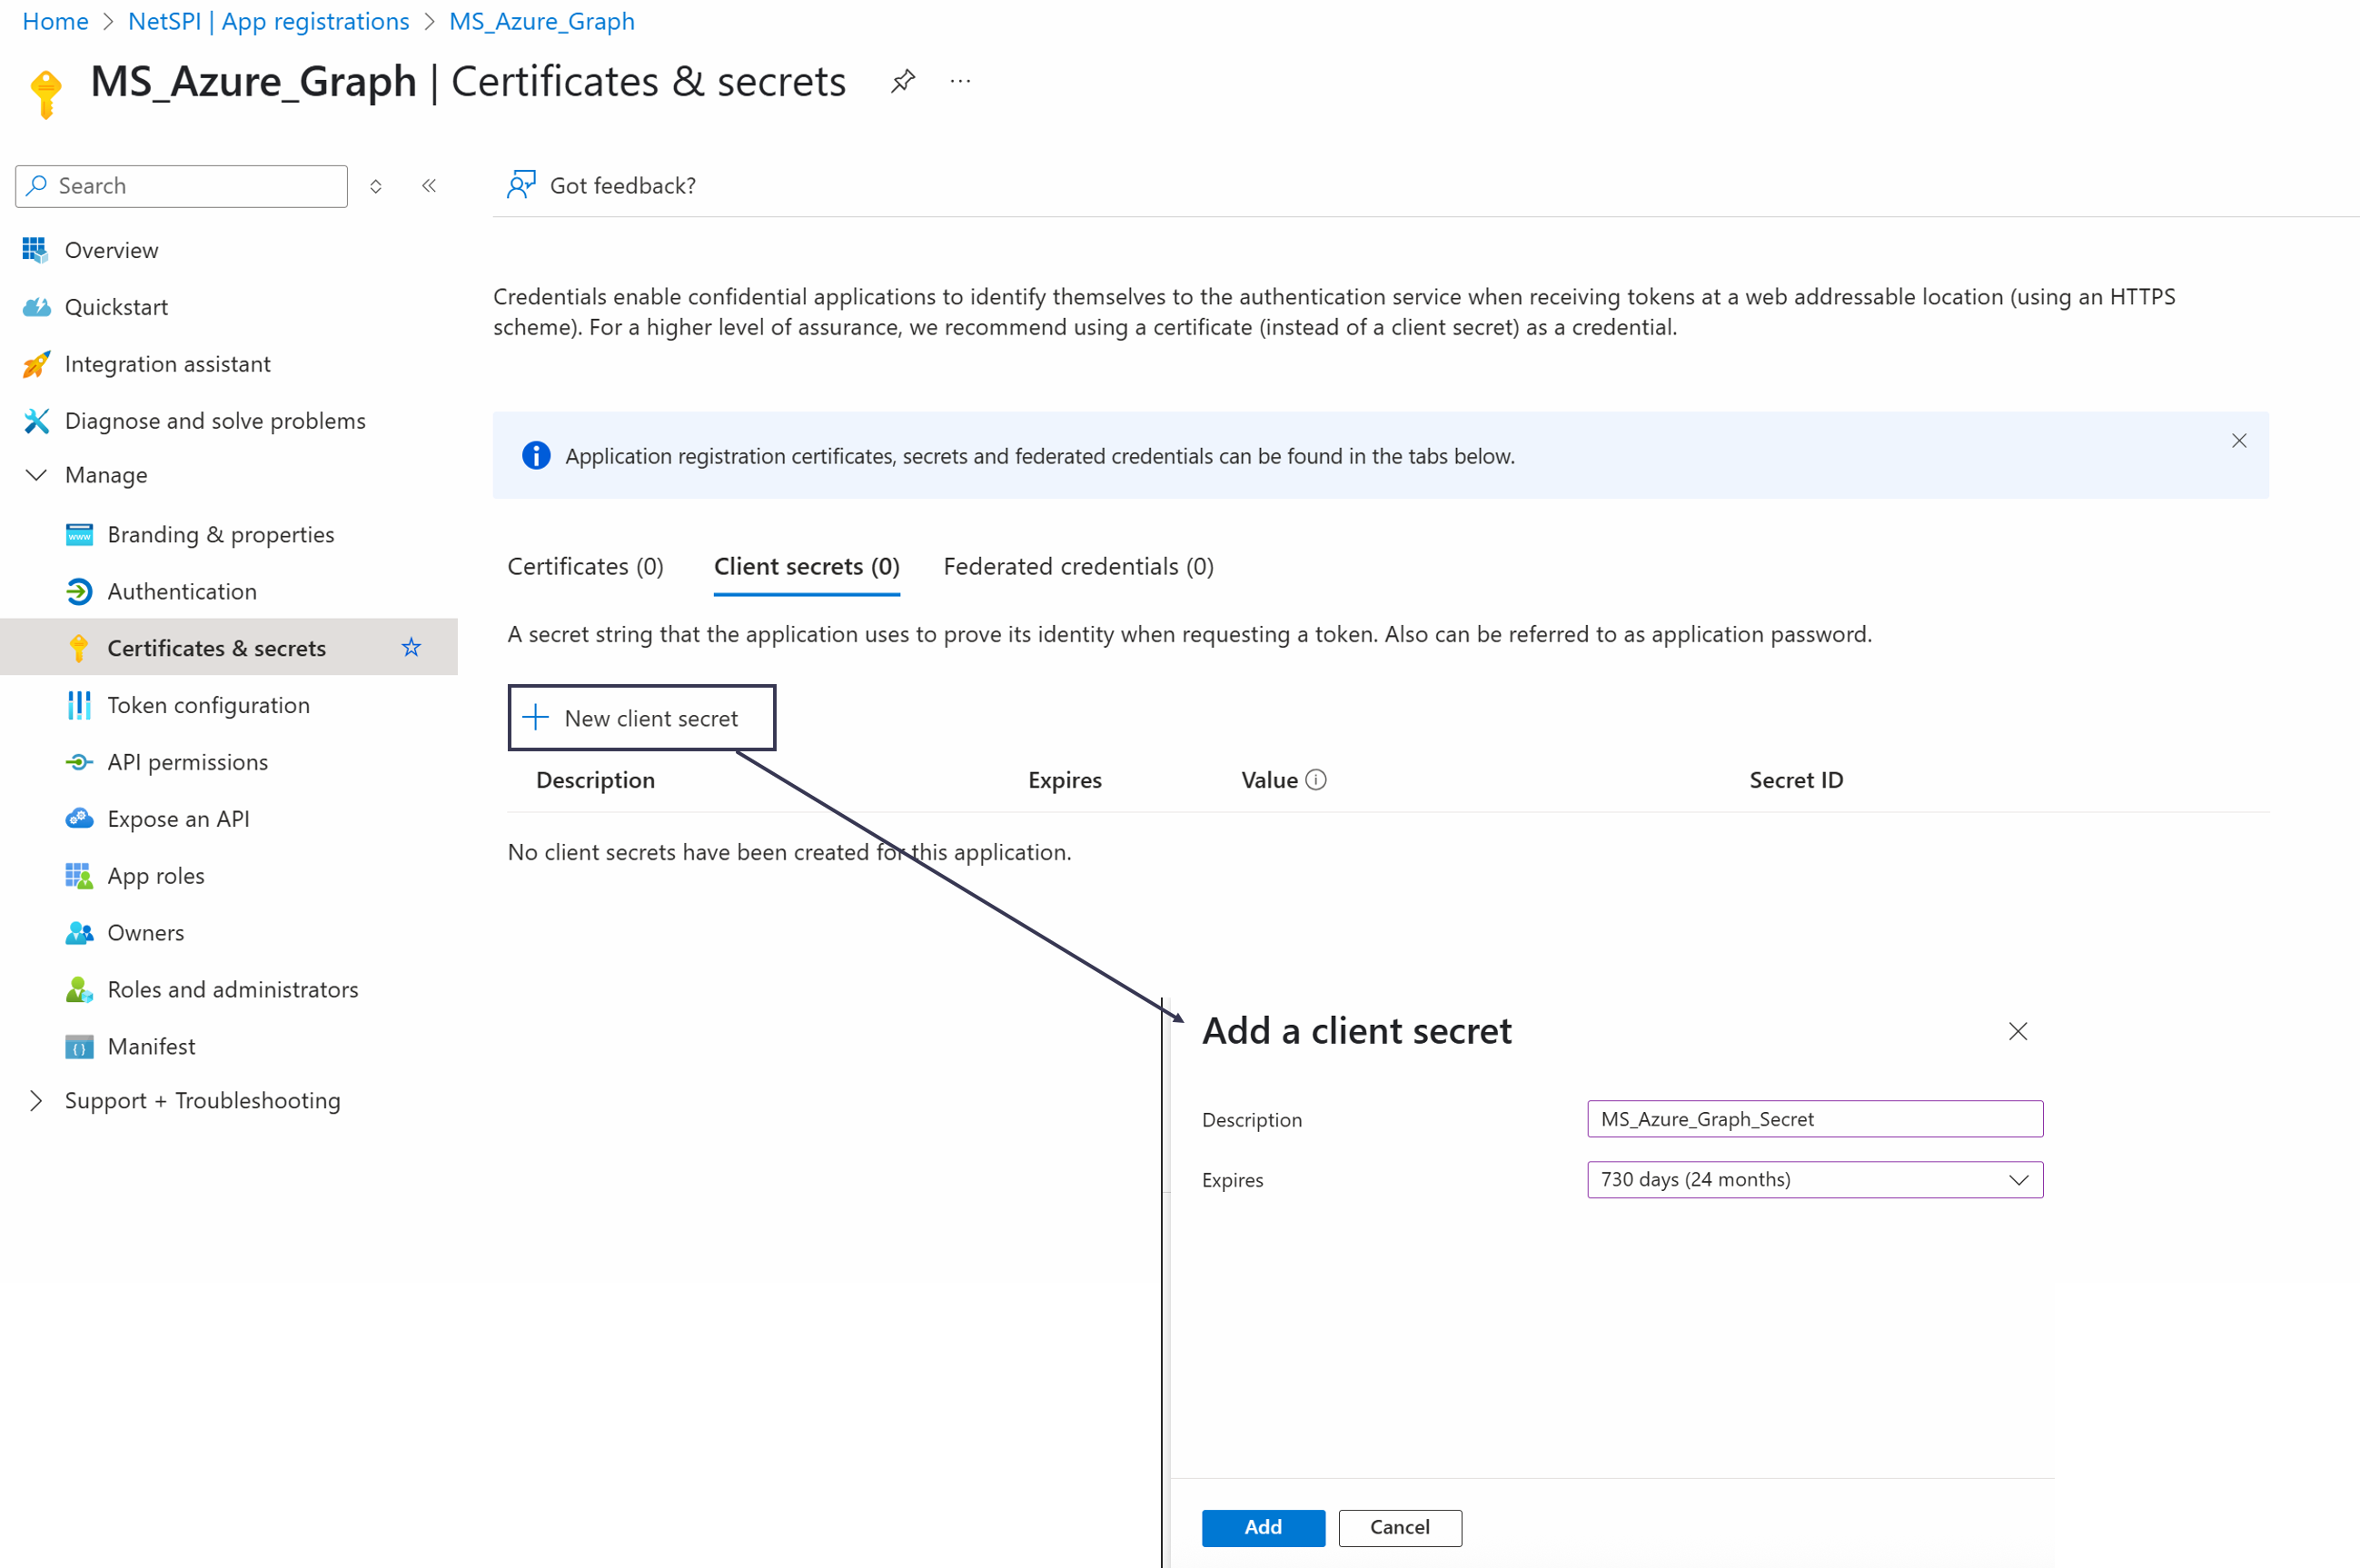
Select an appropriate expiration period for the client secret and then select the Add button.
Once the client secret has been created, select the Copy icon to the right of the Value field and record the value as it will be needed when configuring the integration in the NetSPI Platform.

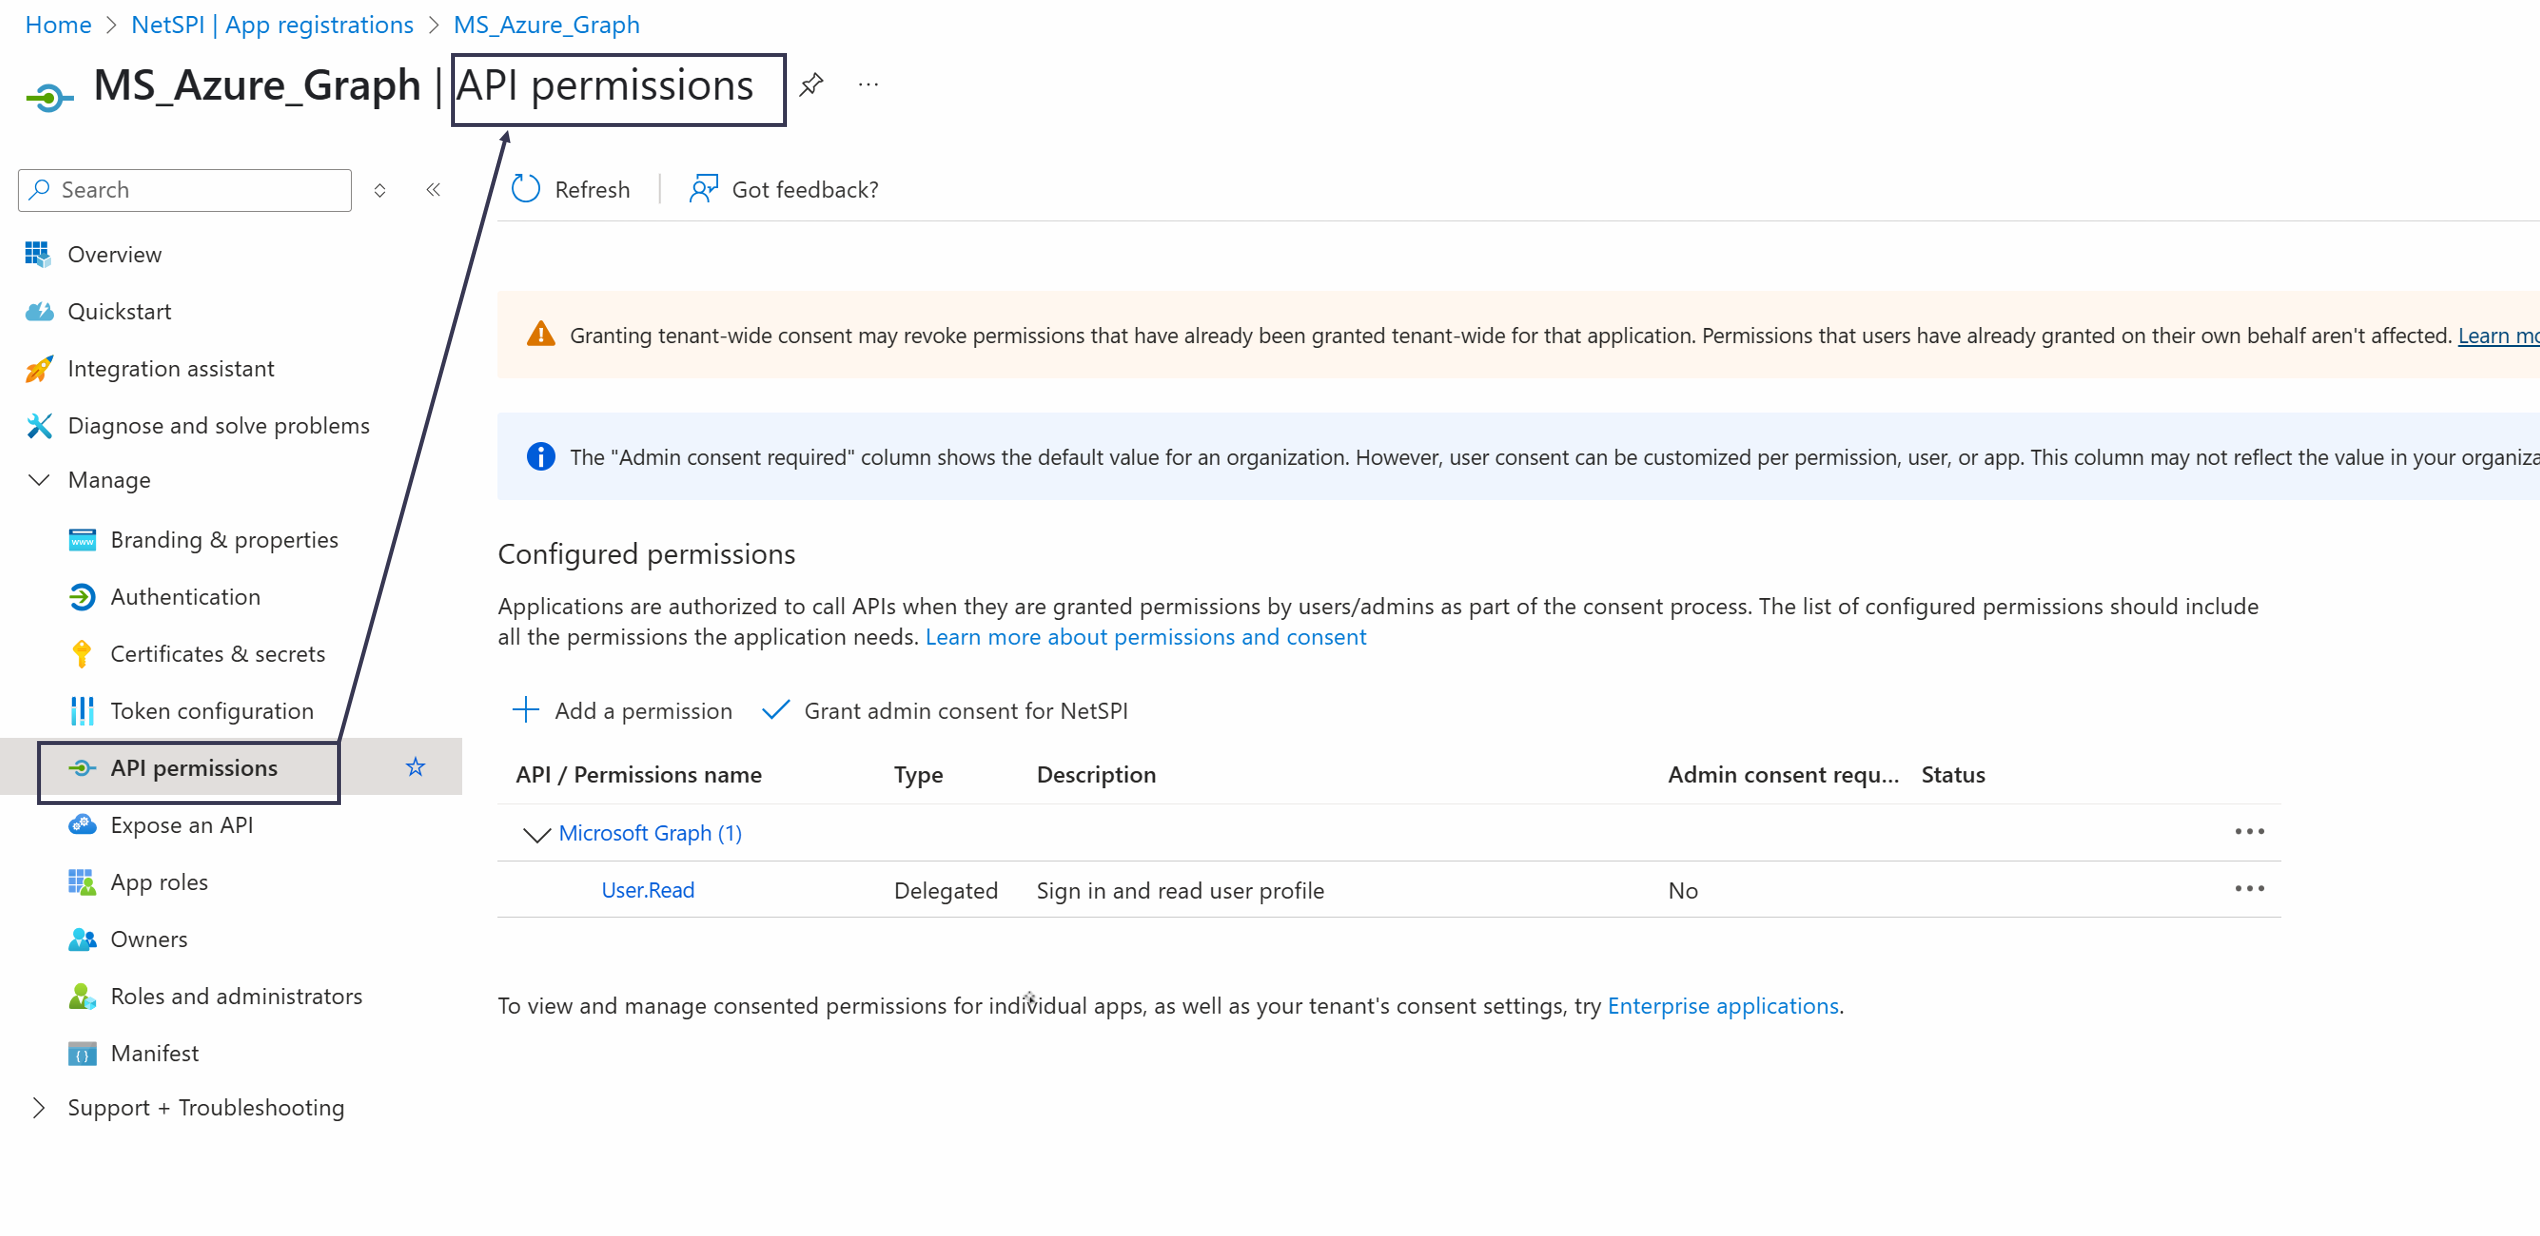
Select API Permissions in the left navigation to display the API permissions page.
Use these guidelines for the step that follows:
If you select:
Yes to Ingest logged-on users? on the
NetSPI Platform Defender Integration Configuration page , ensure the 'User.Read.All' permission is set.Yes to Ingest security recommendations? on the
NetSPI Platform Defender Integration Configuration page , ensure the 'SecurityRecommendation.Read.All' permission is set.Yes to Ingest vulnerabilities? on the
NetSPI Platform Defender Integration Configuration page , ensure the 'Vulnerability.Read.All' permission is set.
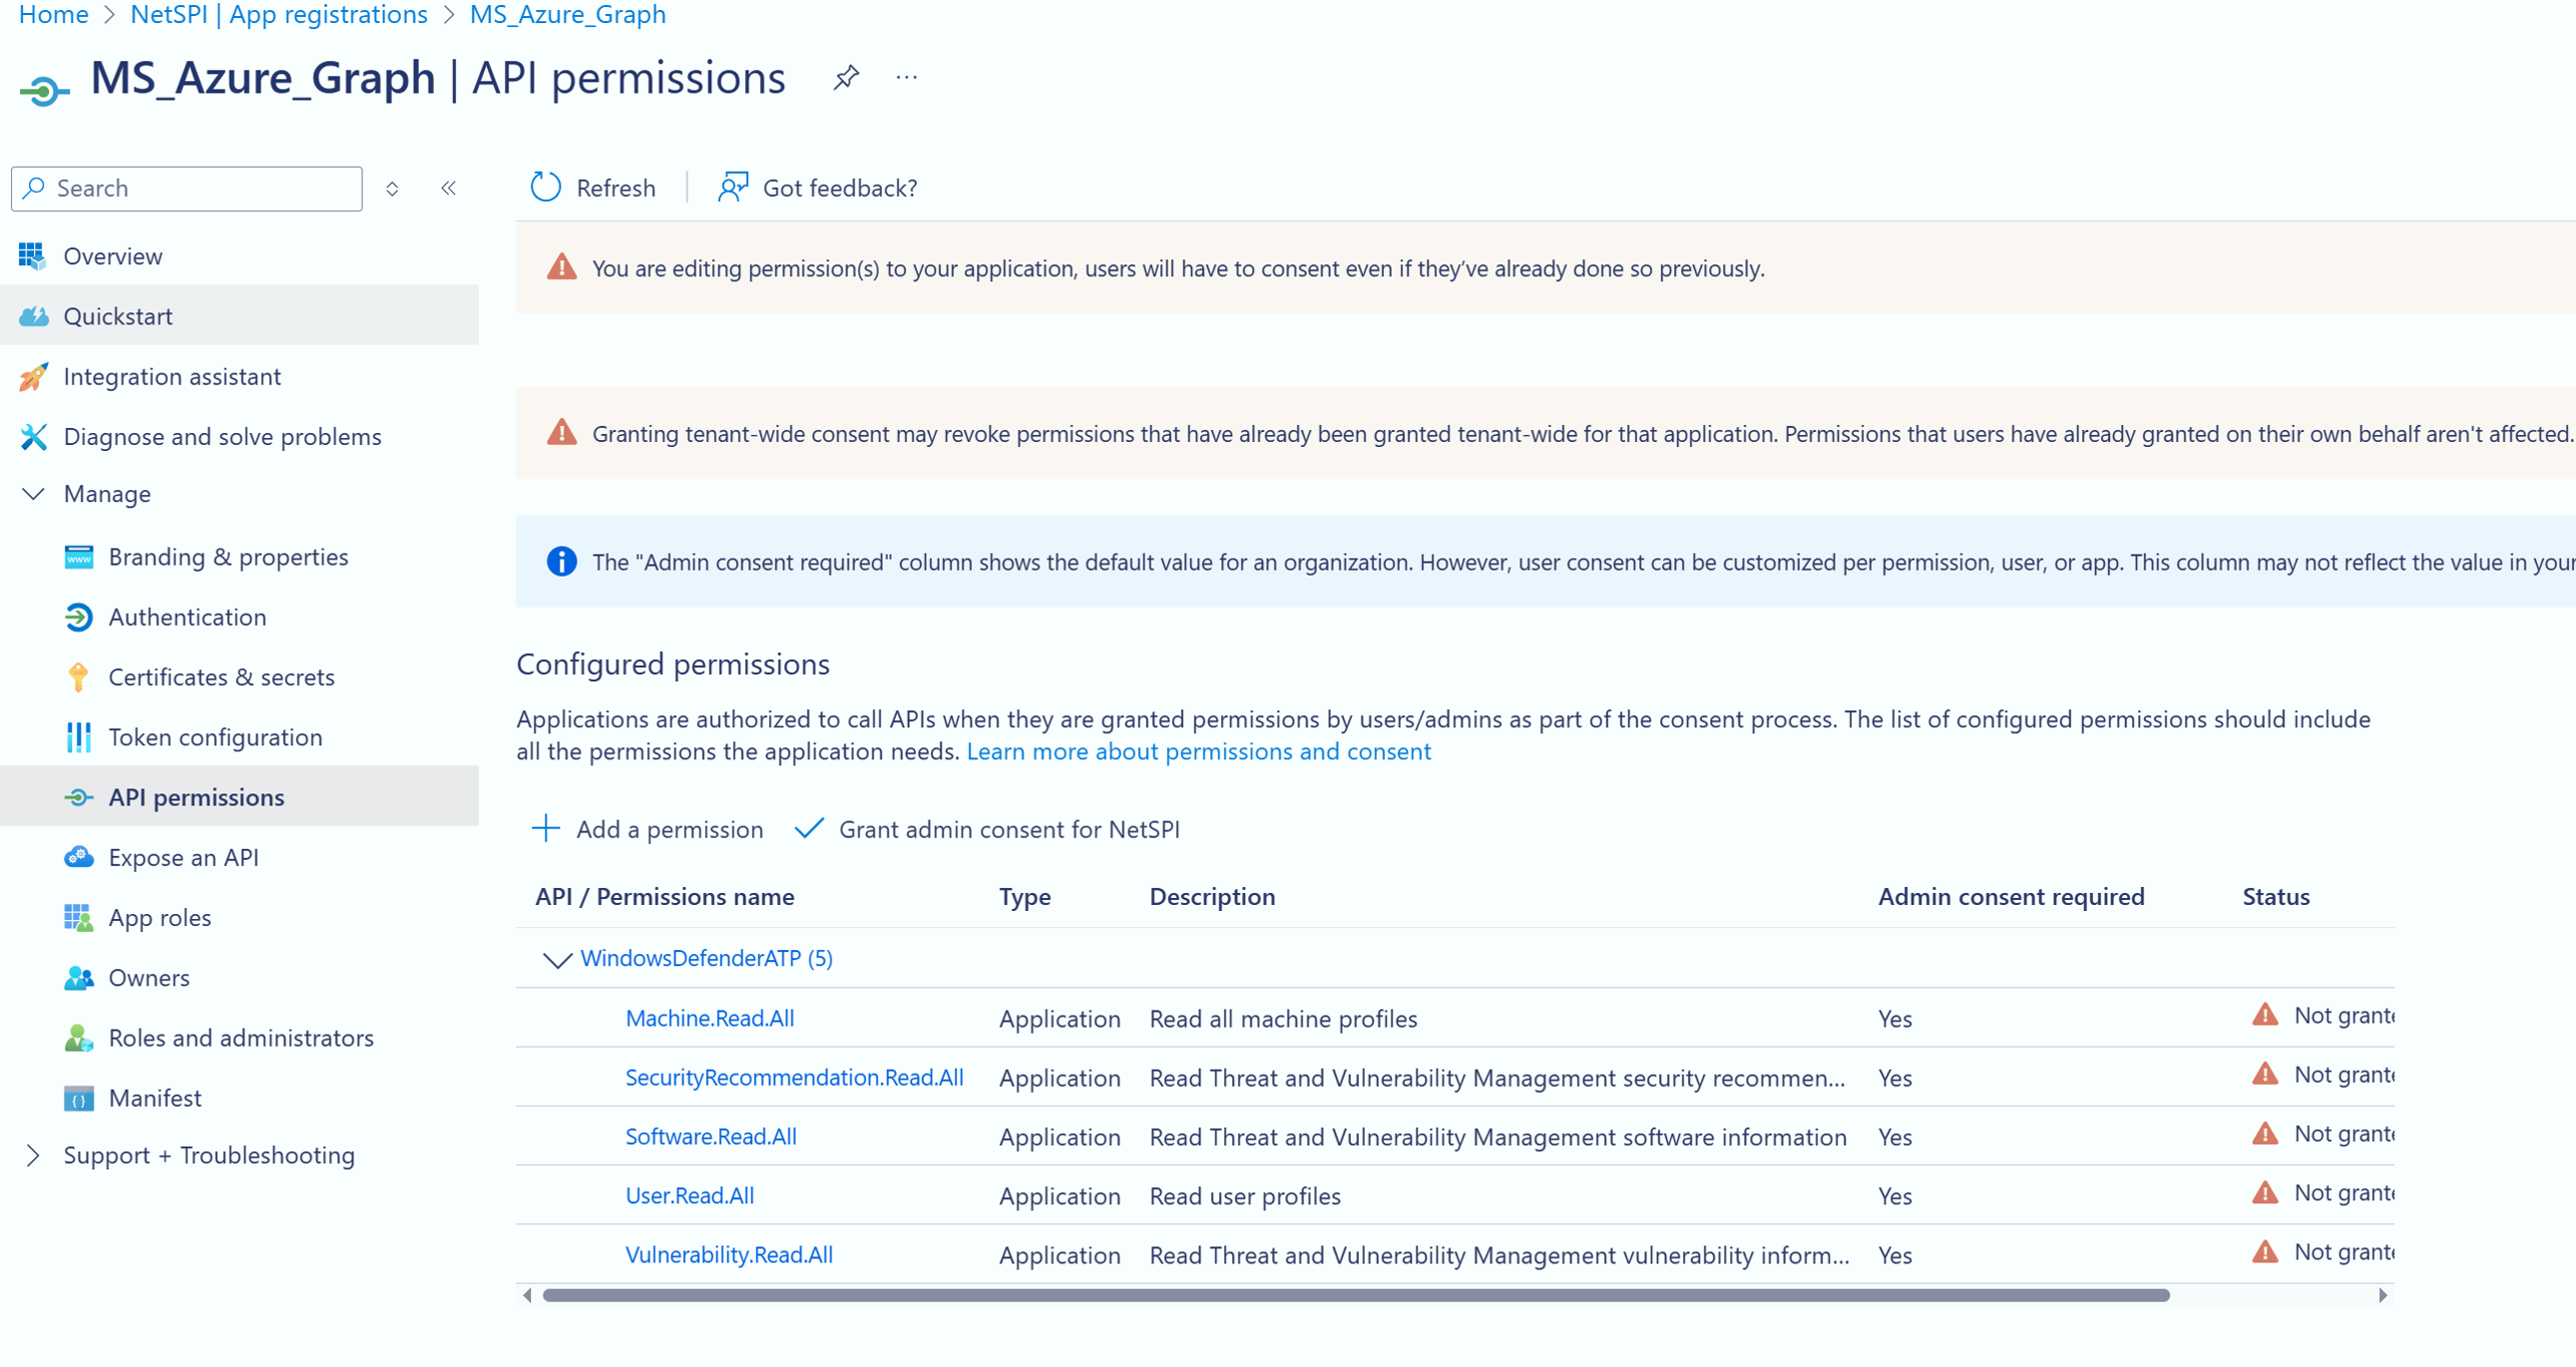
Select Add a permission and add permissions for the following:
Machine.Read.All
User.Read.All
SecurityRecommendation.Read.All
Software.Read.All
Vulnerability.Read.All
When you are finished, the API permissions should appear similar to the example below:
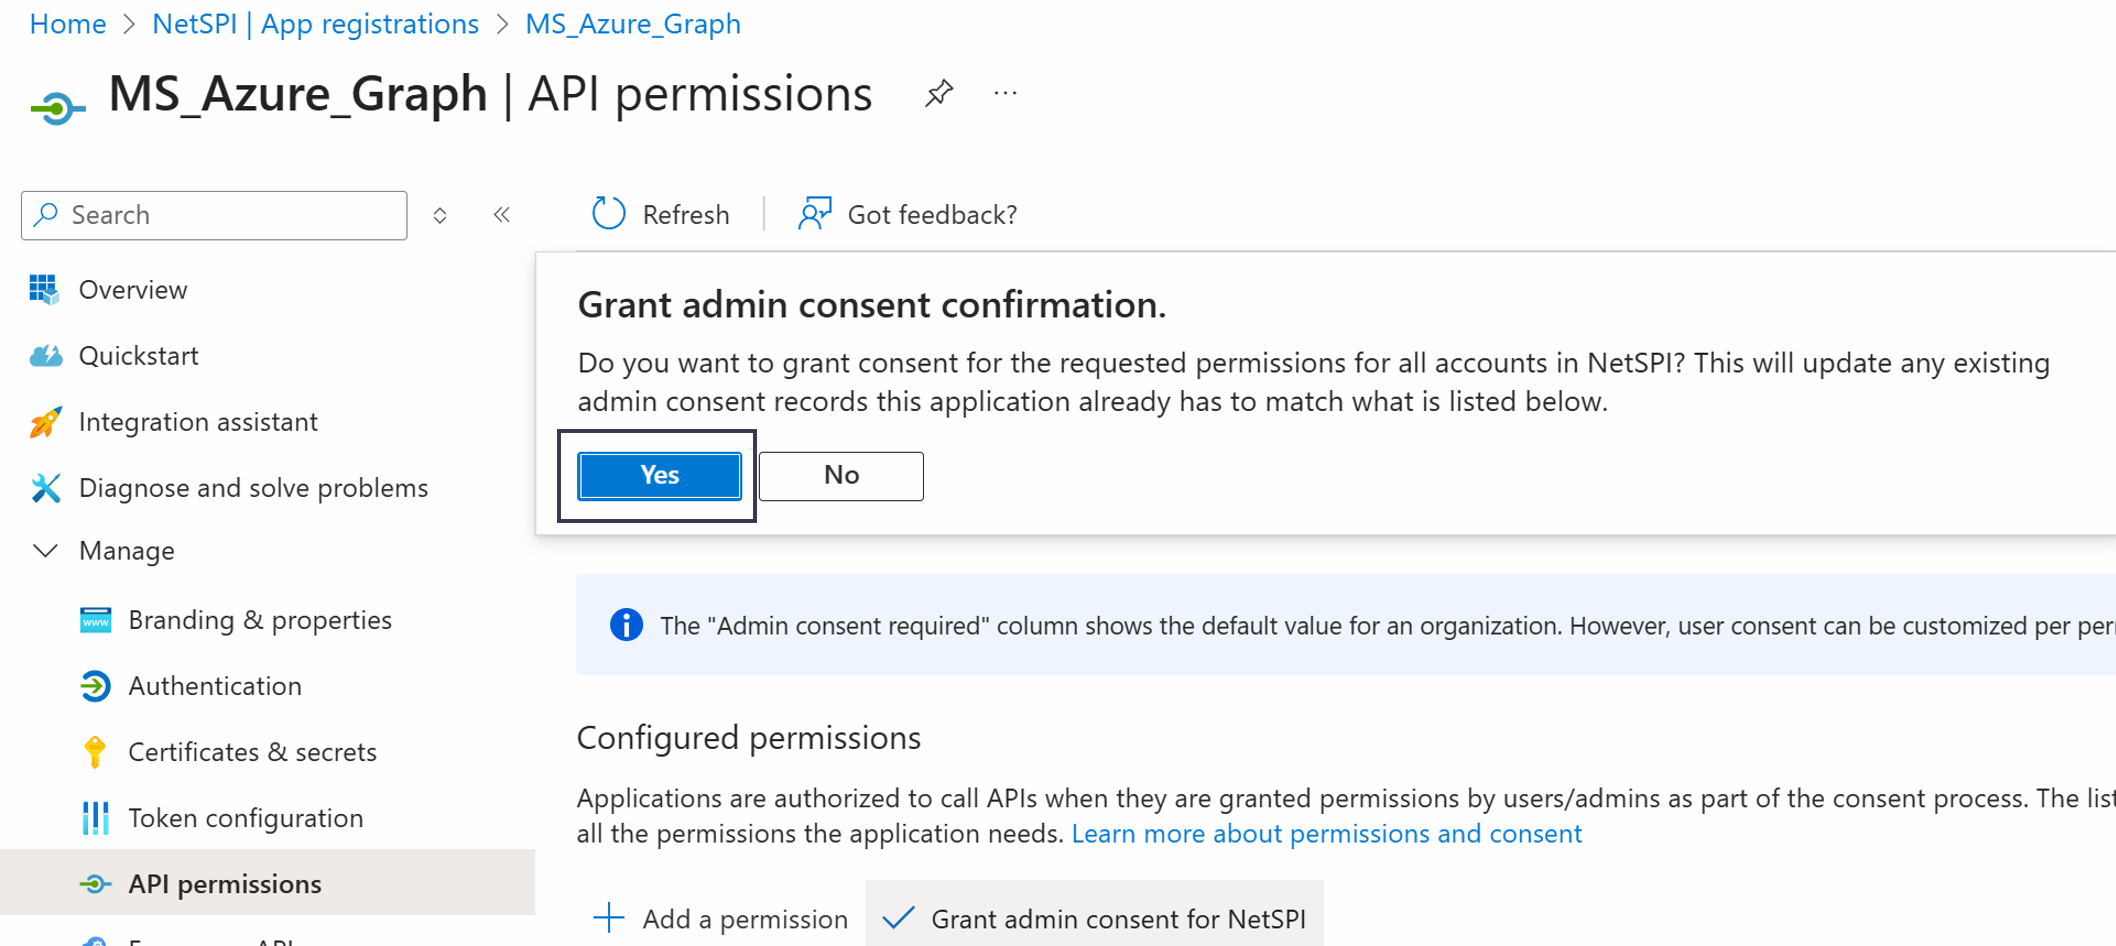
- Select the Grant admin consent for
button, and then select Yes.
#
Step two: NetSPI Platform CAASM module configuration
Use the steps below to configure the Microsoft Defender Integration in the NetSPI Platform.
Log into the NetSPI Platform as a Client Admin user.
Navigate to Settings -> CAASM Integrations to display the Integrations page.

Select the Integration Library tab -> Integration Categories / Managed Detection and Response (MDR) -> Microsoft Defender Integration.

This brings the Microsoft Defender integration card into focus.
Note
You can also locate the integration card by:
- Scrolling down the page on the Integration Library tab
- Filter the integration options displayed by selecting any of the other left navigation choices besides Integration Categories, e.g., by Modules or Integration Scopes (cloud or on premise)
- Enter the integration name in the Search integration bar
Select the Add button on the Microsoft Defender card to display the Microsoft Defender integration configuration page.

Select and enter values for the following fields.
Select the integration type from the Integration drop-down list. In this case, Microsoft Defender Integration, which is already selected by default.
Select the integration scope from the Scope drop-down list. The Microsoft Defender integration can only run on a cloud scope, which was configured by NetSPI and Cloud displays as the default value.
Enter an integration name and description in the Integration Name and Description fields.
Select the Enabled slider button to display as either on (blue) or off (light gray).
In the Microsoft Defender Parameters field group, enter or select the following in the corresponding fields:
Select Create to create the integration. The new integration now displays on the Applied Integrations tab with its statuses: current and last run, last run time, and status (enabled/disabled).