#
Getting started with CAASM
To get started using Cyber Asset Attack Surface Management (CAASM), follow the steps below.
#
1. Create a NetSPI Platform account
Once your CDM (Client Delivery Manager) lets you know your account has been provisioned, create a NetSPI Platform account if you haven't already done so.
#
2. Get a quick navigation overview
Get a quick overview on how to navigate the NetSPI Platform and CAASM:
- Visit General navigation in the NetSPI Platform for an overview and how to get around.
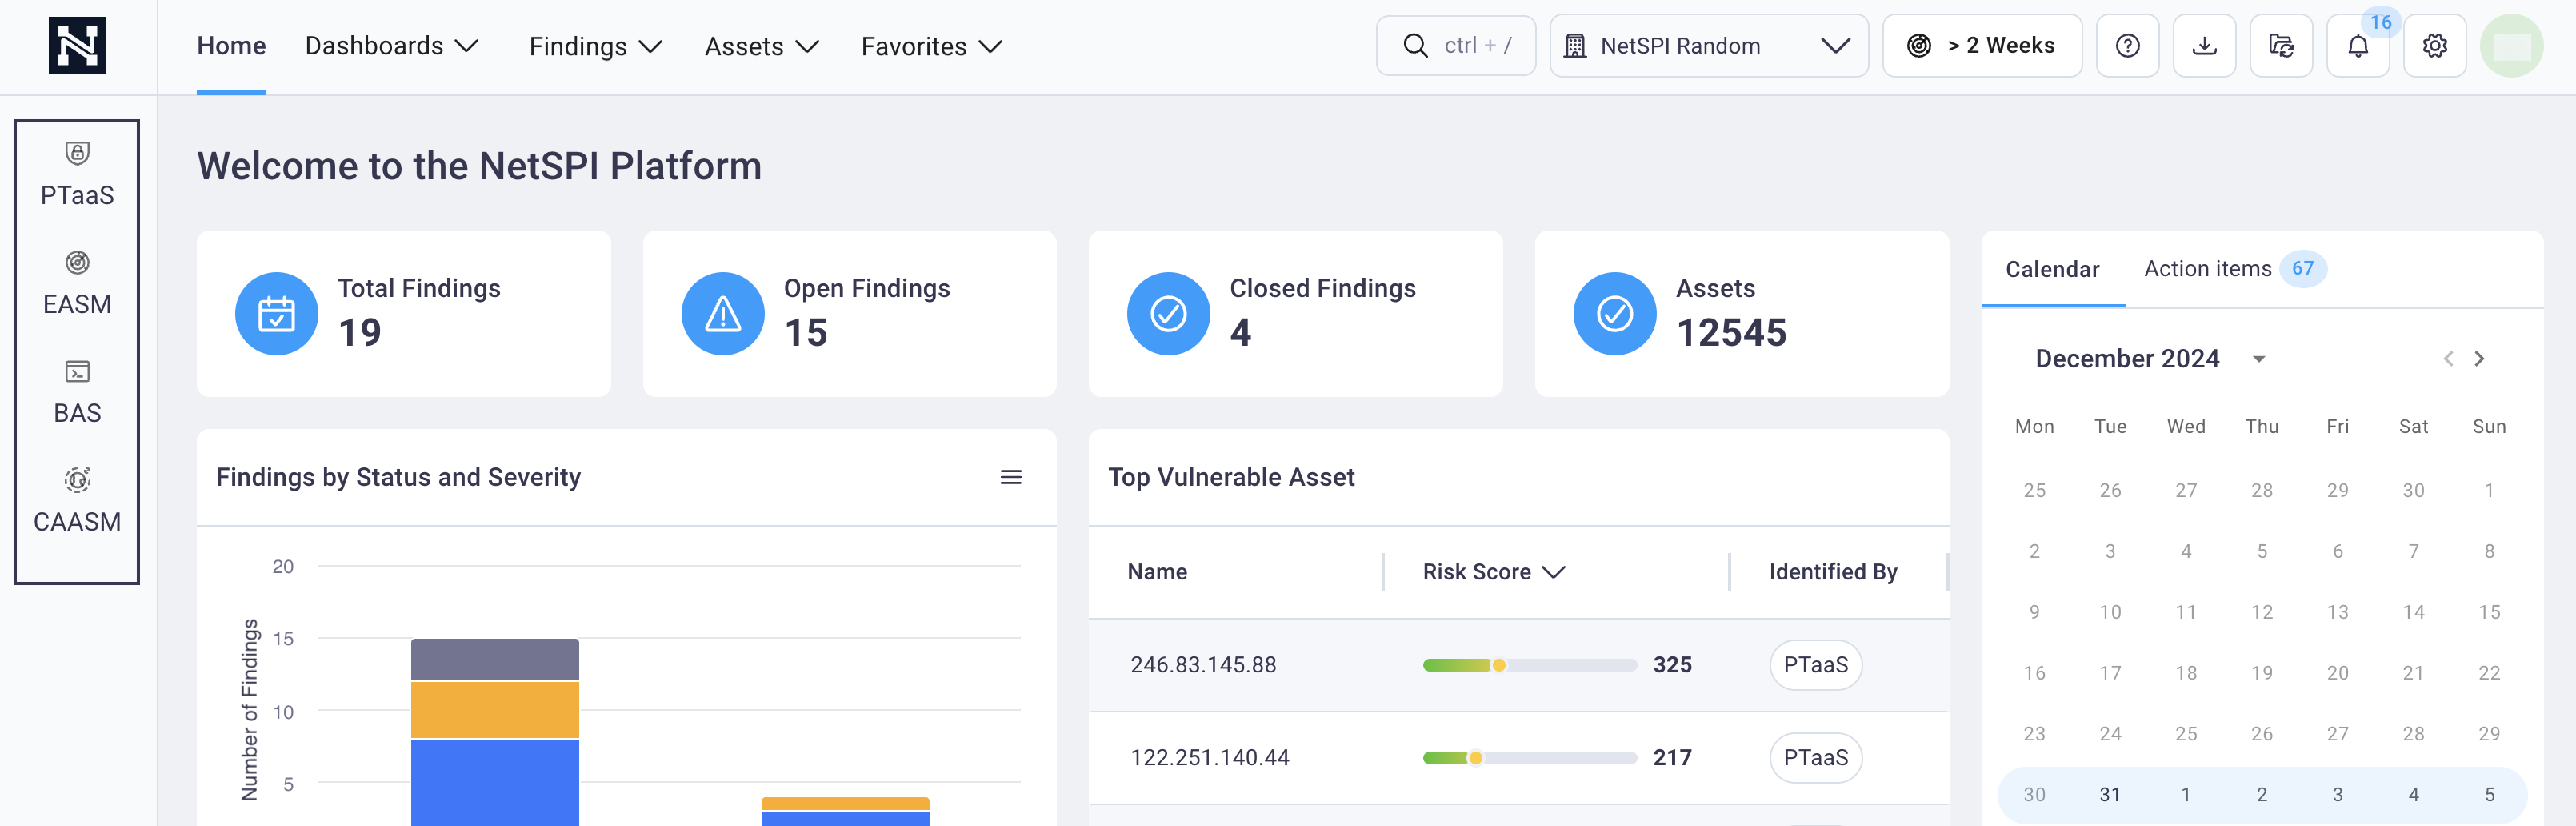
- See the Navigating CAASM section of the NetSPI Platform guide to learn how to take advantage of all the CAASM features.
You can also review the NetSPI Platform welcome page and the Quick Start page here for all around platform features. And you can turn on Dark Mode in your settings.
#
3. Set up your CAASM integrations
To see CAASM at work, you'll first want to pull in asset and vulnerability data from all of your sources, directly from your vulnerability scanners, cloud environments, etc.
If you're a Client Admin for your organization's NetSPI Platform account, see the CAASM Integrations page for instructions on how you can easily configure integrations with your organization's products to begin discovery and monitoring of your digital assets.
#
4. Configure notifications
The NetSPI Platform let's you configure notifications for platform updates delivered in-platform, by email, and by Slack.

See the Notifications section of this guide for details.
#
5. Add new CAASM users
Adding new users to the NetSPI Platform is the same across all modules. Only users with the Client Admin role are able to add new CAASM users for their organization.
See the Add a new user section for details.
#
6. Tag your data
Add unlimited tags to help configure your attack surface how you see it. Many views throughout the NetSPI Platform can be grouped by tag to help see assets by region, subnet, or business function, etc.
#
7. Use filters
The NetSPI Platform allows you to apply, remove, and save filters to all tables. See the Apply a new filter and the Save applied filters as a preset sections for details.